https://www.youtube.com/watch?v=Usu5pTTz2SY
Basic Use of Forceps for Exodontia — Guide
Purpose
- Explain basic principles and clinical application of extraction forceps.
- Emphasise recognition of forceps anatomy and correct clinical technique rather than memorising instrument numbers.
- Use this guide together with the exodontia tutorial and instruction on elevators and luxators.
Key Principles
- Learn the anatomical features of forceps (beaks, curvature, beak orientation) and how they correspond to tooth anatomy.
- Always support the alveolus/mandible and protect soft tissues with the non‑dominant hand.
- Drive the forceps apically onto the root surface before applying delivery movements.
- Check the apices of the extracted tooth and compress the socket to promote haemostasis.
- Left‑handed operators follow the same mechanics with reversed positioning and instrument orientation.
Forceps Identification and Intended Use
| Forceps type | Handedness / Curvature | Target teeth | Beak orientation / notes |
|---|---|---|---|
| Molar forceps (top row) | Right‑ or left‑curved toward operator’s fingers (handed) | Maxillary molars | Beak faces the cheek (buccal). Beaks are aimed toward the furcation. |
| Premolar forceps | Usually single beak, less curvature | Maxillary premolars (upper 4s and 5s) | No pronounced beak — use rotational movement with buccal delivery. |
| Universal straight forceps | Universal (usable by either hand) | Maxillary anterior teeth (incisors, canines; 3 to 3) | Single beak; suitable for anterior rotation. |
| Lower anterior/premolar forceps | Usually universal | Mandibular incisors and premolars | Used for anterior rotations and buccal delivery. |
| Lower molar forceps | Usually universal | Mandibular molars | Beaks similar to upper molar forceps; used with figure‑of‑eight motions to expand socket. |
How to Recognise Handedness
- Curvature of the handles toward the fingers indicates the preferred hand: curve to the left for a left‑handed operator, curve to the right for a right‑handed operator.
- A forceps with the beak directed toward the patient’s cheek (buccal) is intended for that side’s maxillary molar extraction.
- Universal forceps have minimal curve and can be used by either hand.
| Right Handed | Left Handed |
|---|---|
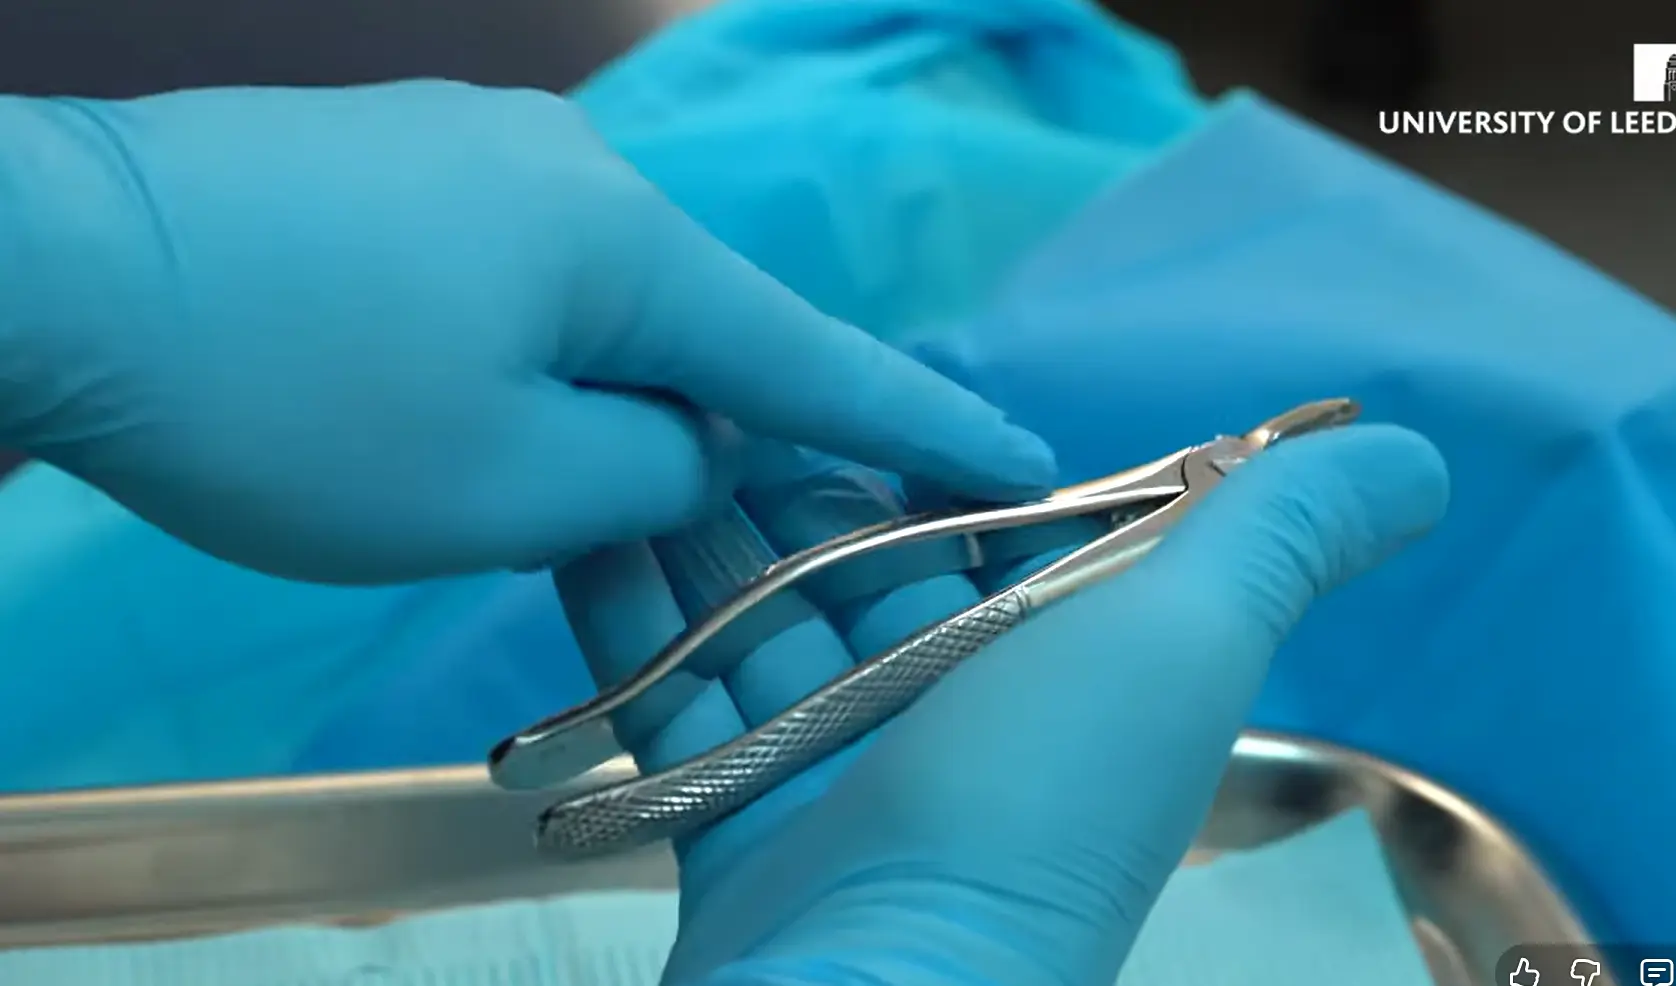 | 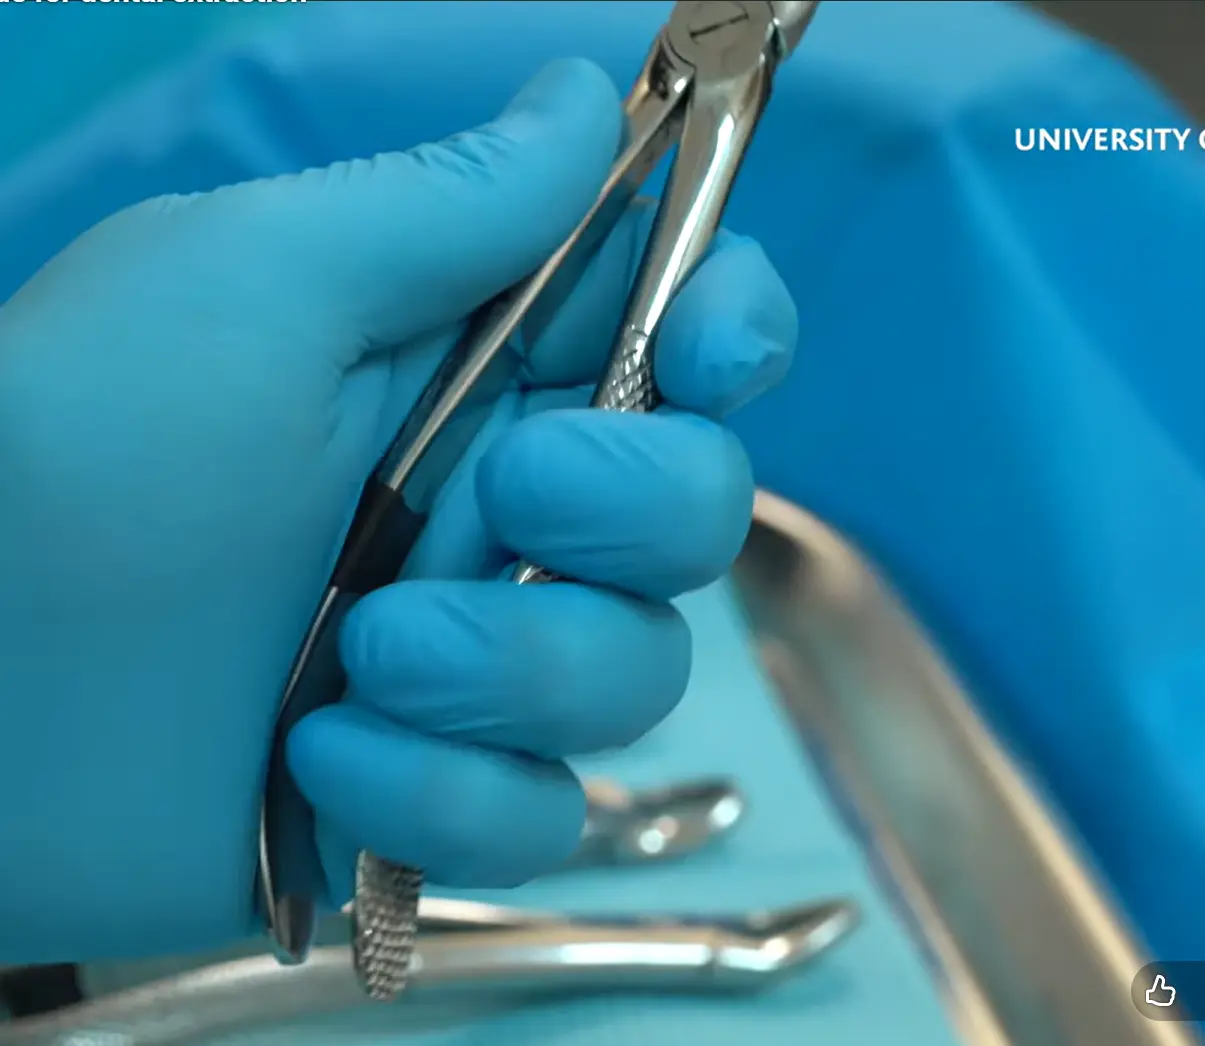 |
Patient and Operator Positioning
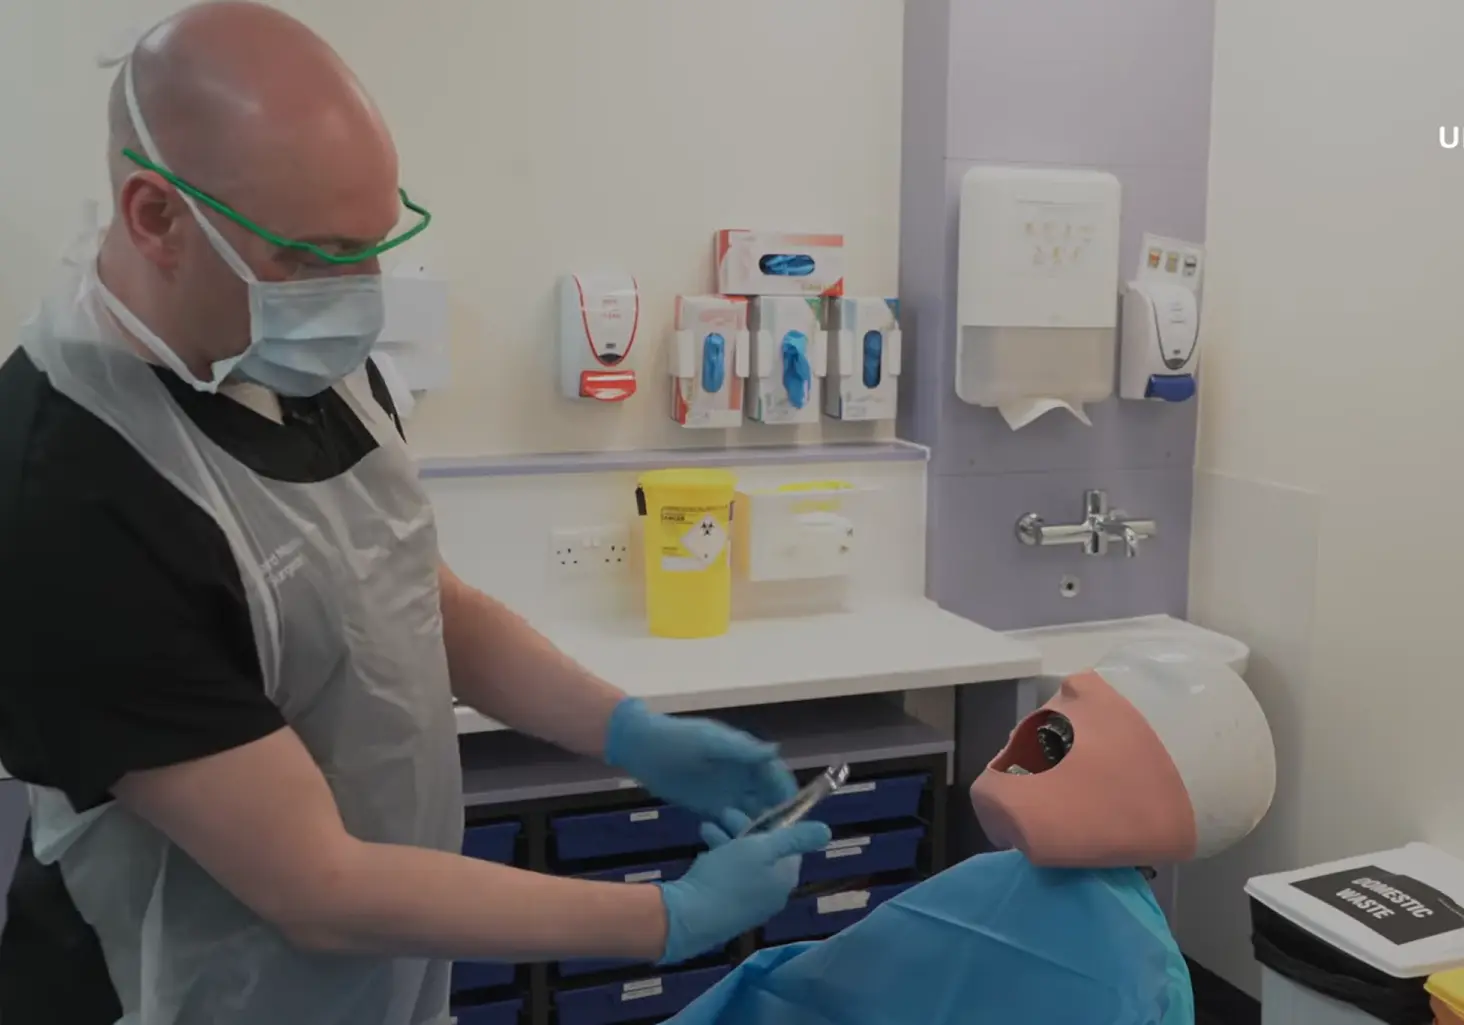
- Patient: chair back partially reclined (approx. 45°) with the mouth at about the operator’s elbow height.
- Operator: position depends on tooth and tooth side and on handedness (see regional technique below).
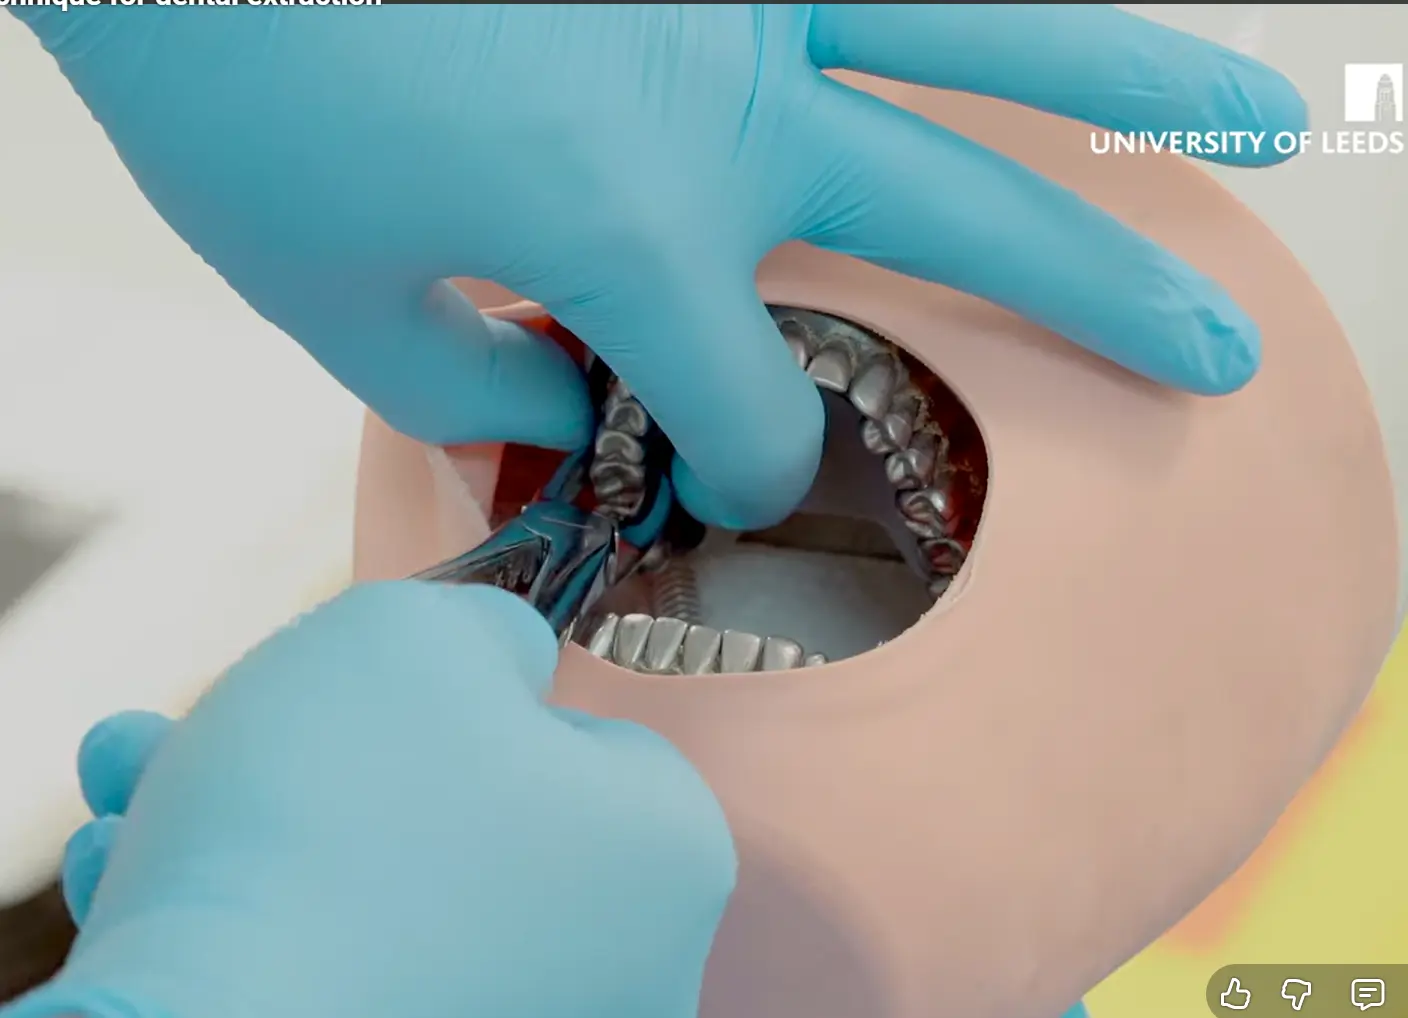
- Non‑dominant hand: always used to support bone (alveolus or mandible) and retract soft tissues.
Step‑by‑Step Extraction Techniques
General steps for all extractions
- Confirm correct tooth and ensure adequate anaesthesia.
- Support and move soft tissues away using your non‑dominant hand.
- Place the forceps apically onto the root surface (drive apically).
- Apply controlled movements appropriate for the tooth type (see below).
- Once mobile, deliver the tooth and immediately inspect the apices.
- Squeeze (compress) the socket to assist haemostasis.
Maxillary (Upper) Teeth
Upper molars (example: upper right and upper left molars)
- Forceps orientation: beak to the cheek (buccal); curve toward operator’s fingers.
- Operator (right‑handed example): stand or sit so the mouth is at elbow height; patient reclined ≈45°.
- Technique:
- Support alveolus with non‑dominant hand.
- Drive forceps apically onto the molar.
- Apply gentle buccal movement while slowly bringing the handles back toward the midline.
- Continue buccal‑to‑midline motion until sufficient mobility is achieved, then deliver the tooth.
- Inspect apices and compress socket.
Upper premolars
- Forceps: single‑beak premolar forceps.
- Technique:
- Support alveolus with the non‑dominant hand.
- Slide forceps apically onto the root surface.
- Use rotational movement (single‑ or double‑rooted premolars) with some buccal delivery to extract.
- Inspect apices and compress socket.
Upper anterior teeth (incisors and canines)
- Forceps: universal straight forceps (3 to 3).
- Technique:
- Support alveolus with non‑dominant hand.
- Drive forceps apically onto the root.
- Rotate the tooth around its long axis (3 to 3 rotation) until the tooth is delivered through the socket.
- Inspect apices and compress socket.
Mandibular (Lower) Teeth
Lower molars
- Forceps: lower molar forceps (often universal).
- Operator position (right‑handed example):
- Lower right molars: stand behind the patient.
- Lower left molars: stand in front of the patient.
- Technique:
- Support the mandible with the non‑dominant hand; thumb lingual, fingers buccal and under the mandible.
- Open and place forceps on the correct tooth; drive down apically.
- Apply a figure‑of‑eight motion to expand the socket and then deliver the tooth buccally.
- Inspect apices and compress socket.
Lower anterior teeth and premolars
- Technique and positioning:
- For teeth being delivered toward midline, standing behind the patient is recommended (right‑handed example for lower right approaching midline).
- For extractions on the opposite side (lower left for a right‑handed operator), standing in front of the patient is recommended.
- Support mandible with non‑dominant hand.
- Use rotational movement for conical roots; once the apex passes the midline, deliver buccally.
- Inspect apices and compress socket.
Left‑Handed Operators
- All mechanics are the same; reverse operator positioning and use forceps with curve oriented toward the left‑hander’s fingers.
- For example, forceps that curve the opposite way are chosen to position the beak to the cheek for the intended maxillary molar.
Post‑Extraction Checks and Haemostasis
- Always inspect the extracted tooth’s apices to ensure complete removal and to check for retained fragments.
- Compress (squeeze) the socket to reduce bleeding and promote clot formation.
- Verify soft tissues are intact and remove any debris.
Practical Tips and Common Pitfalls
- Do not rely solely on forceps numbering; recognise beak orientation and handle curvature.
- Always protect soft tissues with the non‑dominant hand and ensure alveolar support.
- Drive apically before attempting delivery movements — premature levering can fracture roots or bone.
- Use appropriate movement for tooth type:
- Rotation (anterior and premolars with conical roots).
- Buccal delivery and movement to the midline (maxillary molars).
- Figure‑of‑eight and buccal delivery for lower molars.
- After extraction, check apices and achieve haemostasis before leaving the patient.
Recommended Complementary Learning
- Exodontia tutorial materials (detailed positioning and instrument selection).
- Instruction and practice with elevators and luxators to complement forceps technique.
- Supervised clinical practice to correlate instrument anatomy with intraoral application.
This guide summarises the basic forceps techniques for routine extractions. Always follow local clinical protocols and receive supervised training before independent practice.