Frontal View
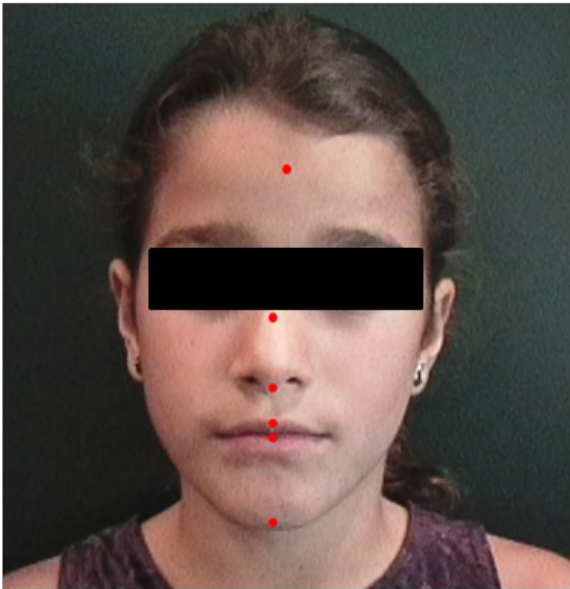
Facial Midline (Symmetry)
Landmarks to mark:
- Glabella / Nasion — bridge of the nose (soft tissue nasion)
- Tip of the nose — pronasale
- Philtrum — the midpoint of the cupid’s bow of the upper lip (most reliable soft tissue midline landmark)
- Subnasale — base of the nose
- Pogonion / Menton — the chin point
Line to draw:
- Draw a vertical midline connecting Glabella → Subnasale → Pogonion
- The philtrum and tip of the nose should fall on or very close to this line
What to assess:
- Facial symmetry: do the landmarks align on a single vertical line, or does the chin or nose deviate to one side?
- Chin deviation: > 4 mm deviation of the chin from midline is consistently noticed by both clinicians and patients; < 3 mm is generally undetectable
- Dental midline vs facial midline: the maxillary dental midline should coincide with the facial midline (philtrum). A deviation > 3 mm becomes noticeable and is a treatment priority
- Upper vs lower dental midline: should coincide with each other, but matching both to the facial midline matters more than matching them to each other
- Source of asymmetry: if asymmetry is present, determine whether it is skeletal (mandible shifted), dentoalveolar (teeth shifted), or both
Clinical method
Hold a piece of dental floss vertically from glabella through subnasale — if the chin (pogonion) does not fall on this line, there is mandibular asymmetry. Be aware that if mandibular asymmetry exists, using three points will not give a valid midline — rely on the upper landmarks (glabella, subnasale, philtrum) and note chin deviation separately.
 |  |
| Dental midline displaced — patient complained of “crooked smile” | Child with maxillary midline off facial midline — treatment priority |
 |  |
|---|---|
| Facial and dental midlines assessment | Transverse facial proportions and midline |
Facial Cant (Occlusal Cant)
Landmarks to mark:
- Right and left pupils — centers of the pupils (patient looking straight ahead)
- Right and left alae of the nose — the lateral-most points of the nasal alar base
- Right and left commissures of the lips — corners of the mouth
Lines to draw:
- Interpupillary line (IPL): draw a horizontal line connecting the centers of the two pupils — this is the primary horizontal reference
- Alar base line: draw a horizontal line connecting the right and left alae of the nose — an elevated alar base on one side indicates vertical maxillary asymmetry (one side of the maxilla has grown down more than the other)
- Commissural line (CL): draw a horizontal line connecting the two corners of the mouth — an elevated commissure on one side is also an indicator of vertical skeletal asymmetry
What to assess:
- All three lines (IPL, alar base, CL) should be parallel to each other and perpendicular to the facial midline
- If any line is tilted relative to the interpupillary line, there is a facial cant indicating vertical asymmetry
- Detection thresholds:
- Orthodontists detect cant at ~2° of tilt
- Laypeople detect cant at ~4° of tilt
- Note which side is higher/lower
Additional: Occlusal plane cant
- Place a wooden tongue depressor across the premolar/molar teeth and have the patient bite
- View from the front and compare the angle of the depressor to the interpupillary line
- Any visible tilt indicates an occlusal cant — the occlusal plane should be parallel to the interpupillary line
- Occlusal cant reflects differential vertical growth of the maxilla/mandible on one side
Facial Fifths
Landmarks to mark (6 vertical lines creating 5 equal segments):
- Right and left helices of the ears (outermost boundaries of the face)
- Right and left outer canthi (outer corners of the eyes)
- Right and left inner canthi (inner corners of the eyes — should align with the alae of the nose)
Lines to draw:
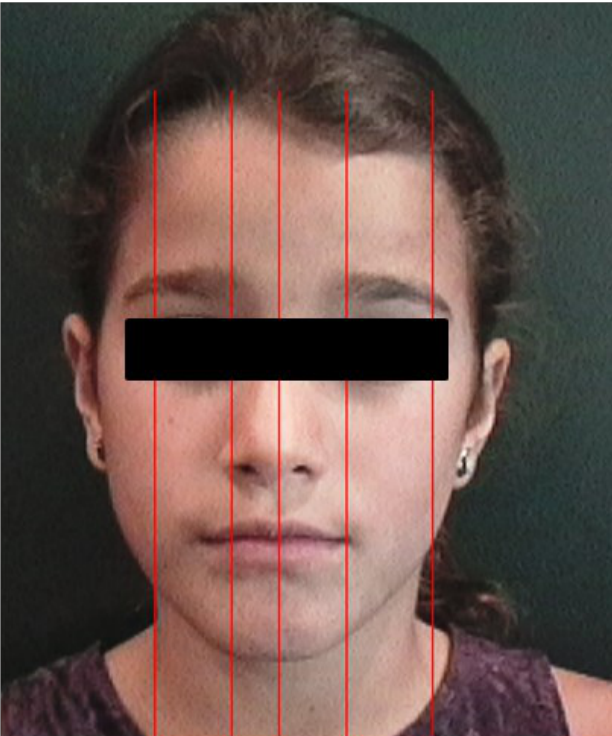
- Draw 6 vertical lines through each landmark above, dividing the face into 5 equal-width segments:
- 1st fifth: Right helix → Right outer canthus (ear width)
- 2nd fifth: Right outer canthus → Right inner canthus (eye width)
- 3rd fifth: Right inner canthus → Left inner canthus (intercanthal / nasal width)
- 4th fifth: Left inner canthus → Left outer canthus (eye width)
- 5th fifth: Left outer canthus → Left helix (ear width)
What to assess:
- All 5 segments should be approximately equal in width
- The intercanthal width (3rd fifth) should equal the alar base width of the nose
- The mouth width (commissure to commissure) should approximate the inter-iris/inter-pupillary distance
- A vertical line from the outer canthi should be coincident with the gonial angles of the mandible
- Any significant deviation between segments indicates asymmetry
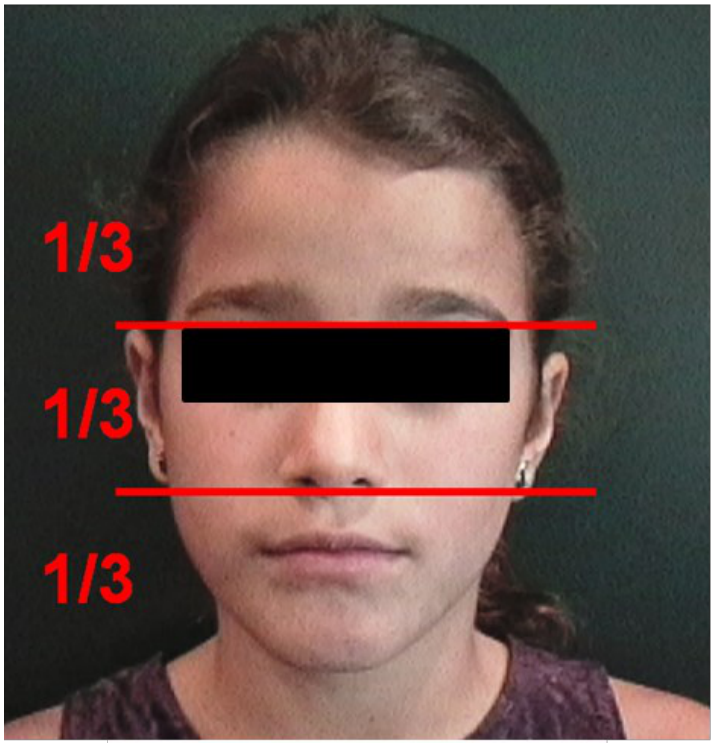
 The face divided into fifths (OrthoInstruction)
 |  |
 |  |
Facial Thirds
Landmarks to mark:
- Trichion (Tr) — hairline (top boundary)
- Glabella / Nasion — bridge of the nose (soft tissue nasion)
- Subnasale (Sn) — base of the nose where the columella meets the upper lip
- Menton (Me) — bottom of the chin
Lines to draw:
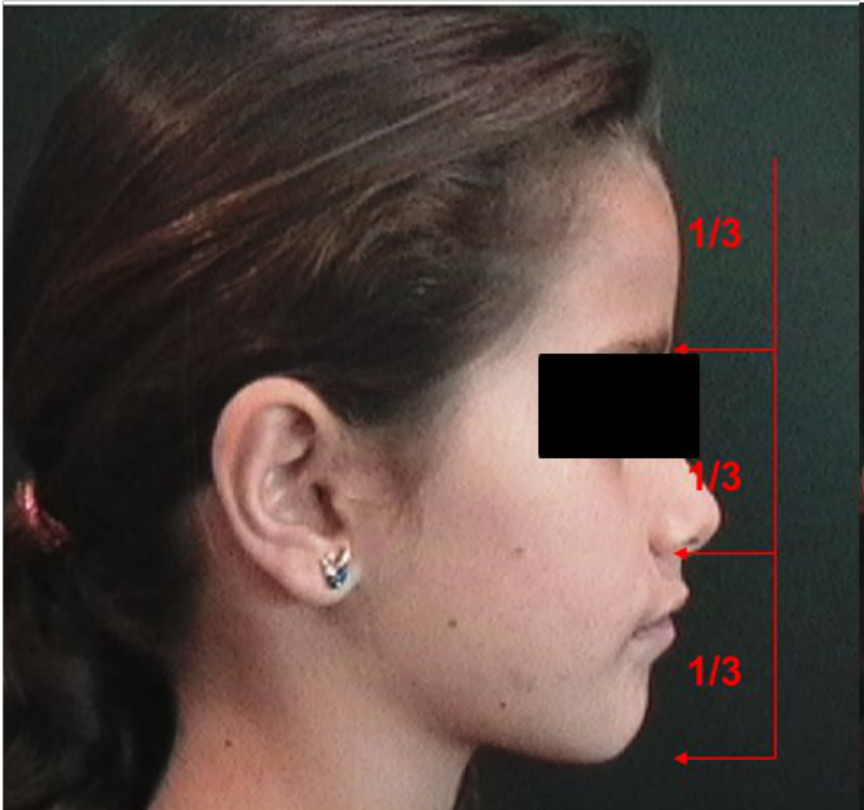
- Draw 3 horizontal lines through Trichion, Glabella, Subnasale, and Menton
- This divides the face into three vertical thirds:
- Upper third: Trichion to Glabella
- Middle third: Glabella to Subnasale
- Lower third: Subnasale to Menton
What to assess:
- The three thirds should be approximately equal
- In modern populations the lower third is often slightly longer — this is normal
- A markedly long lower third suggests long face / hyperdivergent pattern
- A markedly short lower third suggests short face / deep bite tendency
 |  |
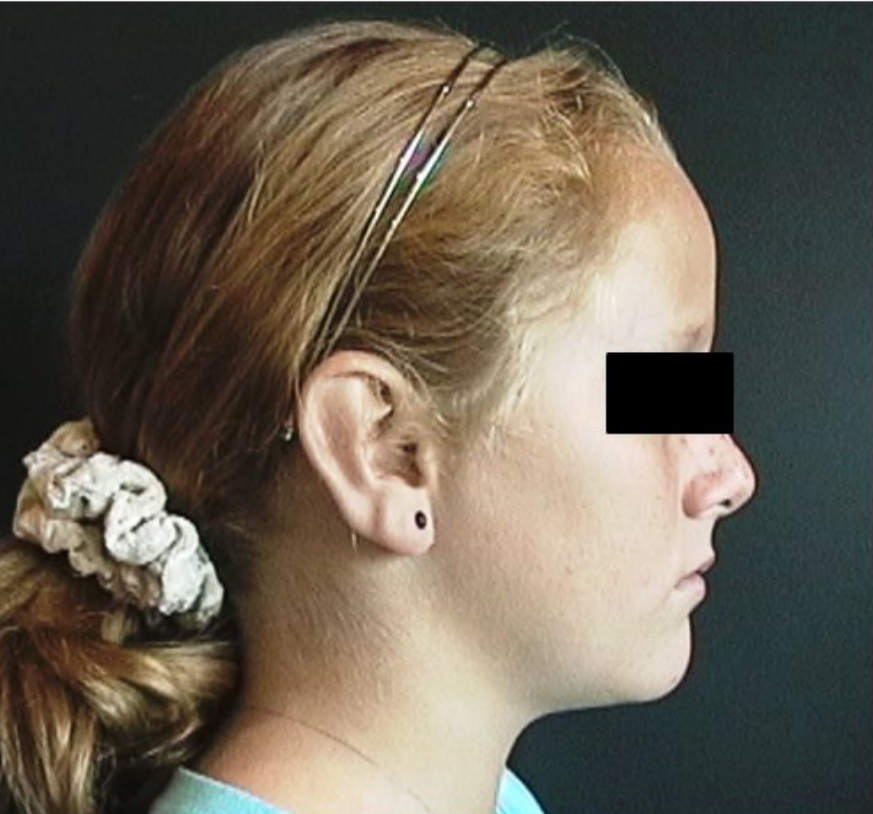
| Normal vertical proportions — frontal | Normal vertical proportions — lateral |
 |  |
|---|---|
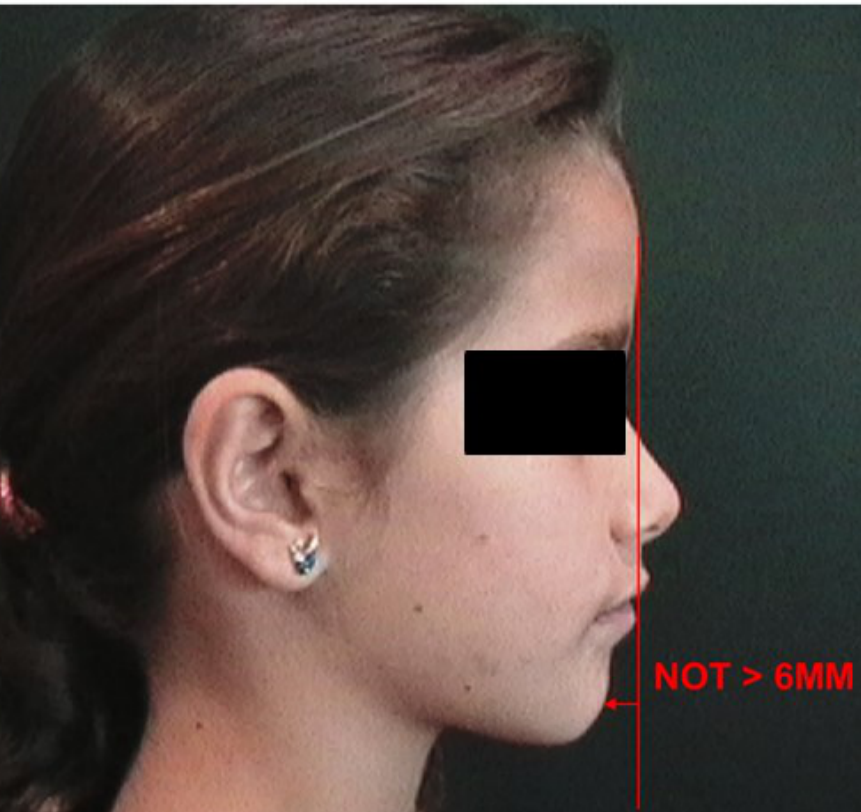 |
Lower Facial Third
Landmarks to mark:
- Subnasale (Sn) — base of nose
- Stomion (Sto) — the point where upper and lower lips meet (lip junction)
- Menton (Me) — bottom of chin
Lines to draw:
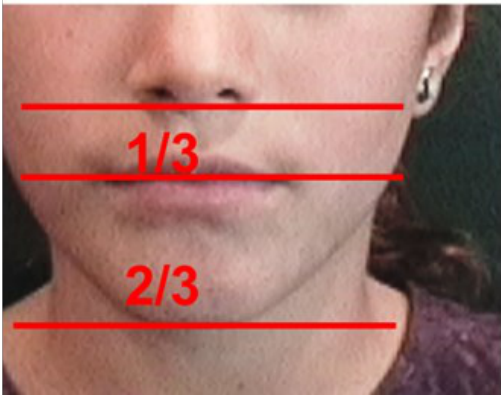
- Draw 2 horizontal lines through Stomion and Menton (Subnasale already marked from Facial Thirds)
- This subdivides the lower facial third into:
- Upper portion (Sn to Sto): should be 1/3 of the lower third
- Lower portion (Sto to Me): should be 2/3 of the lower third
What to assess:
- If upper portion > 1/3 — suggests increased upper lip length or vertical maxillary excess
- If lower portion is proportionally too large — suggests increased lower anterior face height
- Note lip separation at rest (normally 2-4 mm; > 3-4 mm suggests lip incompetence)
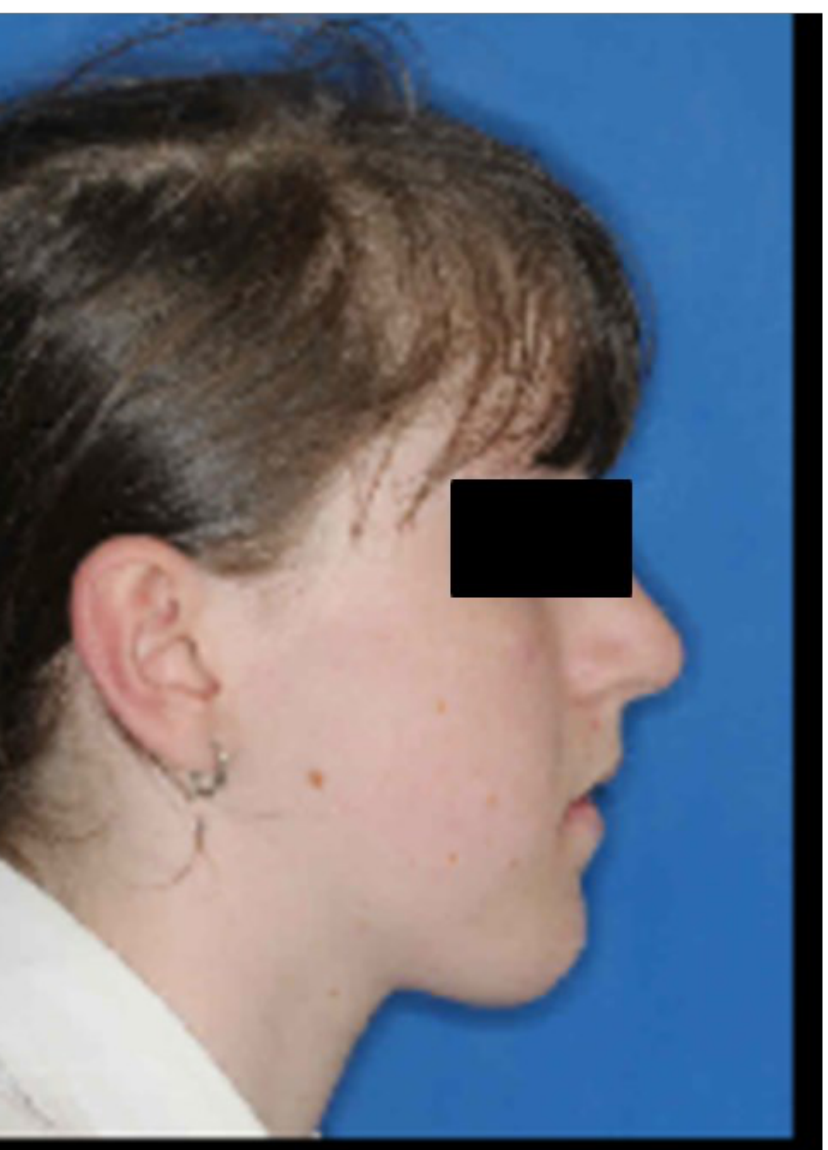 | 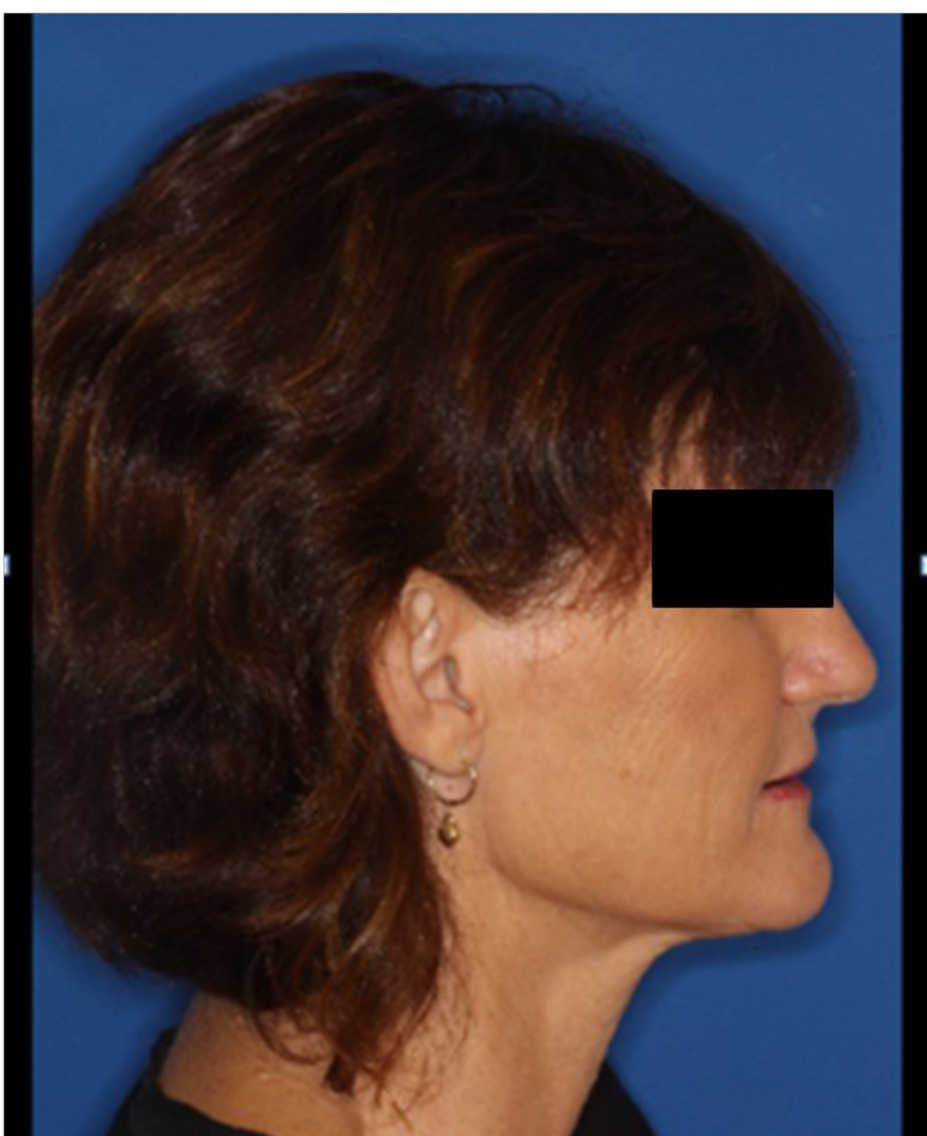 |
| Long face | Short face |
Smile Arc
Landmarks to mark:
- The incisal edges of the maxillary anterior teeth (trace the curve of the upper teeth)
- The curvature of the lower lip on social smile
Lines to draw:
- Trace a curved line along the incisal edges of the maxillary incisors and canines
- Trace a curved line along the upper border of the lower lip on smile
What to assess:
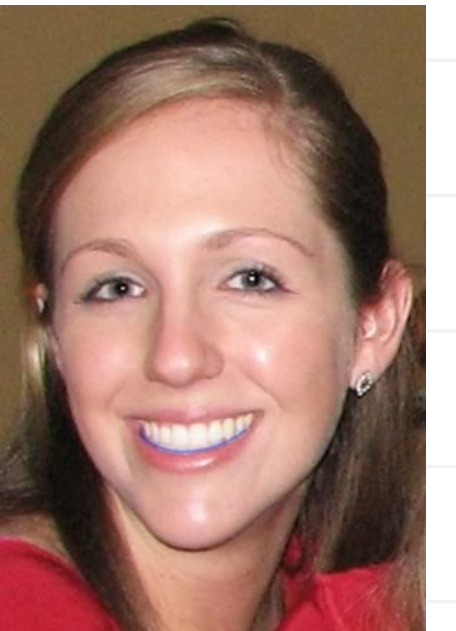
- Ideally the two curves should be parallel and consonant (matching curvature)
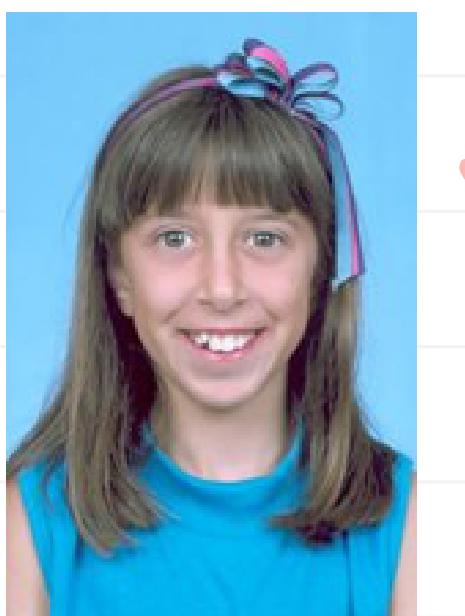
- Flat smile arc — maxillary incisor curve does not follow the lower lip curve → detracts from smile esthetics
- Excessive smile arc — maxillary incisors curve too far below the lower lip contour
 Ideal smile arc — curvature of maxillary incisors matches curvature of lower lip (OrthoInstruction)
 |  |
| Flattened smile arc — before | Corrected with dental laminates — after |
 |  |
|---|
Anterior Tooth Display
What to observe (no lines needed — visual assessment):
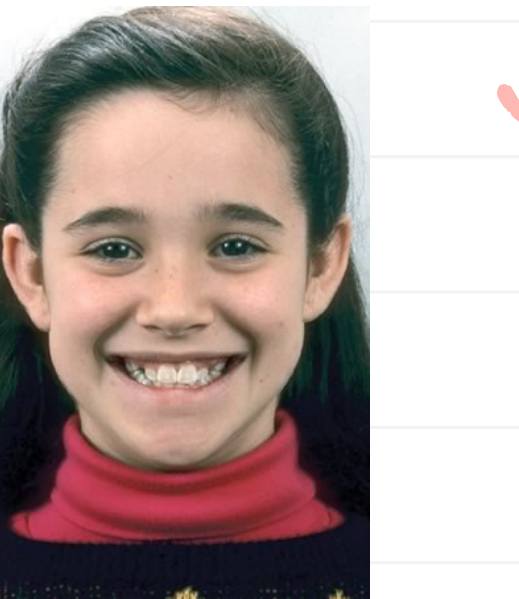
- At rest (lips relaxed): how many mm of maxillary incisor are visible below the upper lip?
- Normal: 2-4 mm of incisor visible at rest (more in children, less/zero in adults)
- On social smile: what percentage of the maxillary incisor crown is visible?
- Ideal: 100% of the crown with perhaps a small amount of gingiva (1-2 mm)
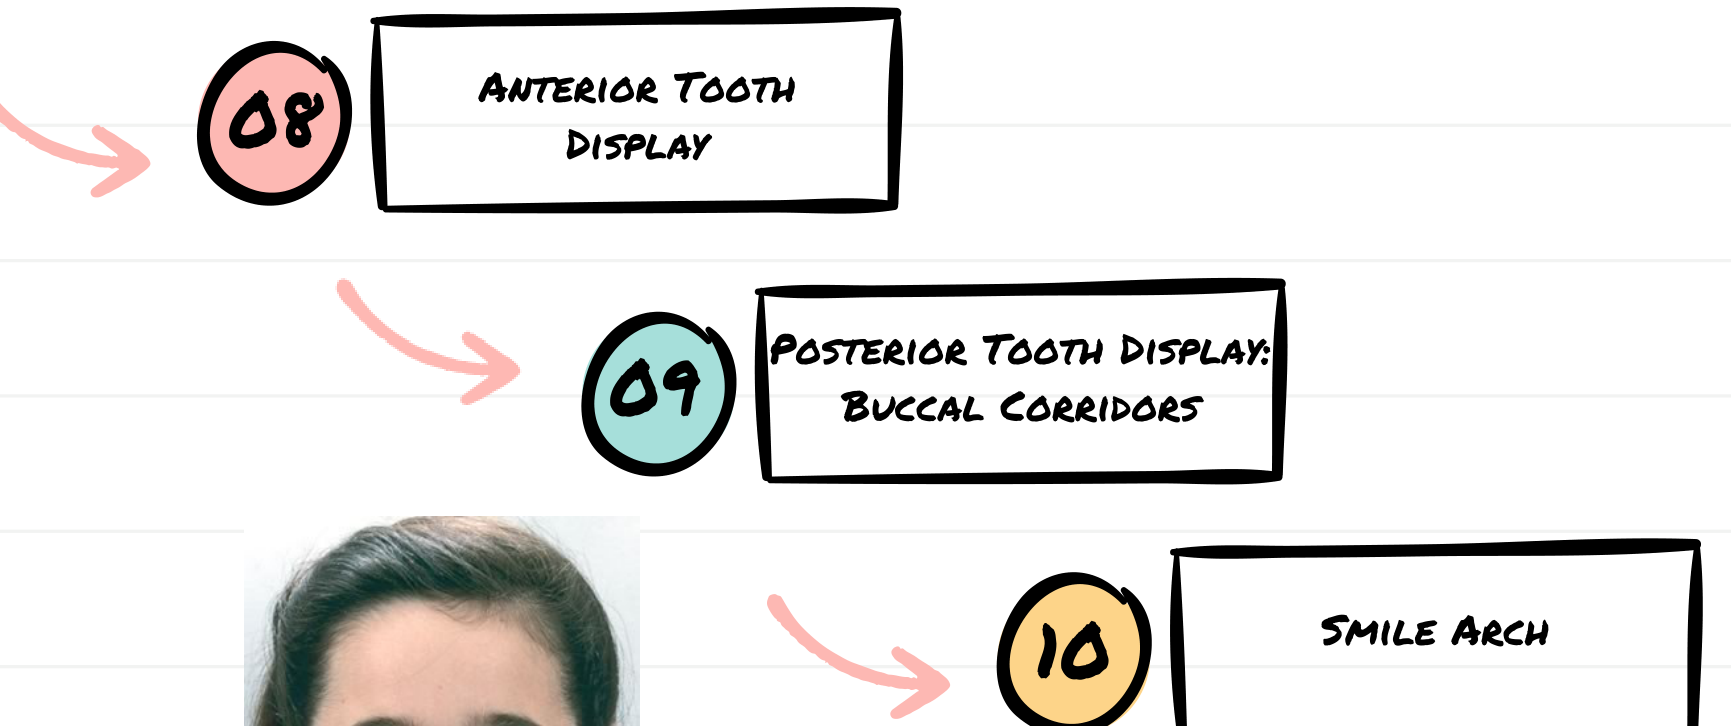
- Minimum for good esthetics: 75% of the crown
- Excessive gingival display (> 2-3 mm) → “gummy smile” — suggests vertical maxillary excess
 |  |
| Ideal — 100% crown display + small gingival show | Minimum — 75% crown display |
 |  |
|---|
Posterior Tooth Display — Buccal Corridors
What to observe (on social smile):
- The buccal corridor is the dark space between the buccal surfaces of the maxillary posterior teeth and the inner cheek/corner of the mouth on smile
What to assess:
- A small buccal corridor is normal and ideal
- Excessive buccal corridor (too much dark space) → narrow maxillary arch, may need transverse expansion
- Absent buccal corridor (no dark space, teeth fill entire smile width) → overdone transverse dimension
 |  |
| Wide buccal corridors — narrow arch | After arch widening — improved |
Profile View
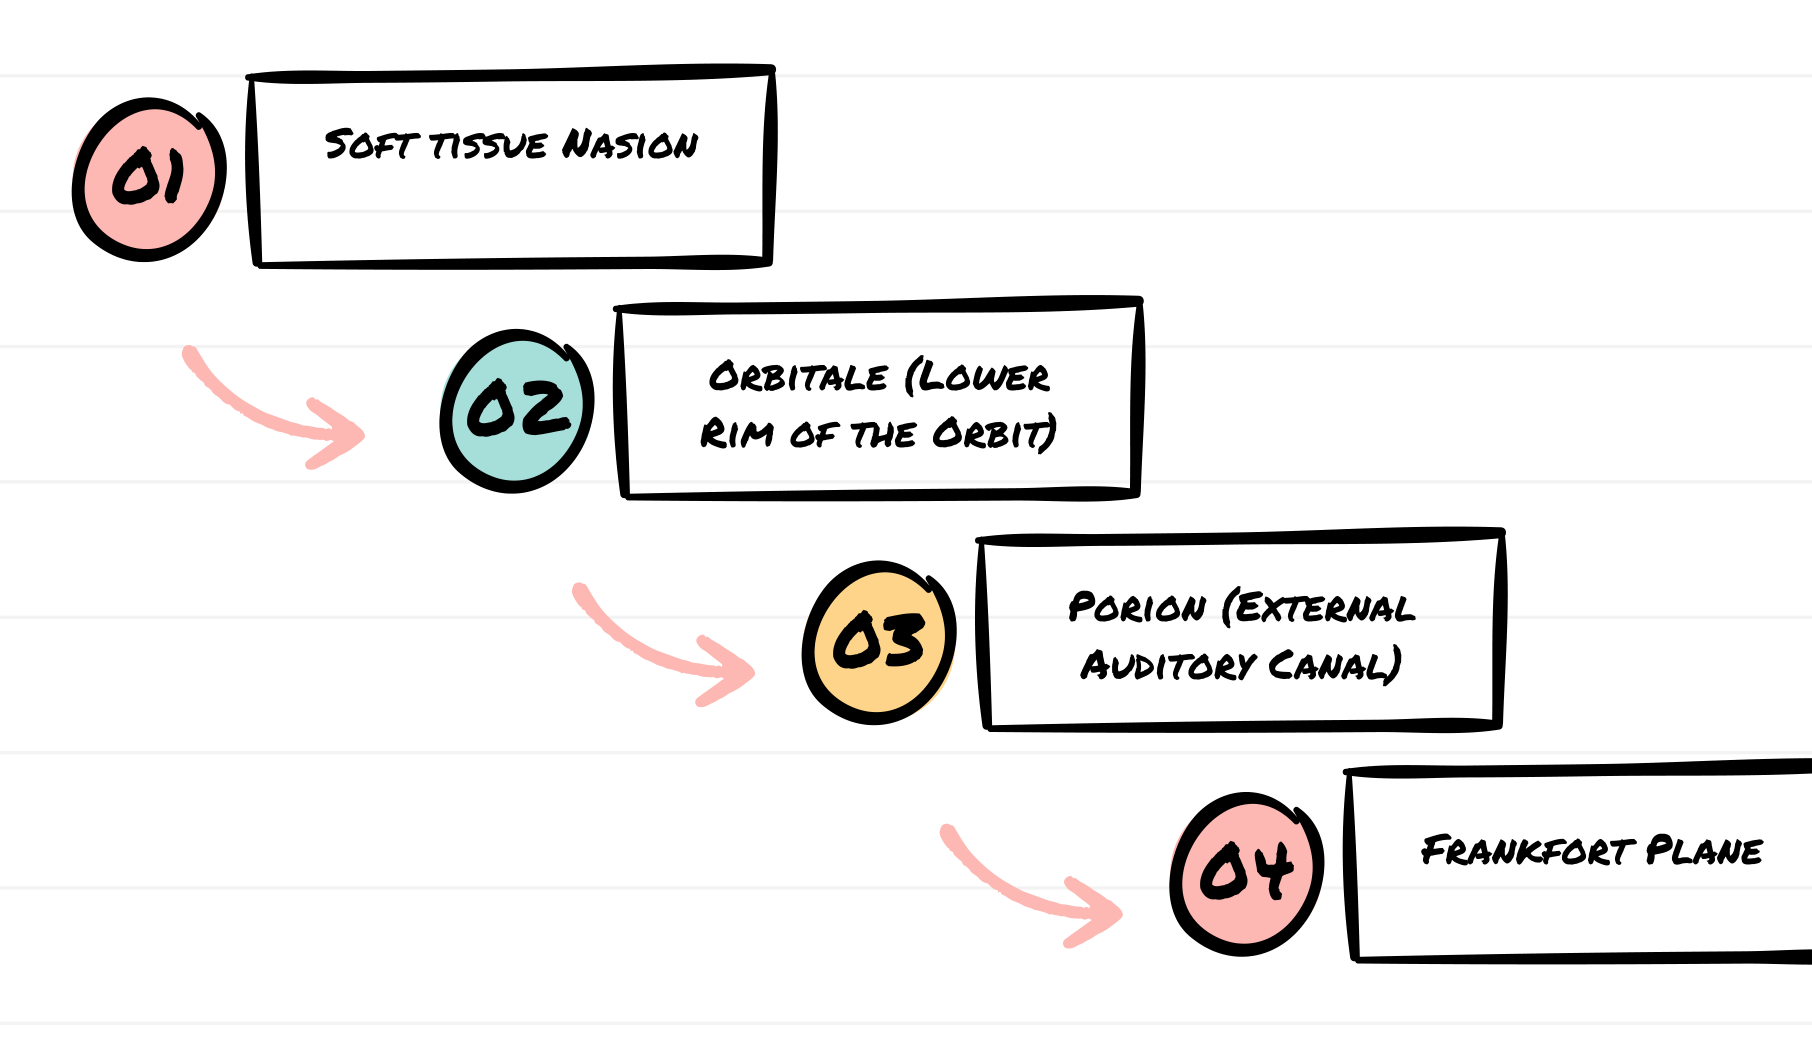
Mandibular Angle — Frankfort Plane, Nasion, Lower Rim of Orbit
Landmarks to mark:
- Porion (Po) — the superior aspect of the external auditory canal (approximate with the tragus of the ear or the ear rod)
- Orbitale (Or) — the lowest point on the inferior orbital rim
- Soft tissue Nasion (N’) — the deepest concavity at the bridge of the nose
- Gonion (Go) — the angle of the mandible (posterior-inferior corner)
- Menton (Me) — the lowest point on the chin
Lines to draw:
- Frankfort Horizontal Plane (FH): draw a line from Porion to Orbitale — this represents the true horizontal reference when the patient is in natural head position
- Mandibular Plane (MP): draw a line along the lower border of the mandible from Gonion to Menton
- Measure the angle between these two lines (FMA — Frankfort Mandibular Angle)
What to assess:
- Average FMA: ~25° (normal range ~22-28°)
- Low angle / hypodivergent (< ~20°): flat mandibular plane → short face tendency, deep bite
- High angle / hyperdivergent (> ~30°): steep mandibular plane → long face tendency, open bite
Clinical shortcut
Hold a mirror handle or straight edge along the lower border of the mandible to visualize the mandibular plane angle clinically. The steeper the angle, the more likely downward-backward mandibular rotation has occurred.
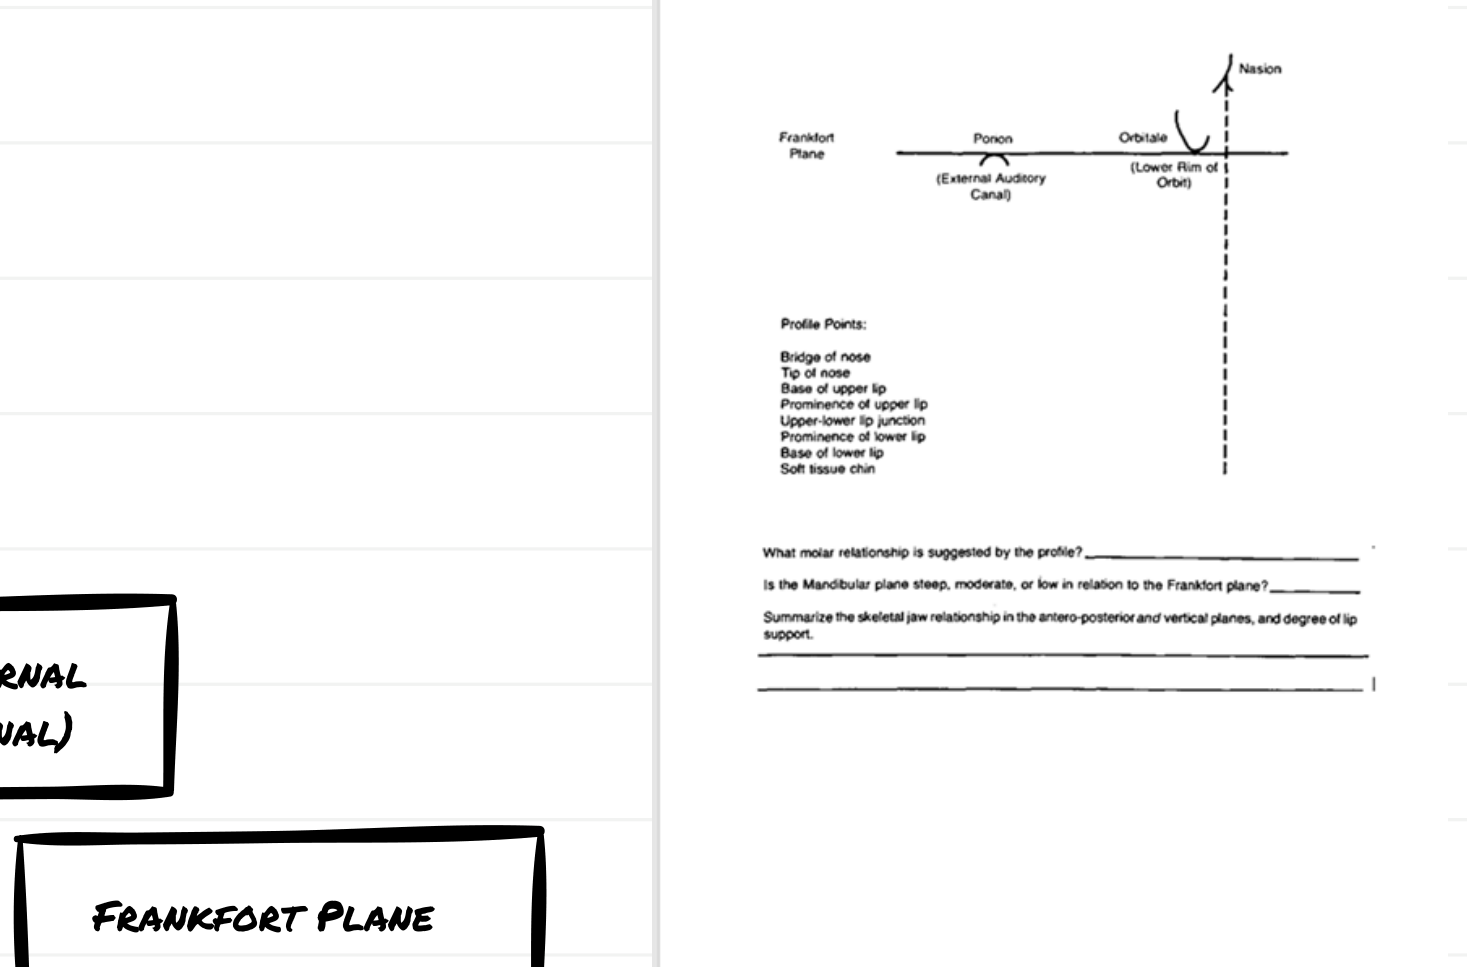 |  |
| Profile landmarks — Nasion, Orbitale, Porion | Frankfort plane and profile points |
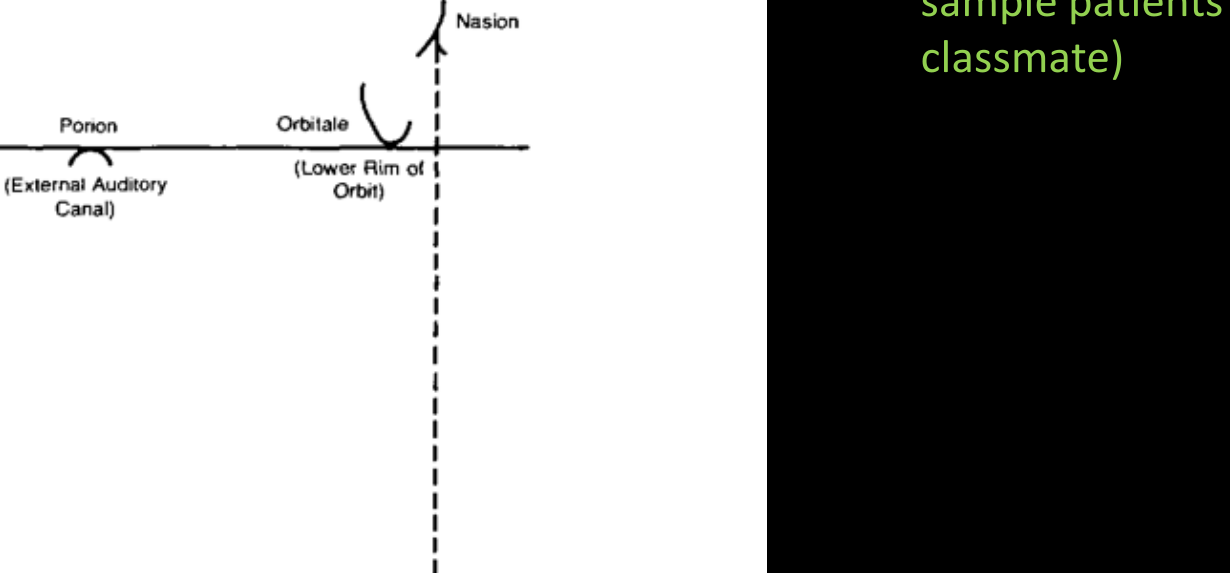 Frankfort plane components — Porion, Orbitale, Nasion
 |  |
| Clinical measurement of mandibular plane angle | Downward-backward mandibular rotation (long face) |
Outline Facial Convexity
Landmarks to mark:
- Bridge of the nose — soft tissue nasion / glabella region
- Base of the upper lip — subnasale (the concavity where the columella meets the lip)
- Soft tissue chin — soft tissue pogonion (the most prominent point of the chin)
Lines to draw:
- Draw a line from the bridge of the nose → base of the upper lip (subnasale)
- Draw a second line from the base of the upper lip (subnasale) → soft tissue chin
- Assess the angle formed where these two lines meet at subnasale
What to assess:
- Straight profile (Class I): the two lines are nearly co-linear or form a very slight convexity — balanced jaw relationship, no AP discrepancy
- Convex profile (Class II): the chin point falls behind the upper line → mandible is retrusive relative to maxilla
- Concave profile (Class III): the chin point falls forward of the upper line → mandible is protrusive and/or maxilla is deficient
Quick sketch method
Drawing these two lines on a printed photo (or tracing on paper) forces you to look closely at the jaw relationships. If the profile is convex → think Class II; if concave → think Class III.
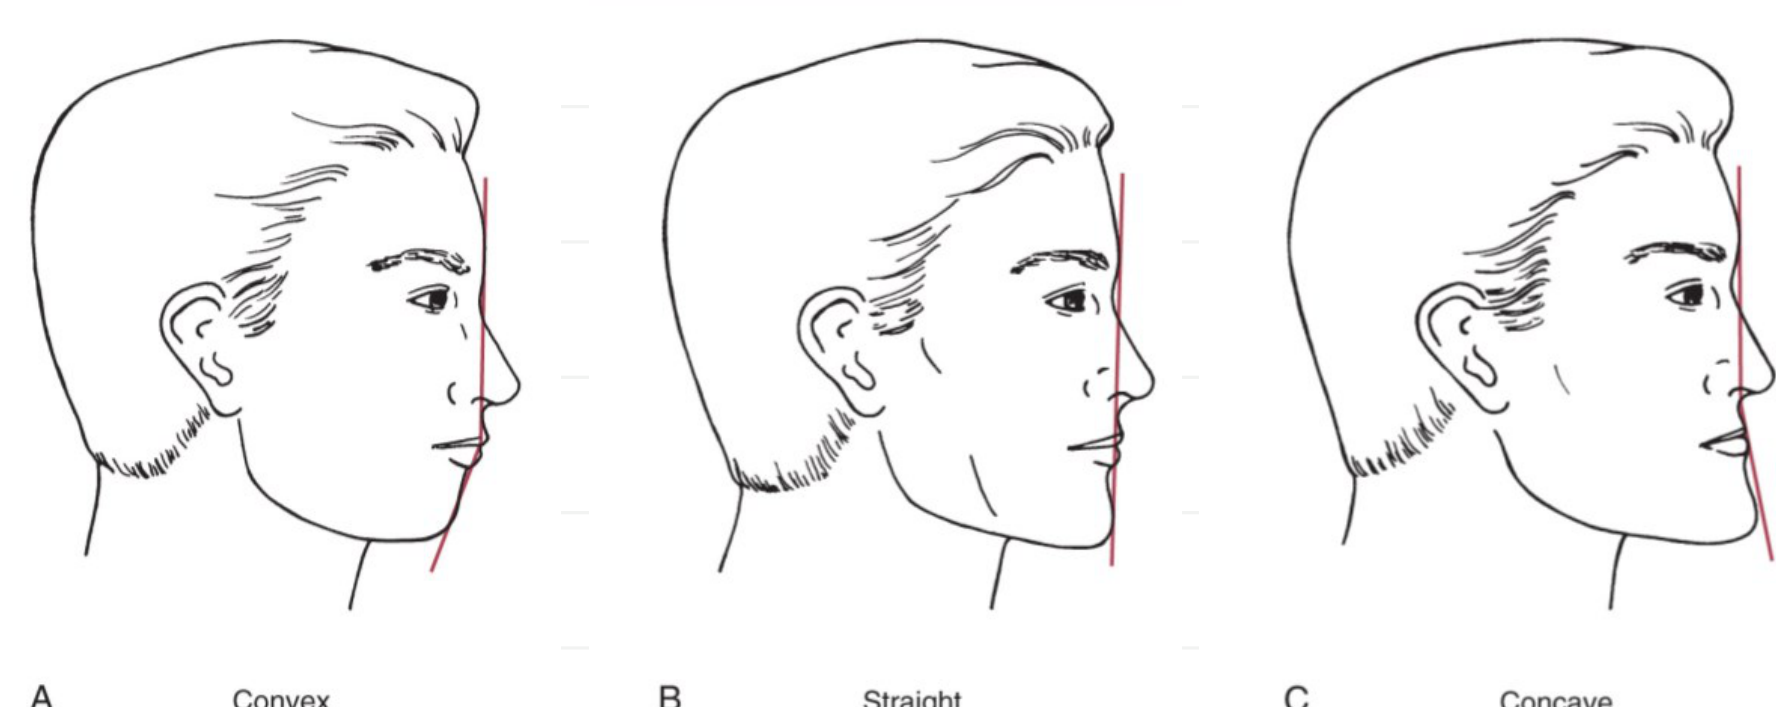 Profile classifications — Convex (Class II), Straight (Class I), Concave (Class III)
 |  |
| AP jaw relationship — line from bridge of nose to base of upper lip to chin |
 |  |
| Class II — convex profile, mandibular deficiency | Profile sketch — drawing forces you to look carefully |
 |  |
| Class I — straight profile, no jaw discrepancy | Class III — concave profile, mandibular excess + maxillary deficiency |
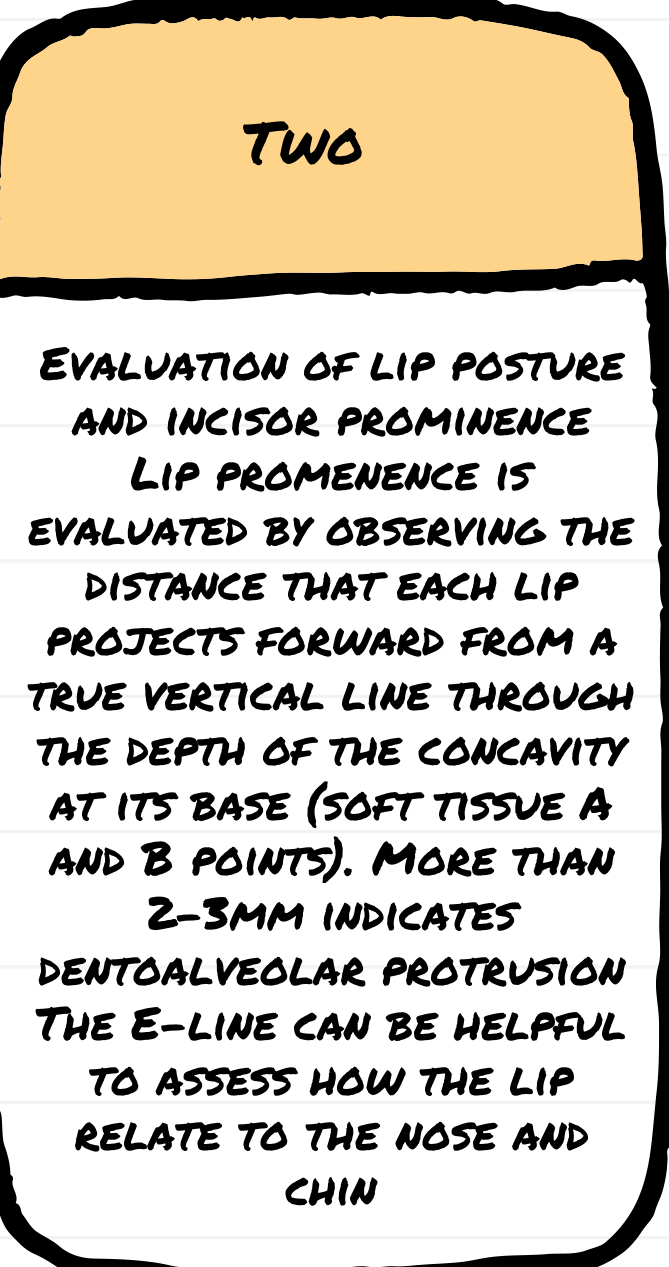
Lip Posture and Incisor Prominence — E-Line, A and B Lines
E-Line (Ricketts Esthetic Line)
Landmarks to mark:
- Tip of the nose — pronasale
- Soft tissue chin — soft tissue pogonion
Line to draw:
- Draw a straight line from pronasale (tip of nose) to soft tissue pogonion (chin)
What to assess:
- The upper and lower lips should fall 2-4 mm behind this line (in Caucasian populations)
- Lips forward of the E-line → suggests excessive incisor protrusion / lip prominence
- Lips significantly behind the E-line → suggests inadequate tooth support / retrusive incisors
Soft Tissue Point A Line (Upper Lip Assessment)
Landmarks to mark:
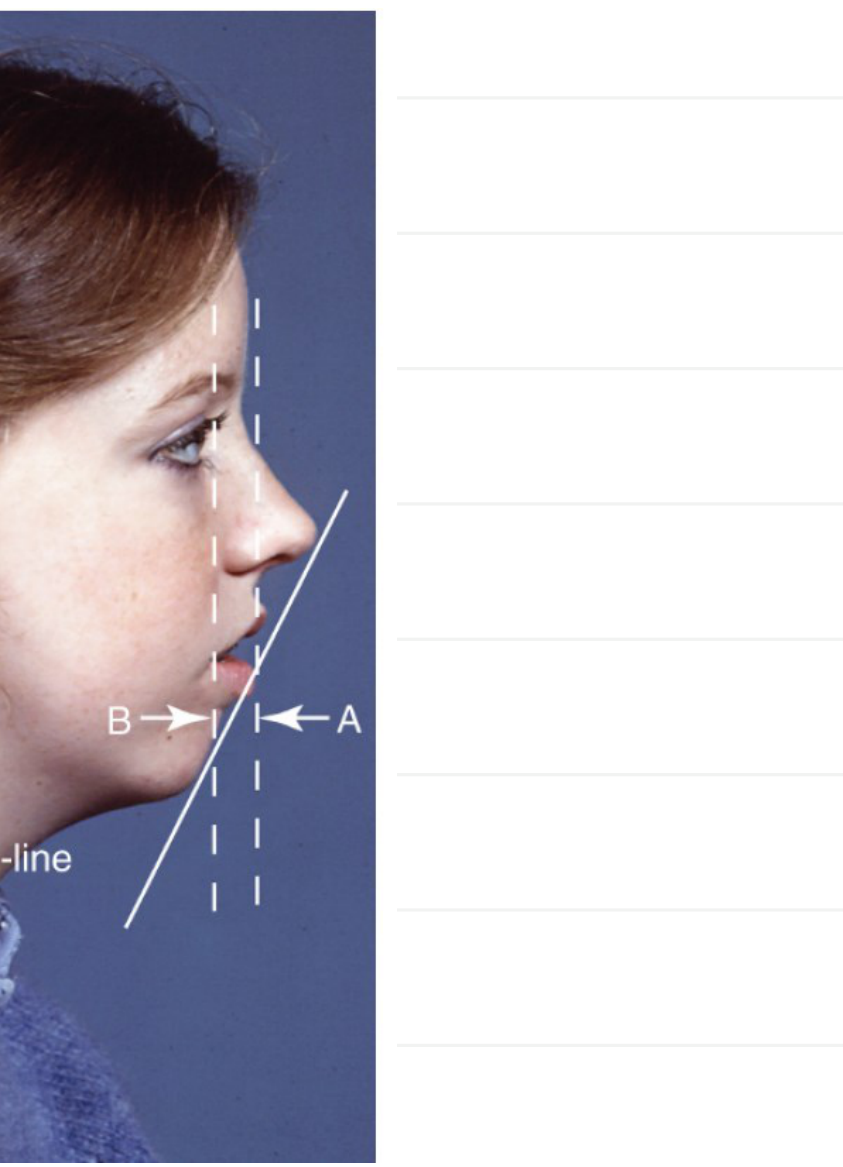
- Soft tissue Point A — the deepest concavity at the base of the upper lip (between subnasale and the upper lip vermilion)
Line to draw:
- Drop a true vertical line through soft tissue Point A
What to assess:
- The prominence of the upper lip is evaluated relative to this line
- If the upper lip is forward of this line → upper incisors are protrusive / excessive support
- If the upper lip falls behind this line → upper incisors are retrusive / inadequate support
Soft Tissue Point B Line (Lower Lip Assessment)
Landmarks to mark:
- Soft tissue Point B — the deepest concavity between the lower lip and the chin (labiomental sulcus)
Line to draw:
- Drop a true vertical line through soft tissue Point B
What to assess:
- The prominence of the lower lip is evaluated relative to this line
- If the lower lip is forward → lower incisors are protrusive
- If the lower lip falls behind → lower incisors are retrusive
Signs of Excessive Incisor Protrusion
Look for the combination of:
- Lips prominent (forward of reference lines)
- Lips incompetent at rest (> 3-4 mm separation)
- Lips strained on closure (mentalis strain, chin dimpling)
 Upper lip relative to soft tissue Point A; lower lip relative to soft tissue Point B (OrthoInstruction)
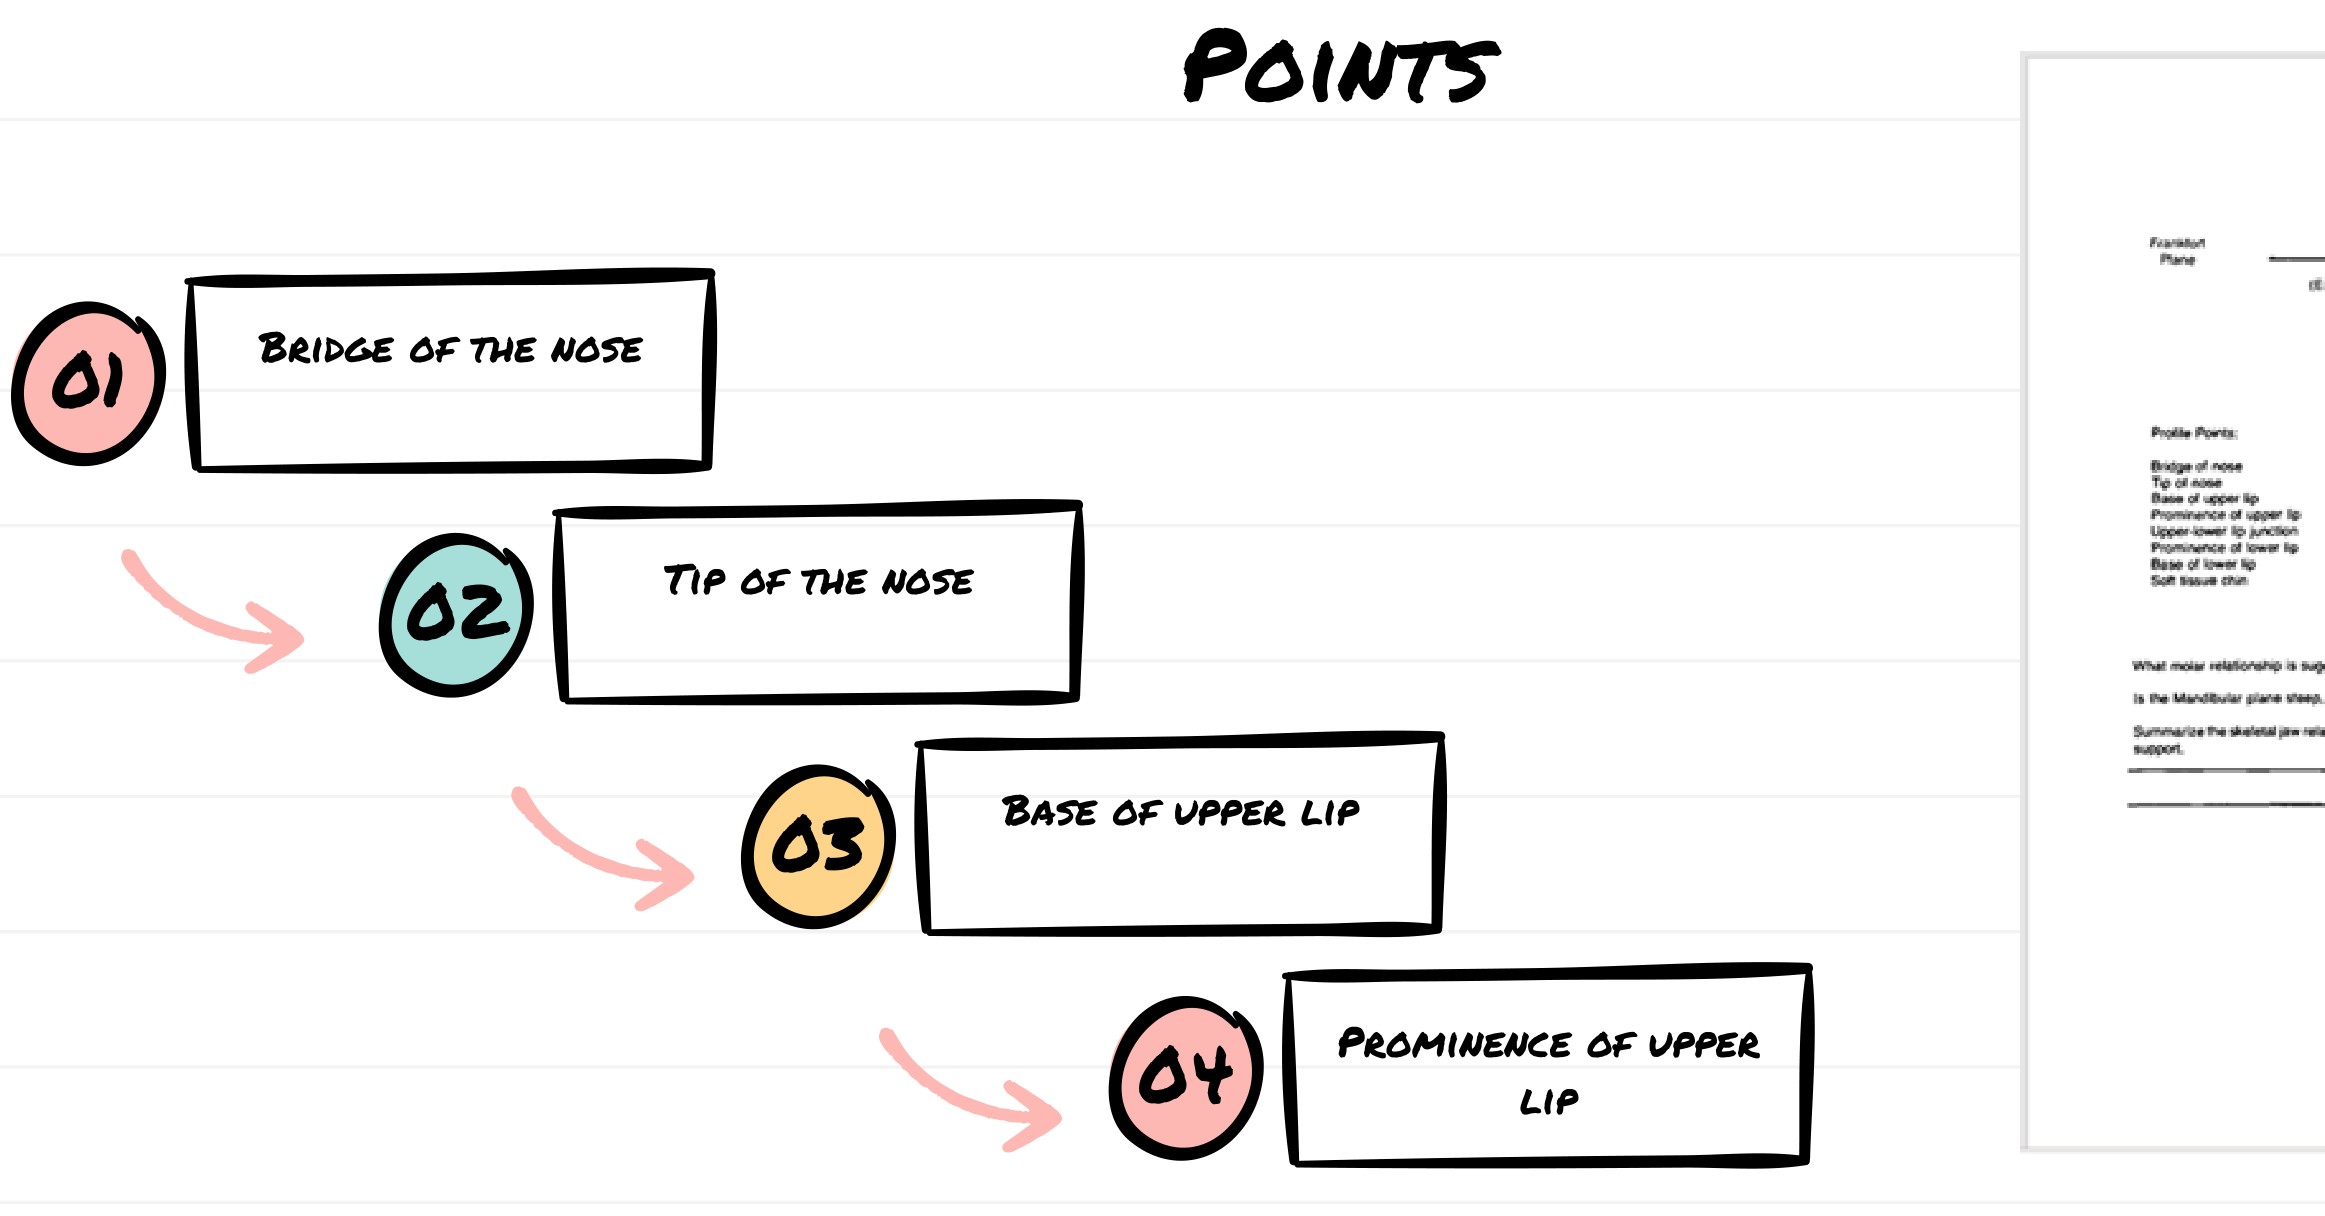 | 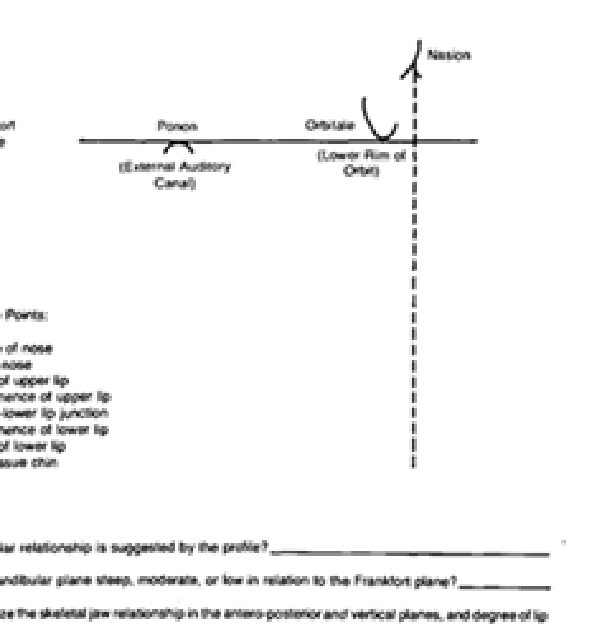 |
| Primary profile points (bridge of nose, tip of nose, base of upper lip, upper lip prominence) |
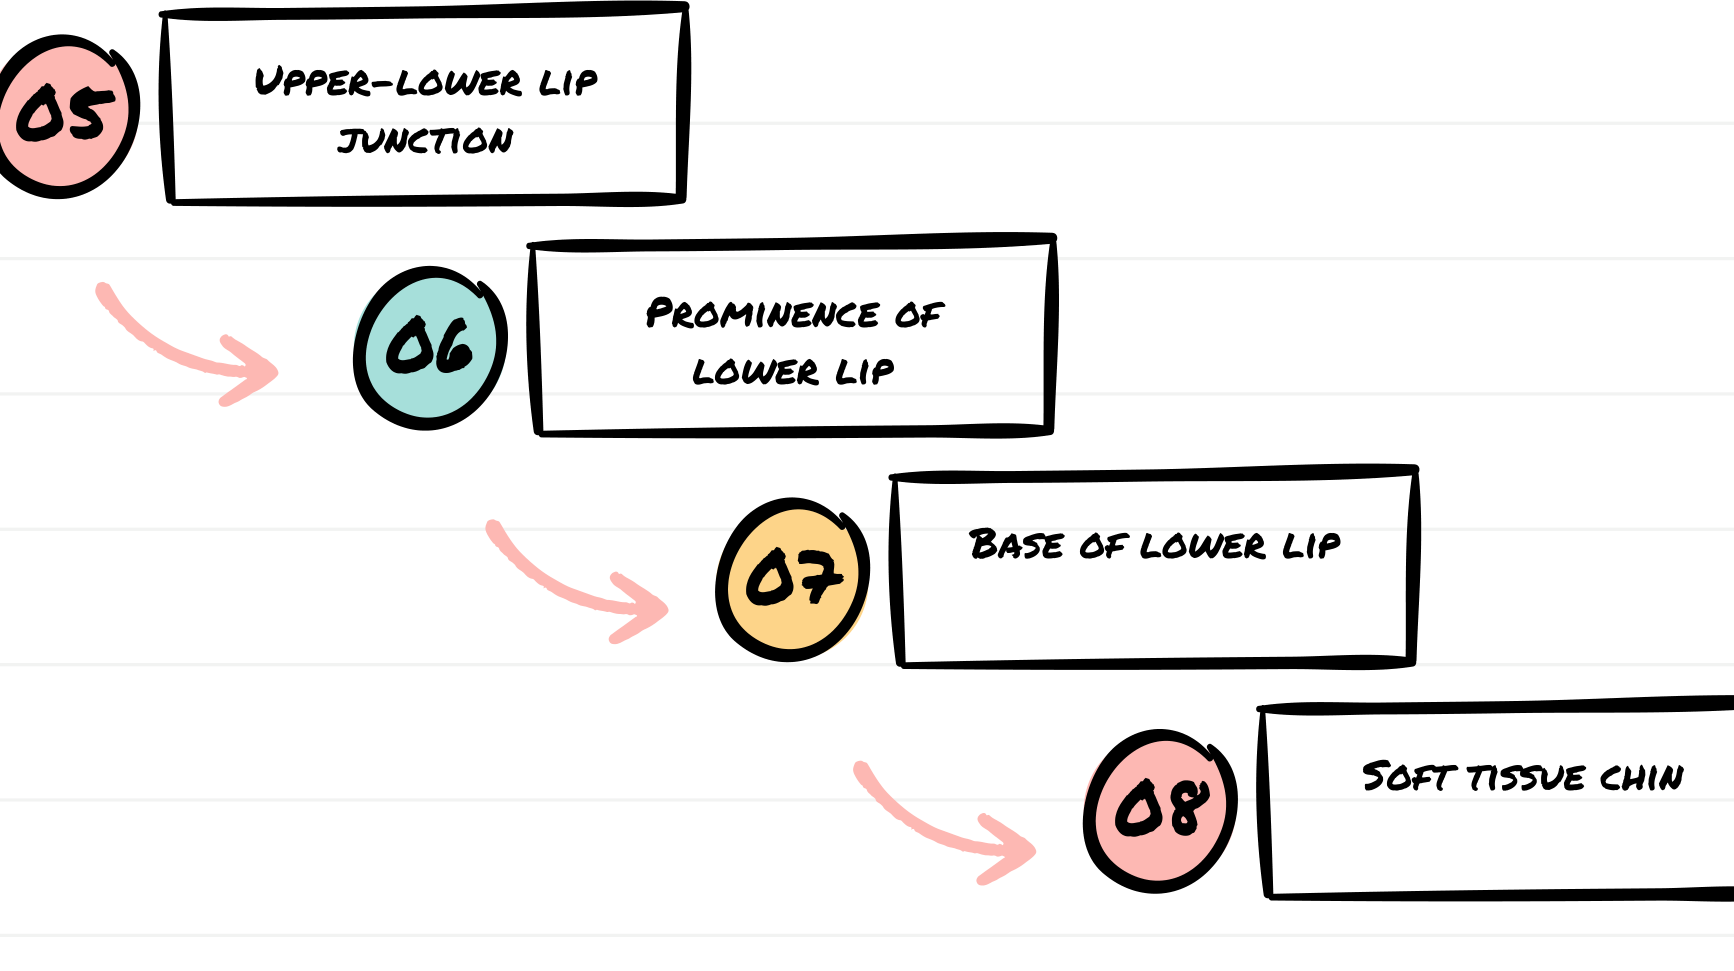 | 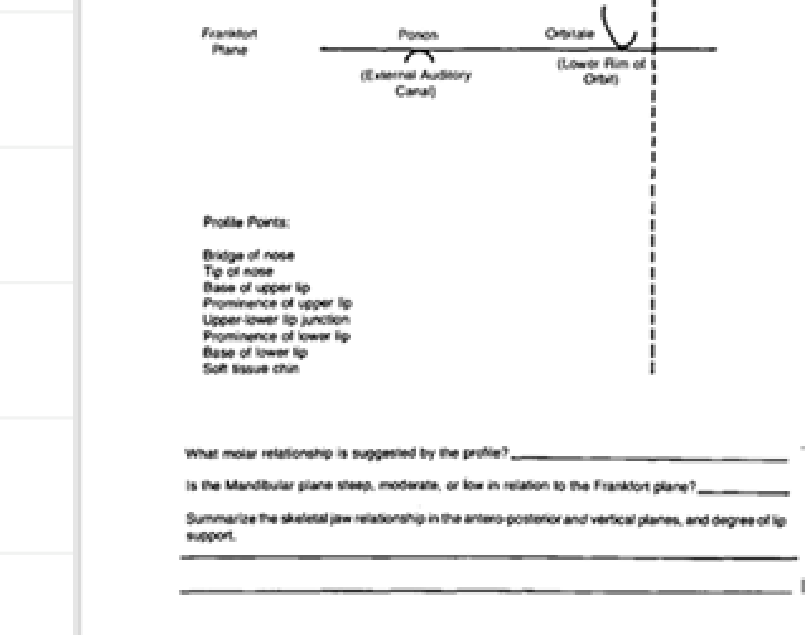 |
| Secondary profile points (lip junction, lower lip, base of lower lip, chin) |
 |  |  |
| Lip incompetence (> 3-4 mm separation) | Lip strain on forced closure | Protrusive incisors causing lip prominence |