(3) Taking intraoral and extraoral records - YouTube
Clinical Protocol: Orthodontic Records and Impressions
This document outlines the standardized clinical procedure for capturing high-quality diagnostic records, including extraoral and intraoral photography and dental impressions. These records are essential for accurate diagnosis and treatment planning.
1. Clinical Photography
High-quality photography is the most critical tool for capturing diagnostic records. Standardized settings and specialized equipment ensure consistency across all patient cases.
Equipment and Settings
We utilize a medical-grade Single Lens Reflex (SLR) unit from Dyne Corporation
 , specifically designed for dental photography. The kit includes a dedicated lens, ring flash, and digital data back.

| Photo Type | Aperture Setting (f-stop) | Focus/Guide |
|---|---|---|
| Extraoral | f/5.6 | Open aperture for portraits |
| Intraoral | f/22 | Closed aperture for depth of field |
Retractors and Mirrors
Standard orthodontic retractors (e.g., Nola retractors) are unsuitable for photography. Instead, we use:
- Intraoral Mirrors: Available in small, medium, and large. Small is typically used for children (approx. age 9).

- Jenner-style Retractors: Designed with long handles to allow the clinician or patient to hold them easily, providing a clear view of the occlusal plane without lip interference.

- Cheek Retractors: Used to pull the buccal mucosa away for clear anterior and posterior views.

2. Photography Protocol
Extraoral Series (6 Photos)
- Natural Posture (Profile): Captures the patient’s relaxed state to assess airway and jaw relationship.

- Natural Smile: Encouraging a genuine laugh ensures the “Duchenne smile” (involving the orbicularis oculi muscles) is captured.
- Oblique (45-degree) - Relaxed: Patient looks toward the dental assistant
 .
4. Oblique (45-degree) - Smiling: Assessment of the smile arc and buccal corridors
.
4. Oblique (45-degree) - Smiling: Assessment of the smile arc and buccal corridors
 .
5. 90-degree Profile - Relaxed: Patient looks at their own eyes in a mirror to achieve a natural head posture. Hair must be tucked behind the ears to see the mandibular plane.
.
5. 90-degree Profile - Relaxed: Patient looks at their own eyes in a mirror to achieve a natural head posture. Hair must be tucked behind the ears to see the mandibular plane.
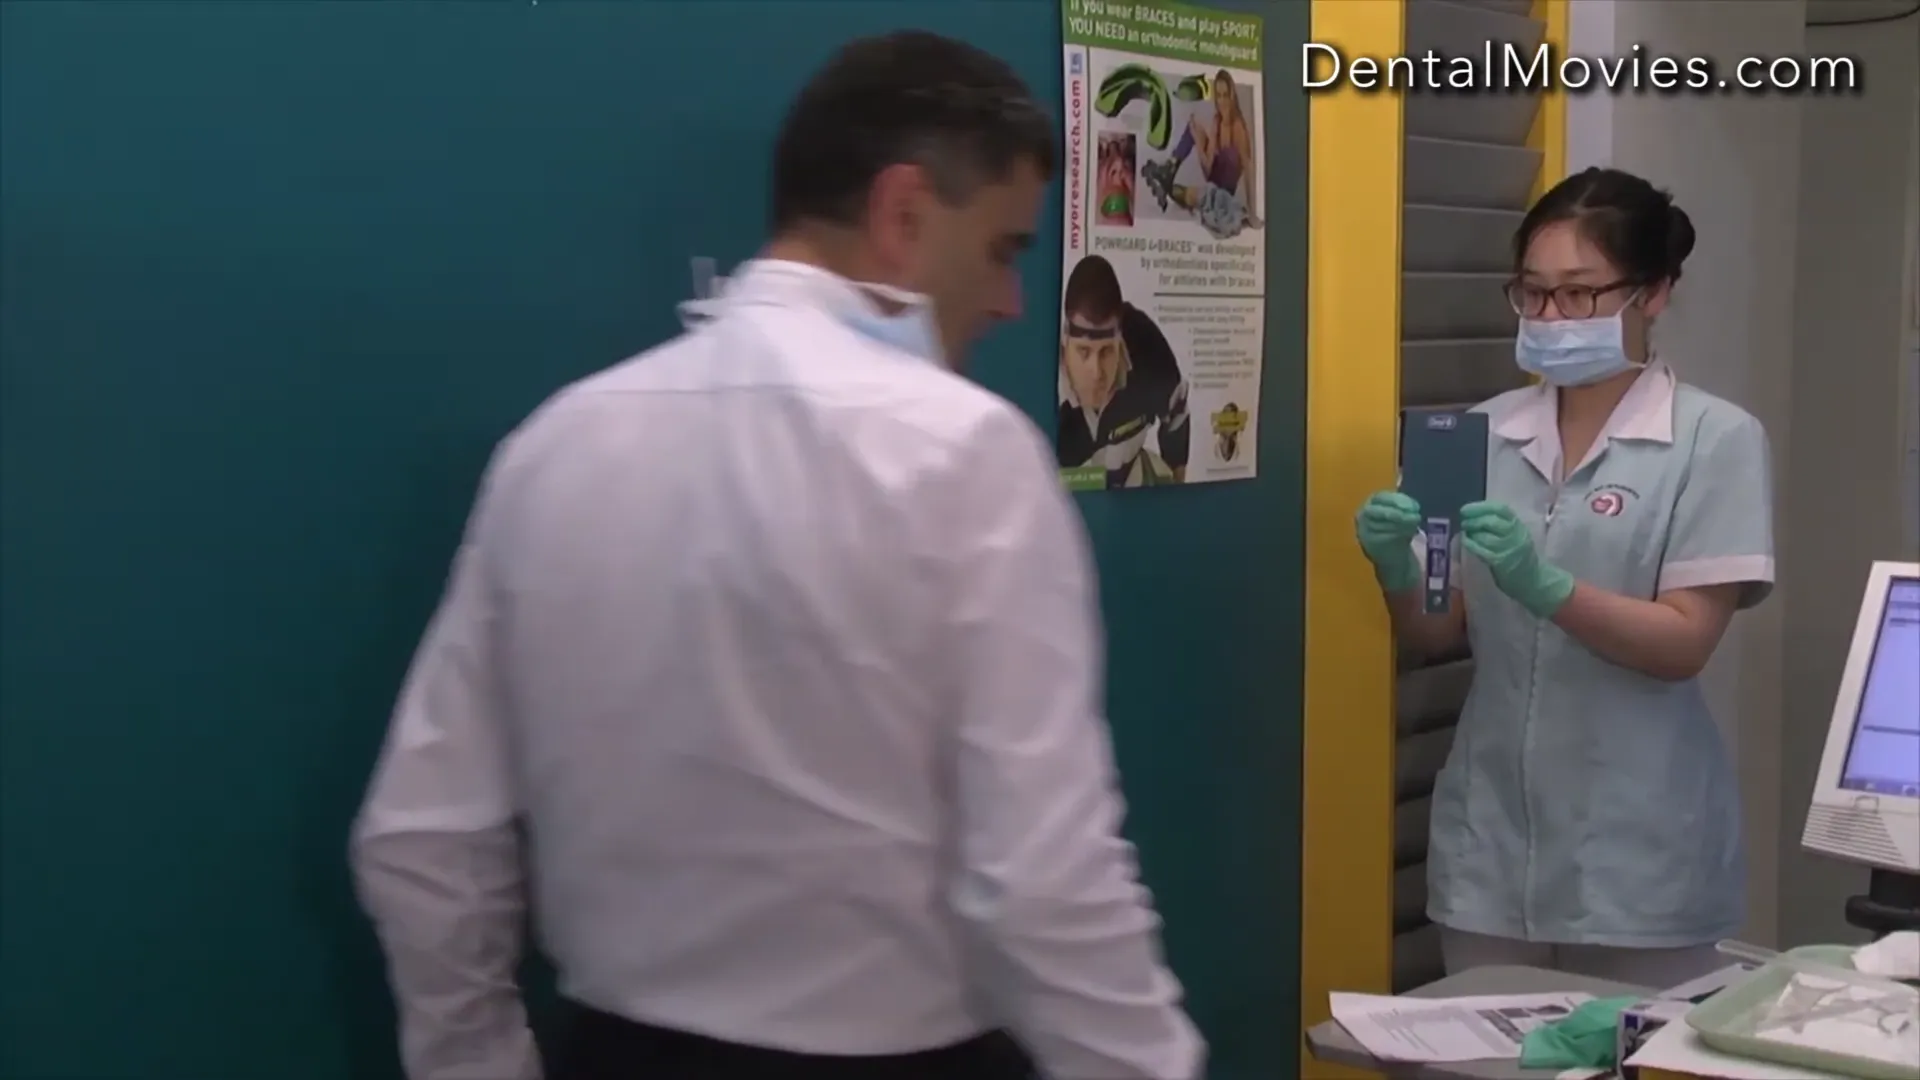
- 90-degree Profile - Smiling: Assessment of lip support and incisor display
 .
.
Intraoral Series (6+ Photos)
- Frontal View: Captured in the patient’s habitual bite
 .
.
- Overbite/Overjet View: A side-on shot. For significant overjets, black cardboard is placed behind the teeth and a ruler is used for scale.
- Buccal Segments (Left & Right): Use a mirror and retractor. The mirror is inserted horizontally, turned vertically, and pivoted to capture the second molars.
- Maxillary Occlusal: Use the Jenner retractor to pull the upper lip up and away while shooting 90 degrees to the mirror
.
- Mandibular Occlusal: The patient must place their tongue “small” and toward the roof of the mouth or floor to avoid obstructing the molars
.
3. Dental Impressions
Tray Selection and Preparation
- Orthodontic Trays: We use specialized trays with high sulcus depth to ensure accurate vestibular impressions (essential for appliances like the Frankel).

- Sizing: Trays come in five sizes. It is vital to try them in individually; a patient may require a “small” lower but a “medium” upper.

- Adhesion: Perforated trays allow alginate to flow through, eliminating the need for adhesive sprays.

Alginate Selection: Chromapan
We utilize Chromapan alginate for its 100-hour stability and color-changing indicators:
- Purple: Mixing phase
 .
2. Pink: Loading and insertion phase
.
2. Pink: Loading and insertion phase
 .
3. White: Fully set and ready for removal
.
3. White: Fully set and ready for removal
 .
.
Management of Anxious or “Gagging” Patients
To manage patients with a sensitive gag reflex or anxiety:
- Distraction: Ask the child to lift their right leg, then left, then both. This physical effort distracts the brain from the intraoral sensation.
- Upright Positioning: Always take impressions with the patient sitting upright, never supine.
- The Sink Technique: For highly sensitive patients, take the upper impression over a sink while the patient looks at themselves in a mirror. This encourages nasal breathing and reduces the fear of a “mess.”
4. Bite Registration and Documentation
Wax Bites
- A single-layer wax bite is sufficient for simple cases.
- A 2-3 layer wax bite is required for complex cases to assist the lab in hand-articulating models.
- Clinical Tip: If a patient has a significant overjet, send the wax bite to the radiologist so the lateral cephalogram is taken in the correct occlusal position.
Administrative Logging
To prevent record mix-ups in a busy practice:
- Maintain a logbook for each camera.
- Record the date, patient name, and the starting/ending frame numbers from the camera’s digital counter.
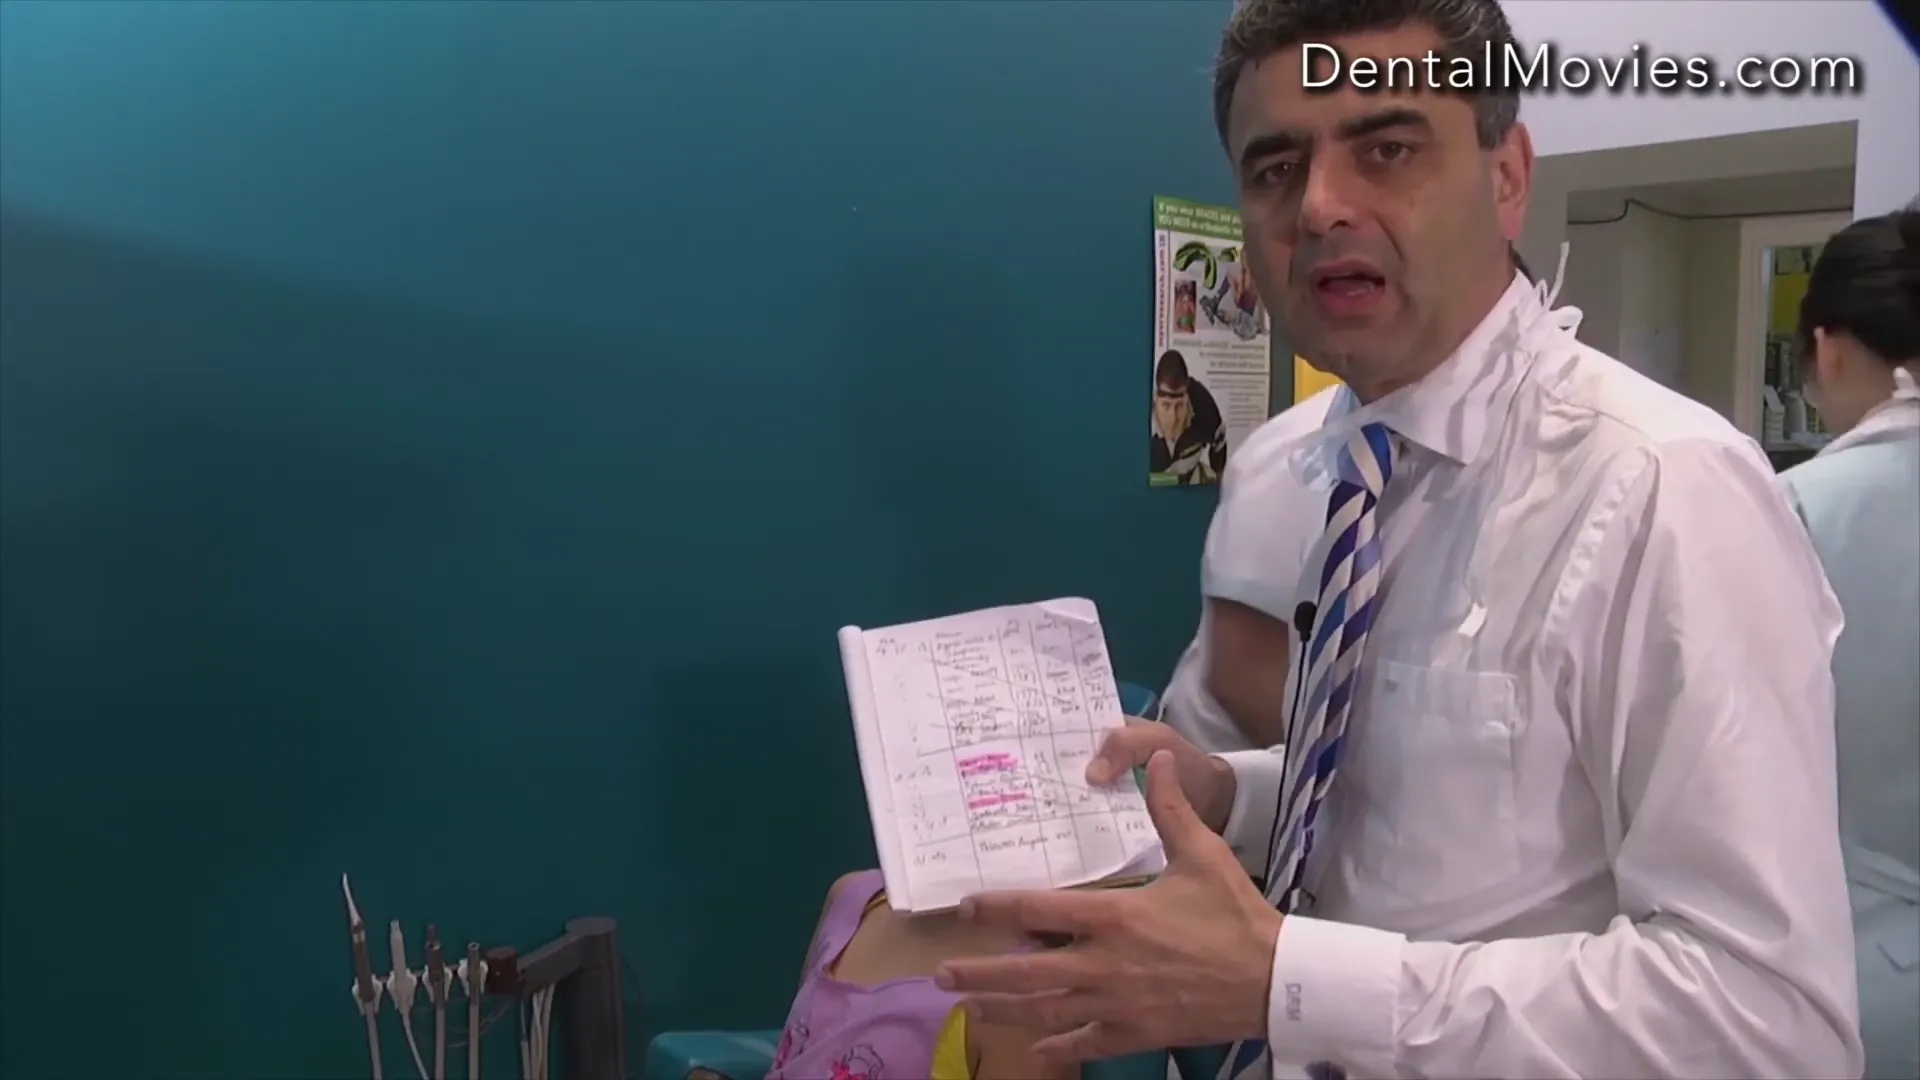
- The administrative team then crops, color-enhances, and templates the photos for the final diagnostic report.