Clinical Guide: Freehand Class I Composite Restorations
This document outlines the professional protocol for performing direct freehand Class I restorations. The focus is on utilizing natural landmarks to guide anatomy, ensuring proper adaptation, and managing the “C-factor” through strategic layering.
1. Cavity Preparation and Enamel Treatment
Before beginning the bonding process, the enamel margins must be refined to ensure optimal adhesion and a seamless transition.
- Refining Margins: Use a red diamond bur held perpendicular to the cavity walls.
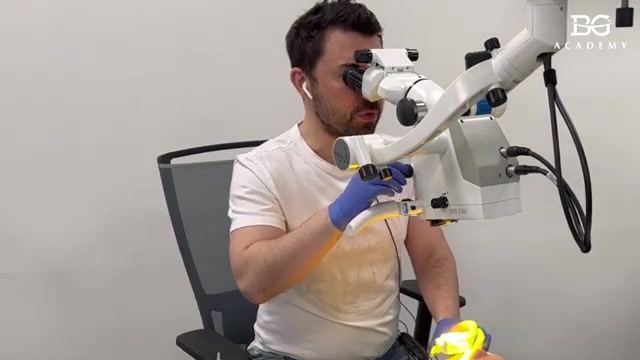
- Speed Settings: Operate at a low speed (approximately 20,000 to 30,000 RPM).
- Technique: Avoid creating a bevel. A strictly perpendicular approach smoothens the enamel and ensures enamel prisms are opened correctly for bonding.
2. Base Layer Application
Once etching and bonding are complete, a base layer is applied to protect the dentin and simplify the build-up.
- Material: Use a flowable composite or a “bulk fill” flowable. Bulk fills are efficient as they can be applied in layers of 3–4 mm.
- Adaptation: Use a dental probe to ensure the material covers all dentin surfaces.
- Self-Adaptation Phase: After application, wait 10 seconds before light-curing.
This allows the resin to self-level and adapt to the internal micro-geometry of the cavity.
3. Composite Layering and Adaptation
The longevity of a restoration depends more on internal adaptation than on surface aesthetics.
- Material Selection: A body shade composite (e.g., Spectra low viscosity) is recommended for the final layer, ideally 1.0–1.5 mm thick.
- The “Massage” Technique: Pack the composite thoroughly. It must be “massaged” into the floor, walls, and outlines of the cavity to eliminate voids.
- Priority: Precise adaptation is more critical for clinical success than the final staining or fissure characterization.
4. Anatomical Reconstruction
Rather than “building” anatomy from scratch, this technique relies on removing excess material based on natural landmarks.
Natural Guidelines
| Landmark | Clinical Application |
|---|---|
| Cusp Tips & Slopes | Act as the primary guide for instrument inclination. |
| Central Line | A virtual line dividing the buccal and palatal sides, matching adjacent teeth. |
| Crista Transversa | The oblique ridge on upper first molars; essential for retrusive control. |
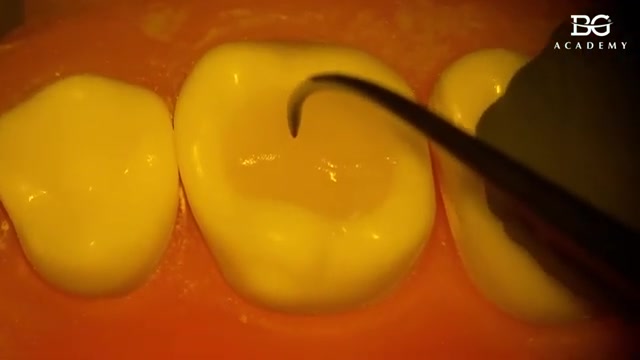
The Removal Technique
- Inclination: Place the instrument (packer) on the tip of a remaining cusp and move it toward the center of the tooth. The slope of the existing tooth structure guides the instrument’s angle.
- Primary Anatomy: By following these slopes and removing excess composite, the primary anatomy (cusps and ridges) emerges naturally.
- Secondary Anatomy: Use a sharp explorer or specialized instrument to define the fissures.
- Central Fissure: Carve through the middle until you touch the underlying flowable base.
- Buccal/Palatal Grooves: Extend from the central fissure toward the periphery.
- “Mercedes Logo” Pattern: Use this as a visual guide for the junction of the mesial and distal grooves in the central pit.
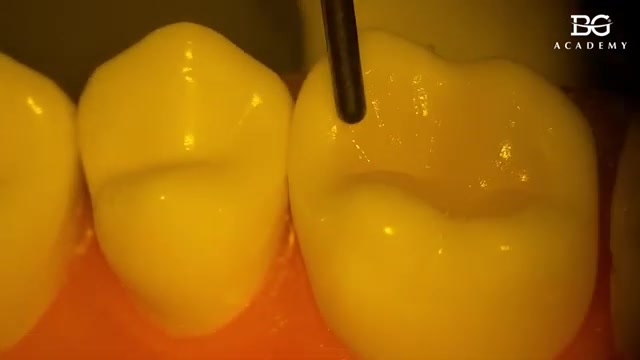
5. Highlighting Ridges and Slopes
To create realistic highlights and functional ridges:
- Peripheral Compression: Use a packer to press on the peripheral aspects of a cusp. This moves the composite toward the center, automatically creating a “highlight” or ridge.
- Material Requirement: This technique requires a stiff composite. Soft composites will lose their shape and “slump” before they can be light-cured.
6. Managing the C-Factor and Final Touches
Applying a large single mass of composite in a Class I cavity creates high polymerization stress (C-factor).
- Stress Reduction: By deeply carving the fissures down to the base layer, you effectively divide one large mass into four smaller, independent segments.
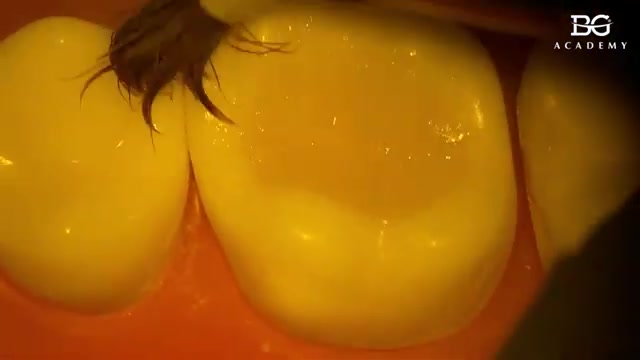 This minimizes the risk of debonding during shrinkage.
- Fissure Sealing: To prevent food impaction in deep carved fissures, fill them slightly with a highly filled flowable composite or a characterization stain.
- Aesthetics:
- Stains: Use sparingly as some patients dislike the “decayed” look of dark stains.
- Dentin Shades: For a more natural 3D effect, use a slightly darker dentin shade (e.g., A3 or A4 in an A2 restoration) in the fissures. This provides depth and chromaticity without looking artificial.
7. Conclusion
Effective freehand restoration is not about improvisation; it is about following the tooth’s inherent geometry. By using adjacent landmarks and a systematic removal technique, the clinician can achieve a functional, aesthetic result with minimal occlusal adjustment.