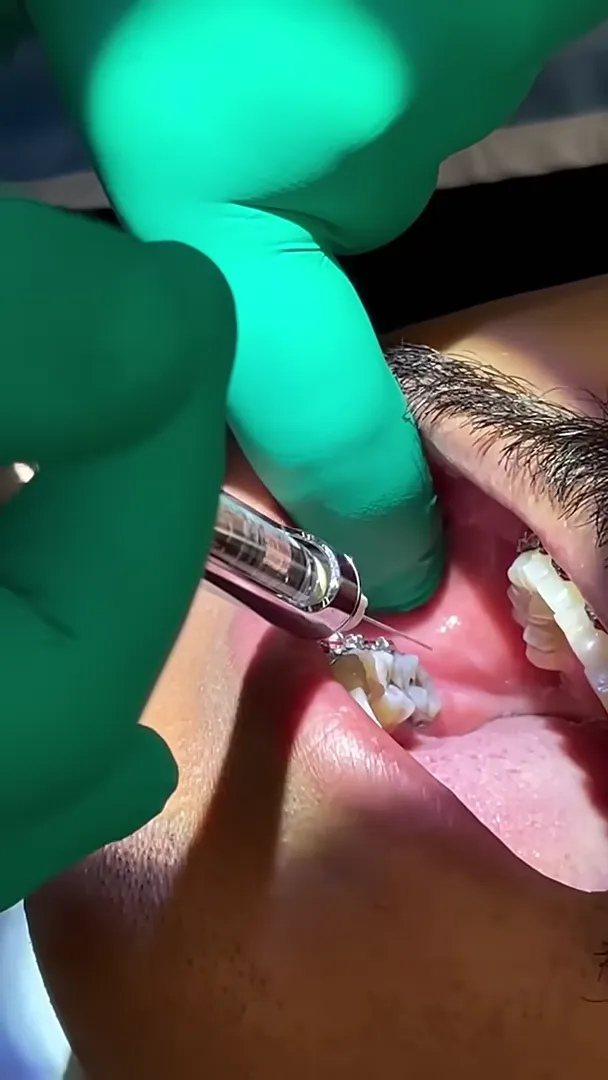
Long Buccal Nerve Block Technique
Anatomical Landmarks and Pathway
The long buccal nerve travels from the medial aspect upward, crossing over and descending along the buccal region.
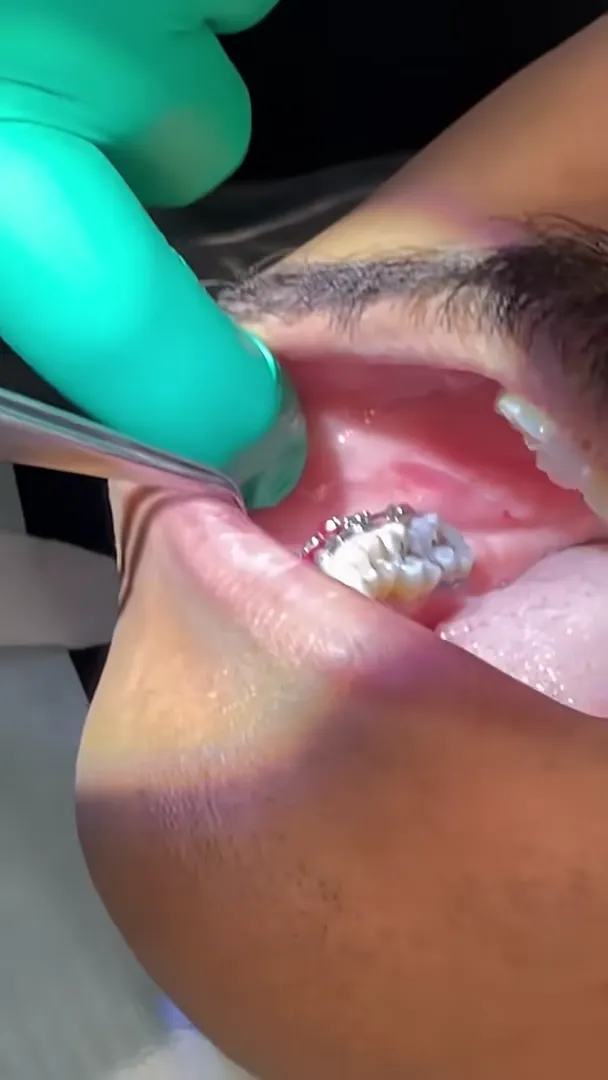
Key landmarks to identify prior to injection include:
- Internal Oblique Ridge: Located on the medial (inner) aspect.
- External Oblique Ridge: Located on the lateral (outer) aspect.
- Coronoid Notch: Serves as the primary depression along the anterior border of the ramus.
By palpating the area with a finger, you can locate where the internal and external ridges run parallel to each other. The target zone lies directly between these two ridges.
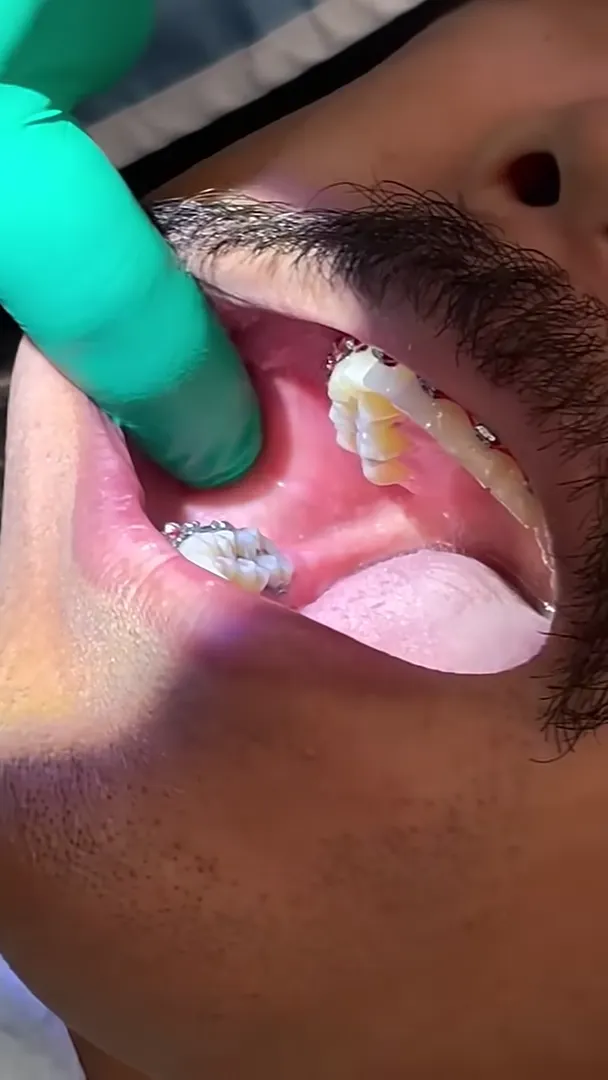
Step-by-Step Injection Procedure
Preparation and Tissue Management
- Palpate the coronoid notch.
- Puff the Tissue: The soft tissue in this region is often extremely thin, sometimes providing less than a millimeter of depth. Retracting and bunching or “puffing” the tissue creates adequate thickness for the injection site.
Needle Insertion and Delivery
- Orientation: Align the syringe parallel to the occlusal plane.
- Height of Insertion: Aim approximately 4 millimeters above the occlusal plane.
- Penetration: Direct the needle straight back into the prepared, elevated tissue. Bone contact is typically made almost immediately due to the shallow depth.
- Aspiration: Pause and aspirate to confirm negative placement.
- Deposition: Administer approximately half of a carpule.
Target Window Flexibility
The long buccal nerve block offers a broad margin of error. The solution may be delivered slightly more rapidly than deeper blocks, and effective anesthesia can be achieved across multiple adjacent points throughout this anatomical zone.