Clinical Sequence for Partial Dentures
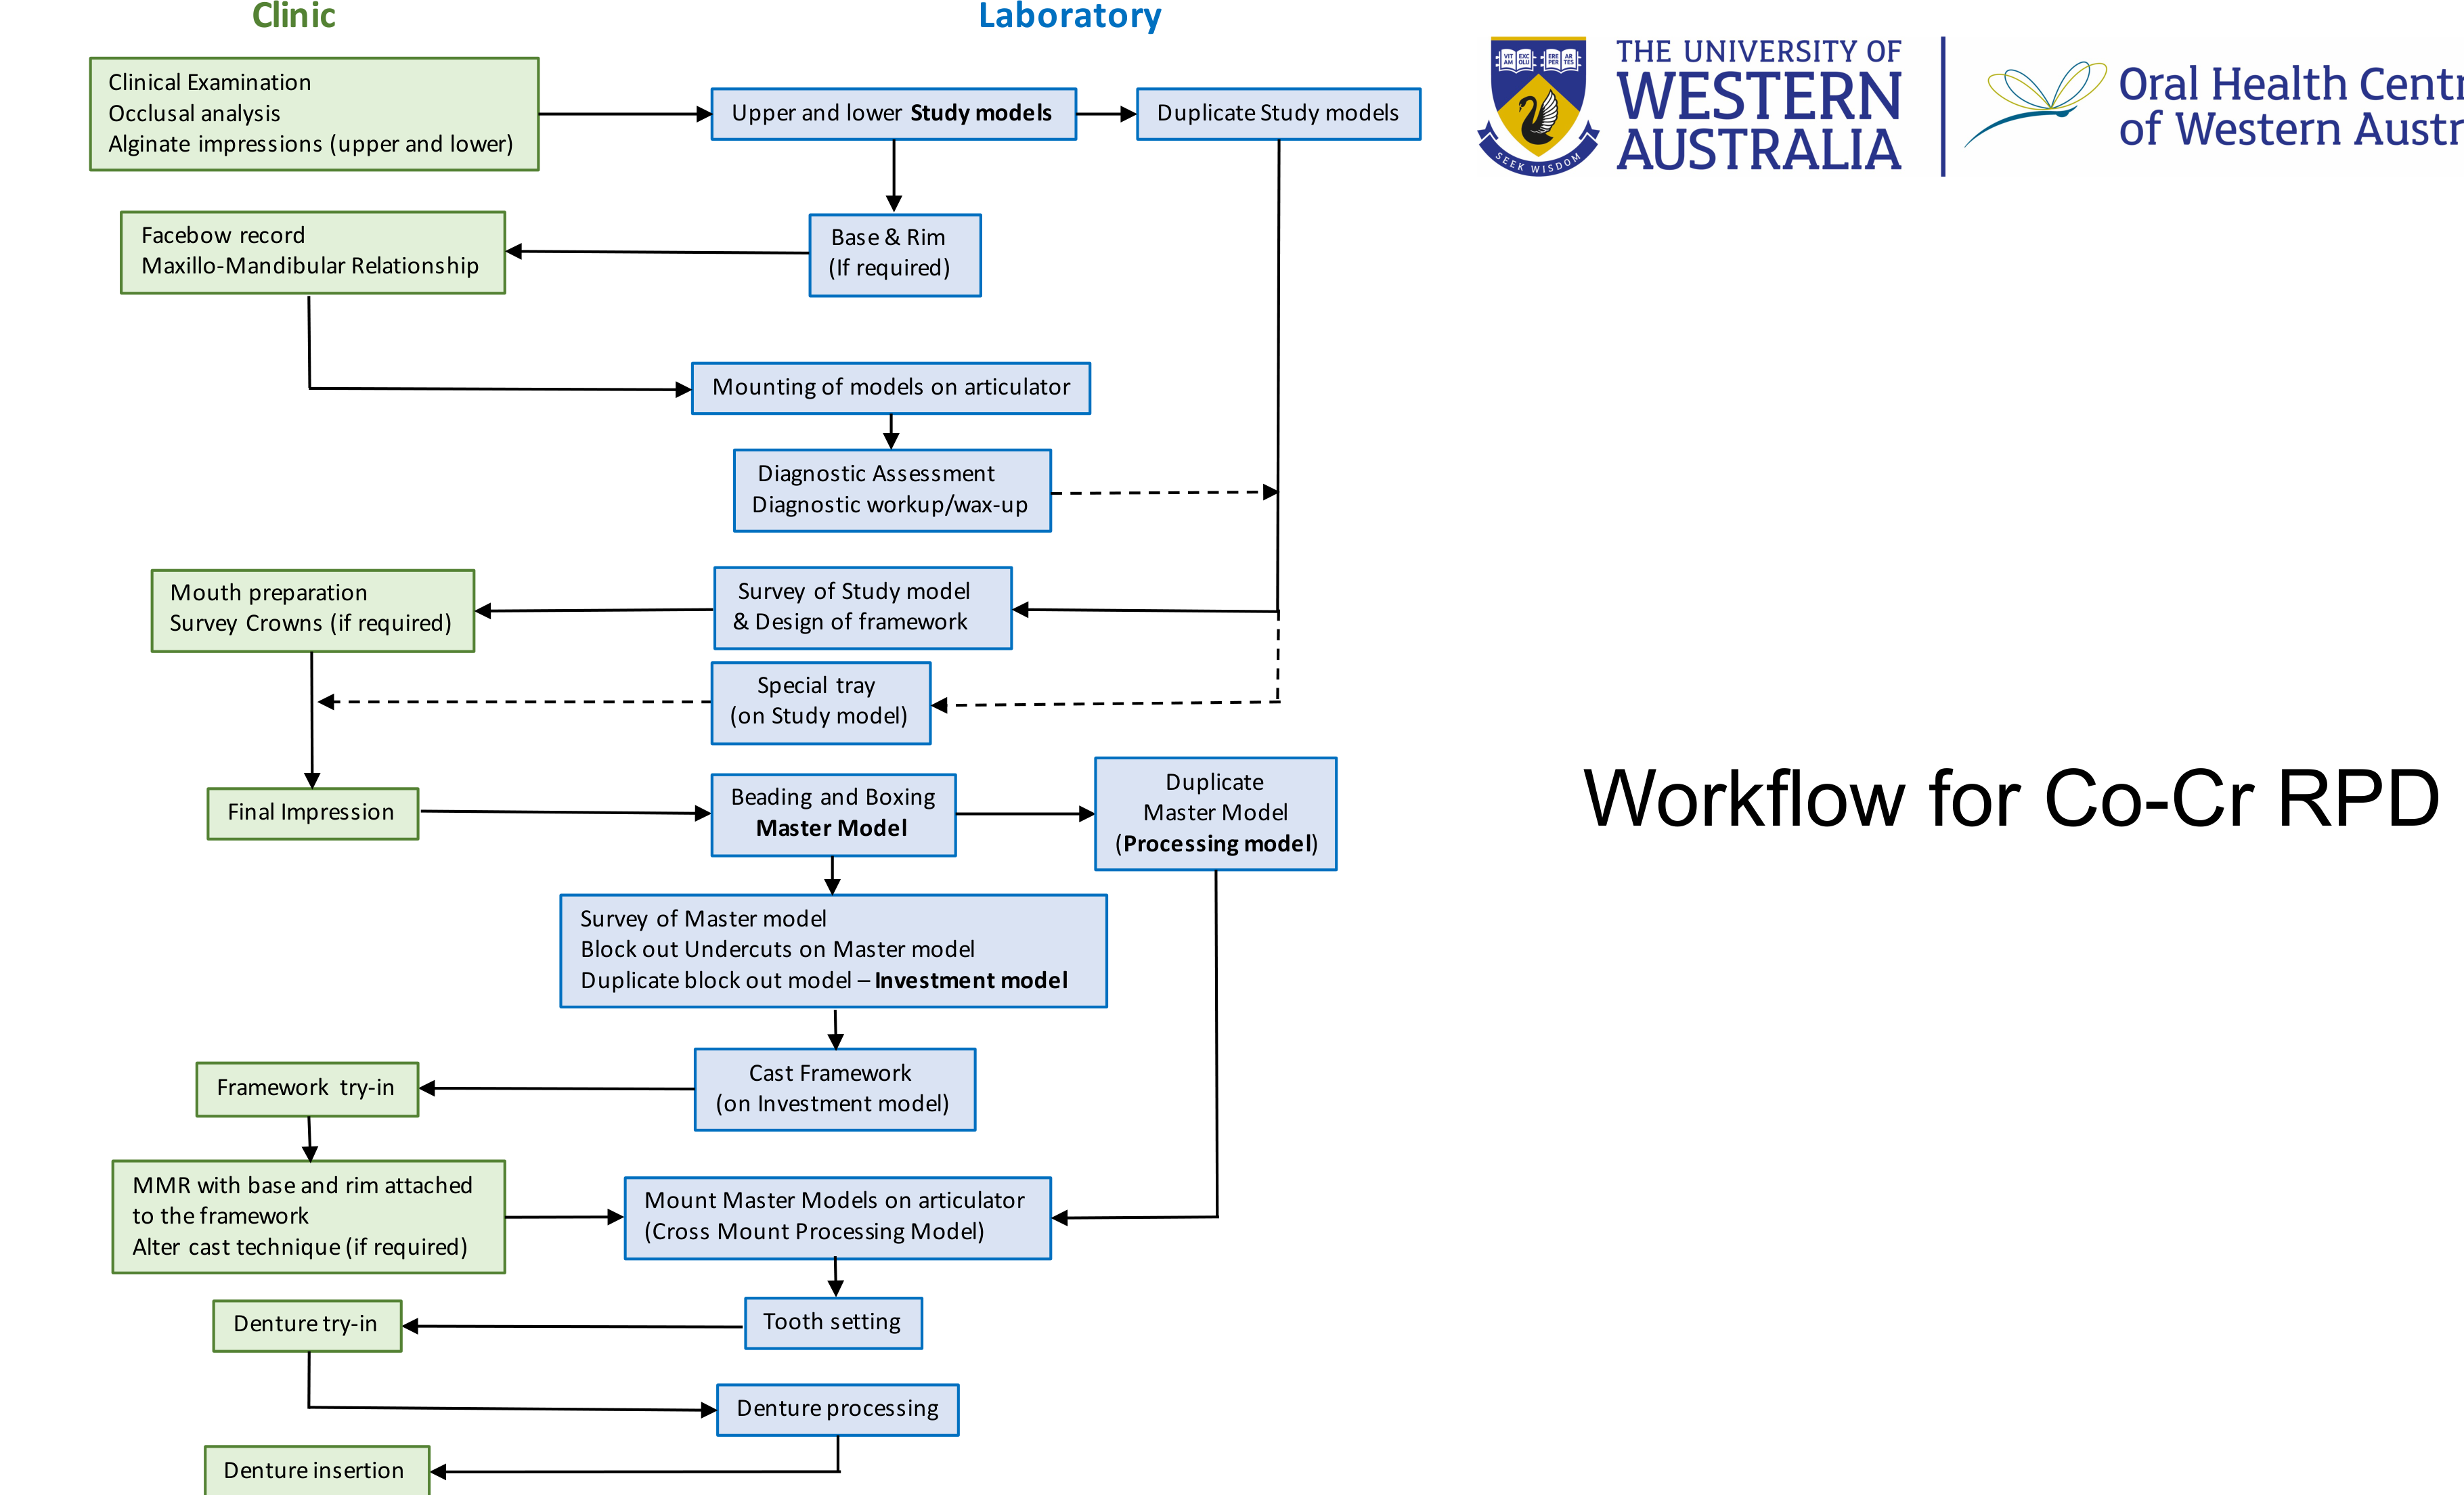
Chairside clinical sequence for a cobalt-chrome (Co-Cr) cast partial denture. Two pathways below: Sequence A = no OVD increase (confirmative, record at MIP); Sequence B = OVD increase (reorganised, record at a new vertical dimension). Acrylic-partial differences are noted at the end. Paste-ready plain-text checklists are at the bottom.
Survey crown rule — when it's needed and when it's made
- Decided at the diagnostic wax-up (Visit 3) while surveying/designing the framework.
- Indication (from mouth-prep criteria): over-eruption ≤1 mm with sound contour → enameloplasty; over-eruption >1 mm, dentine exposed, no workable height of contour, or tilt preventing guide-plane prep → survey crown.
- Made & cemented during the mouth-preparation visit (Visit 4) — before the final/master impression and before framework fabrication, because the framework is surveyed and cast against the crown.
- The survey crown is designed with the planned rest seat, guide plane, height of contour and undercut built in. Send the working model + study model showing the framework design to the lab. Aim for metal-on-metal where the clasp engages.
Sequence A — Co-Cr RPD, no OVD increase
Visit 1 — Preliminary impressions
- Preliminary alginate impressions of upper and lower arches (stock trays, periphery wax for support).
- For kennedy class III and IV cases (I.e. no free-end saddle) get a bite registration
- For kennedy class II and I cases get a digital bite reg
- get a video on your phone of all the contacts first
- Lab: pour study models (type 3 gypsum); fabricate diagnostic base & rim if required.
"Base & rim — only if needed" (why it's conditional)
The diagnostic record base + wax rim exists for one job: to let the lab mount the study casts (record the maxillo-mandibular relationship). You only need one when the remaining teeth can’t register the bite on their own:
- Tooth-bounded (Kennedy III / IV, stable MIP) → the existing occlusion is your registration → hand-relate the casts with a simple bite reg; no rim needed. (Source: L9 Clinical Sequence — “Class 3 cases: models may be hand-related with normal bite registration material”.)
- Free-end saddles (Kennedy I / II) or large spans → no posterior tooth contacts to stop the bite → you need a rigid base carrying a wax rim built to the correct occlusal plane and OVD to hold the vertical stop while you register. (Source: L9 Clinical Sequence — a base is required to mount “Kennedy Class I, II and extensive Class IV” cases.)
- Missing anterior teeth → the leaf gauge can’t be used → base + rim with extraoral references (base of nose → chin). (Source: L9 Clinical Sequence — “Establishing OVD Without Anterior Teeth”.)
- Raising the OVD (Sequence B) → the wax rim is where the new vertical dimension is set (not MIP), so a rim is mandatory. (Source: L9 Clinical Sequence, Sequence B.)
Note this Visit-1 base & rim is diagnostic (built on the study model, to mount the casts) — distinct from the definitive record base built on the master model later to register the bite the denture is actually set to.
Visit 2 — Jaw relations & tooth selection
- Try in diagnostic base & rim. (chairside technique: Registration Sequence for a Removable Partial Denture)
- Record jaw relations:
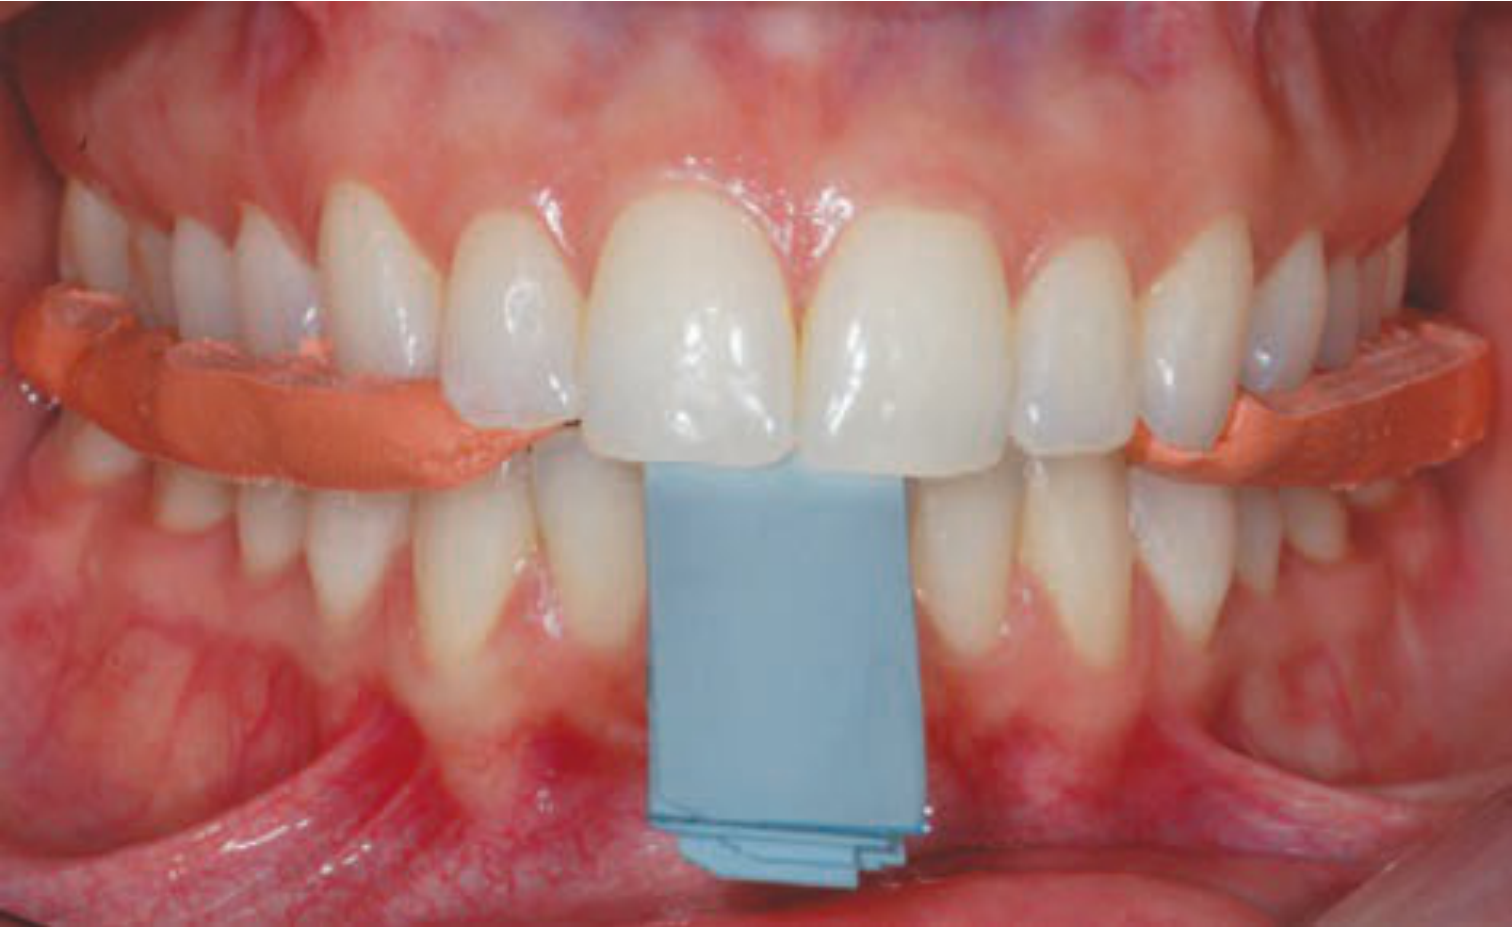
- Centric relation — leaf gauge (confirmative approach, record at MIP); don’t bite too hard.
- Facebow record (maxillary cast) and protrusive record.
- facebow isn’t really used in student clinic anymore
- OVD = RVD − freeway space; verify with closest-speaking-space (“Mississippi 66” — sibilants shouldn’t click).
- Mark landmarks on the rim (midline, canine lines, smile line).
- Select prosthetic tooth shade and mould.
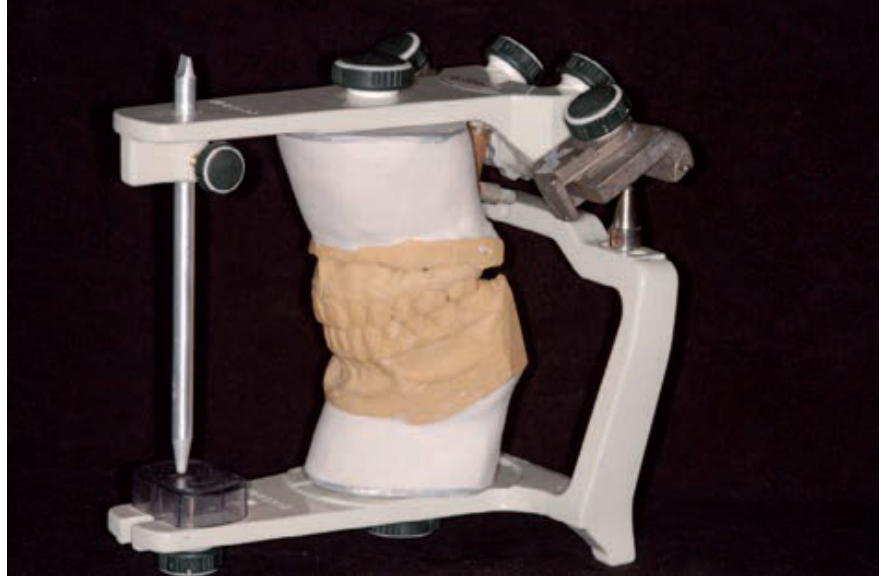
- Lab: mount study models on a semi-adjustable articulator.
Visit 3 — Diagnostic wax-up, survey & design
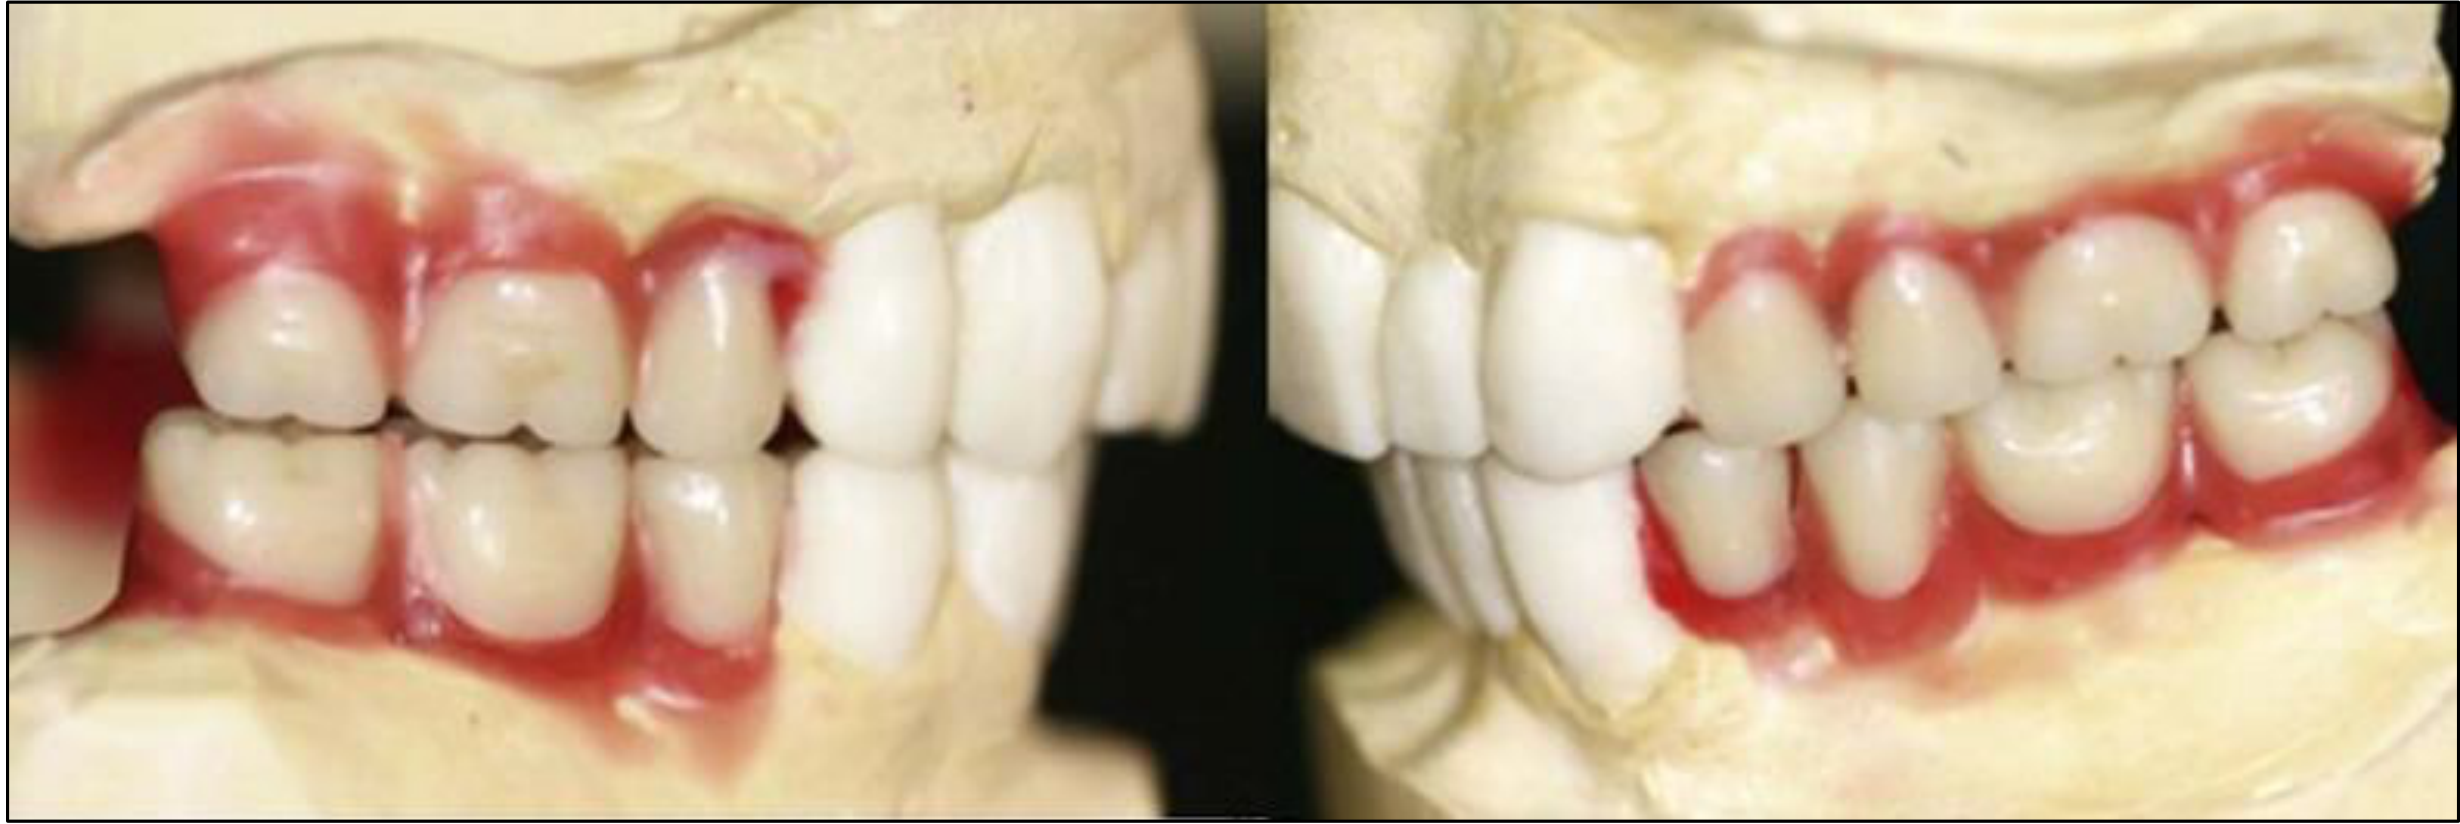
- Review the diagnostic wax-up (simulated final tooth position) on a duplicated mounted model.
- Survey and design the framework (path of insertion, rests, clasps, major/minor connectors, guide planes).
- Decide whether survey crown(s) are needed (see rule above) — prep happens at Visit 4.
- Lab: fabricate special (custom) tray on the study model.
Visit 4 — Mouth preparation & final impression (key visit)
- Complete the control phase first (perio, endo, restorative, surgical) before any abutment modification.
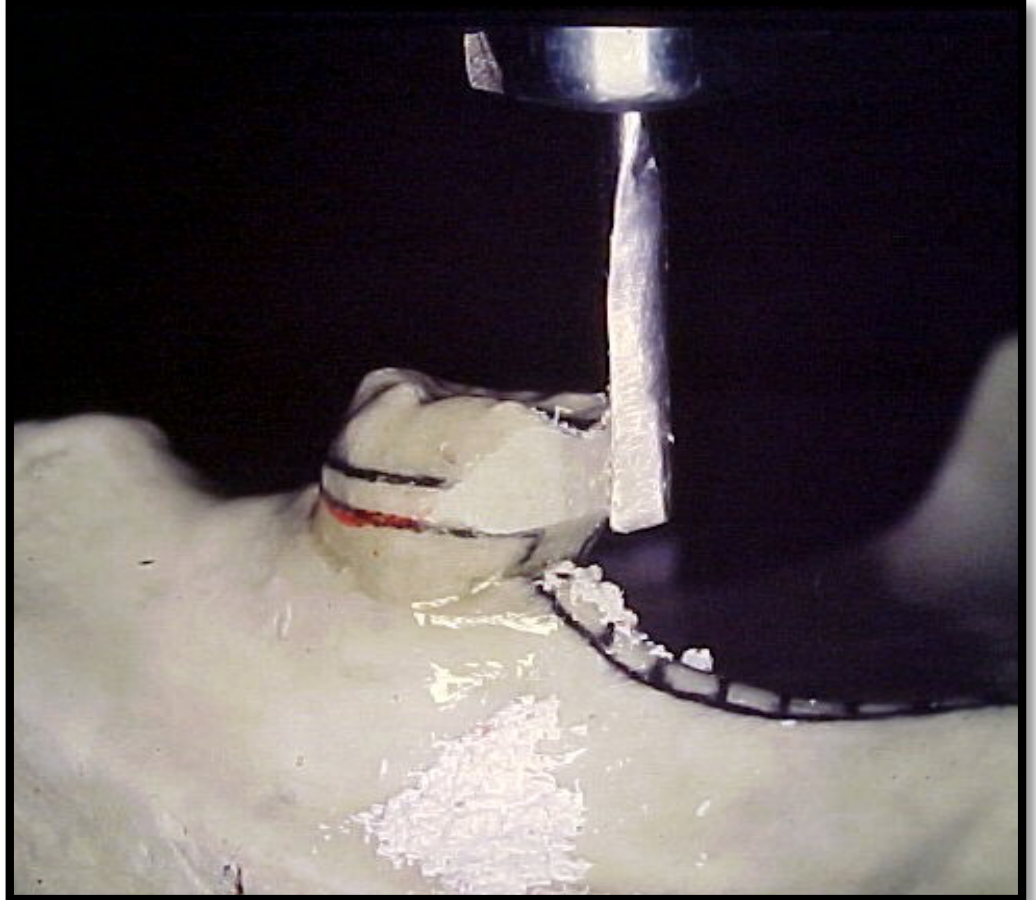
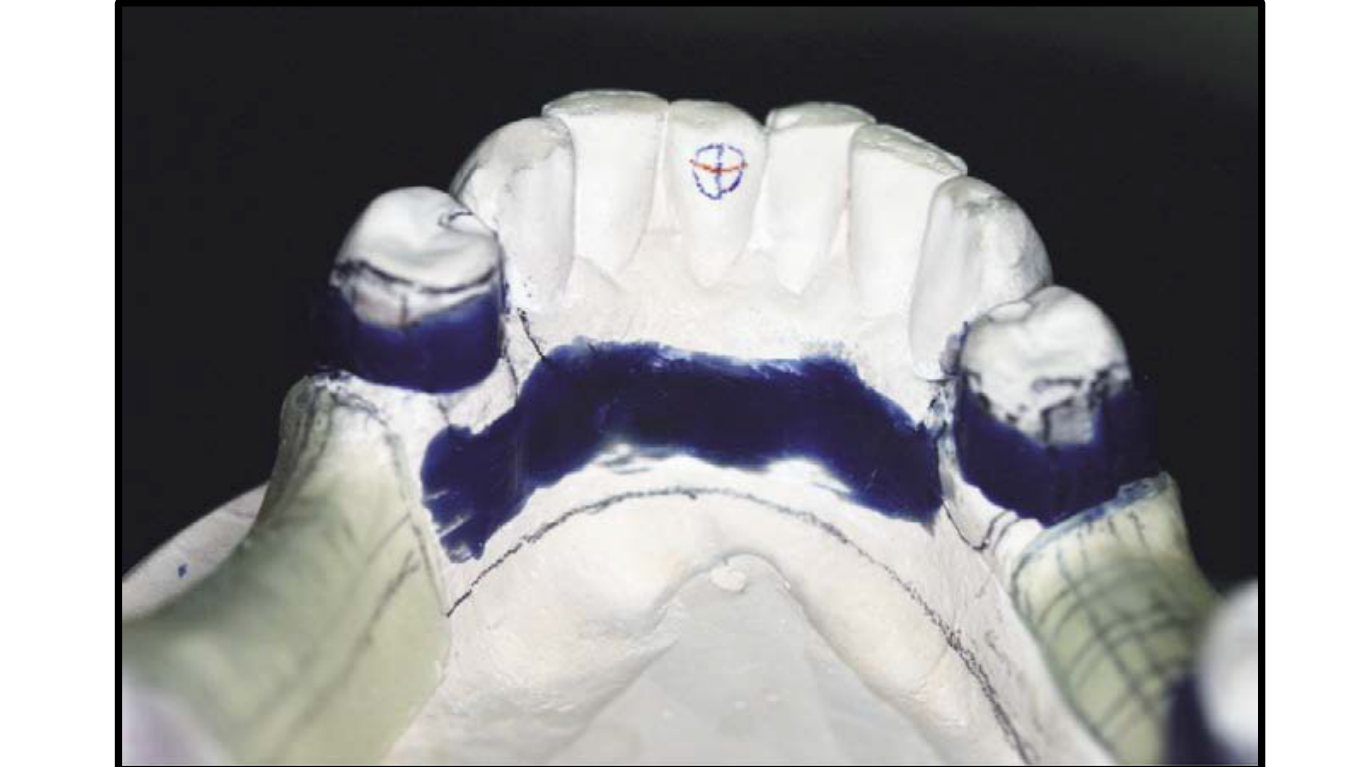
- Tooth modifications: prepare rest seats and guide planes; recontour height of contour; add composite for rest seats / create retentive undercuts as designed.
- If indicated: prep abutment(s) for survey crown, have it fabricated and cemented now — before the impression.
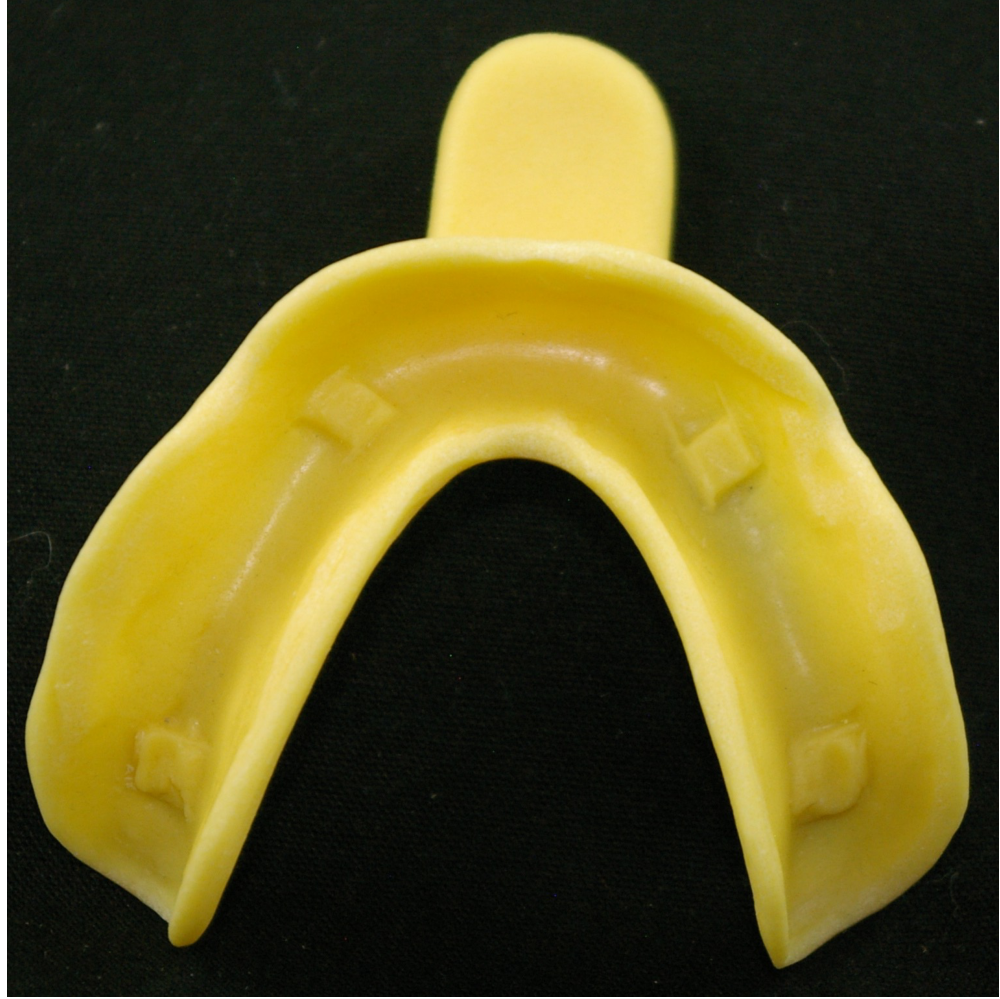
- Try the custom tray in the mouth; check it is not overextended; retract lips/cheeks to copy frenula.
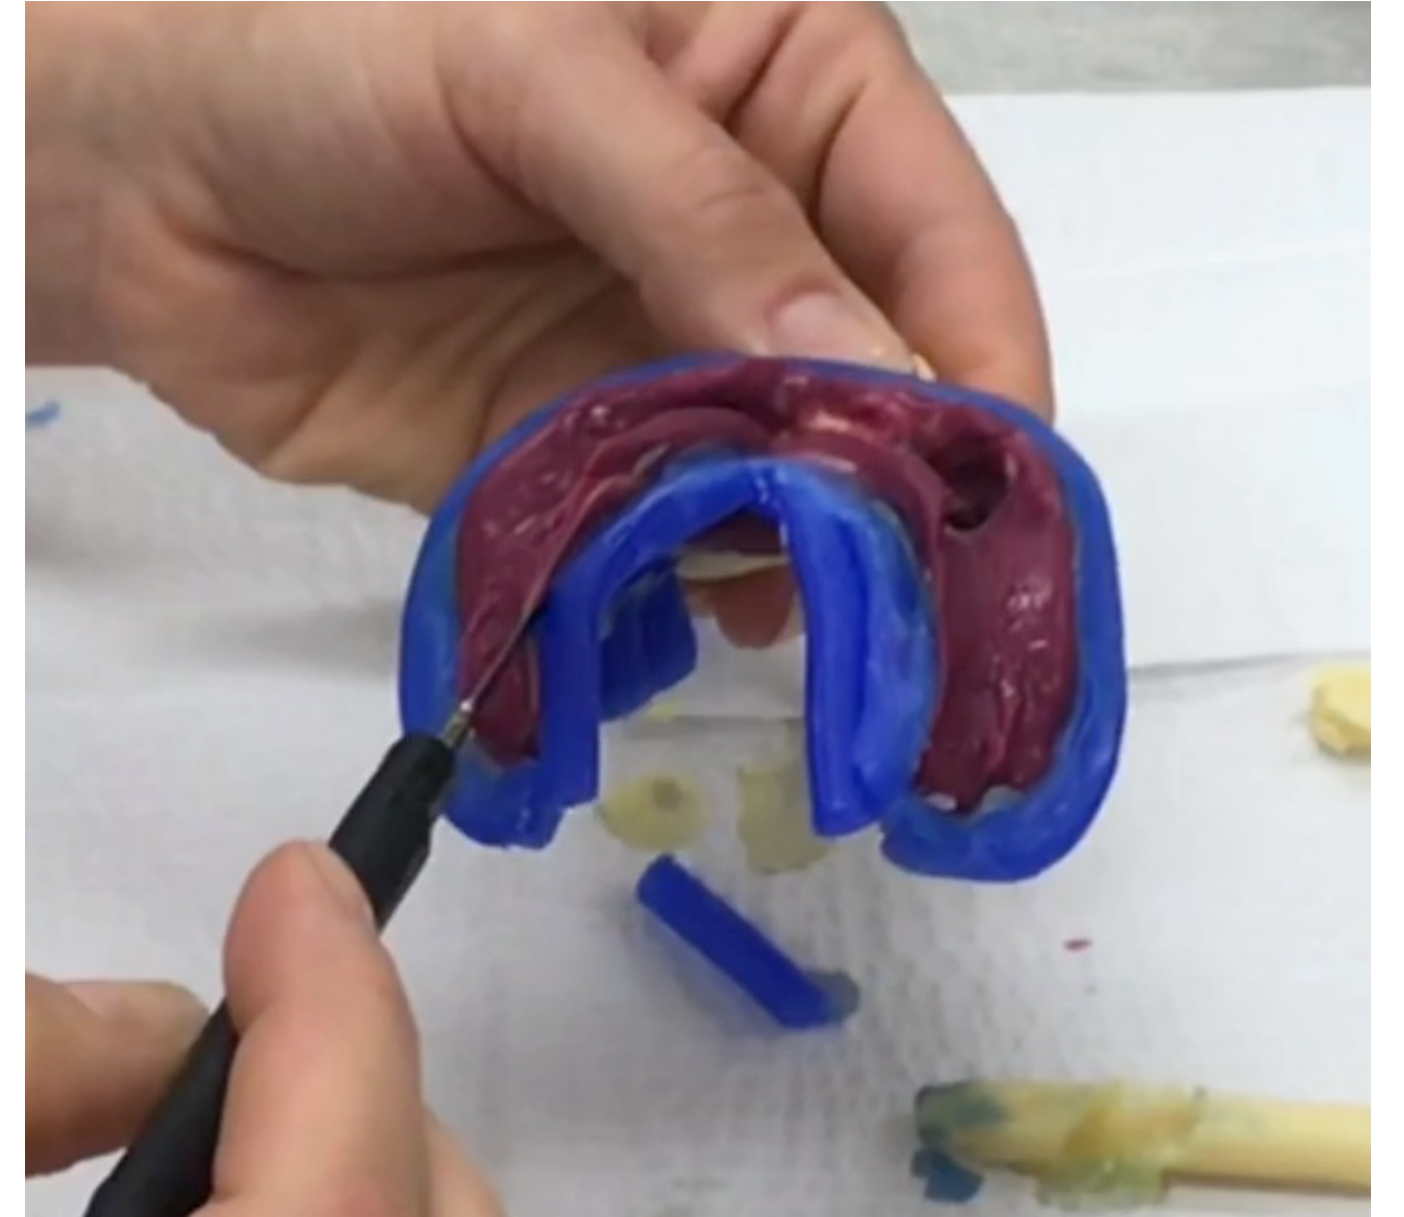
- Impression: border-mould with putty → light-body PVS around prepared teeth, rest seats and guide planes → heavy-body PVS in the tray → seat and take the final elastomeric impression.
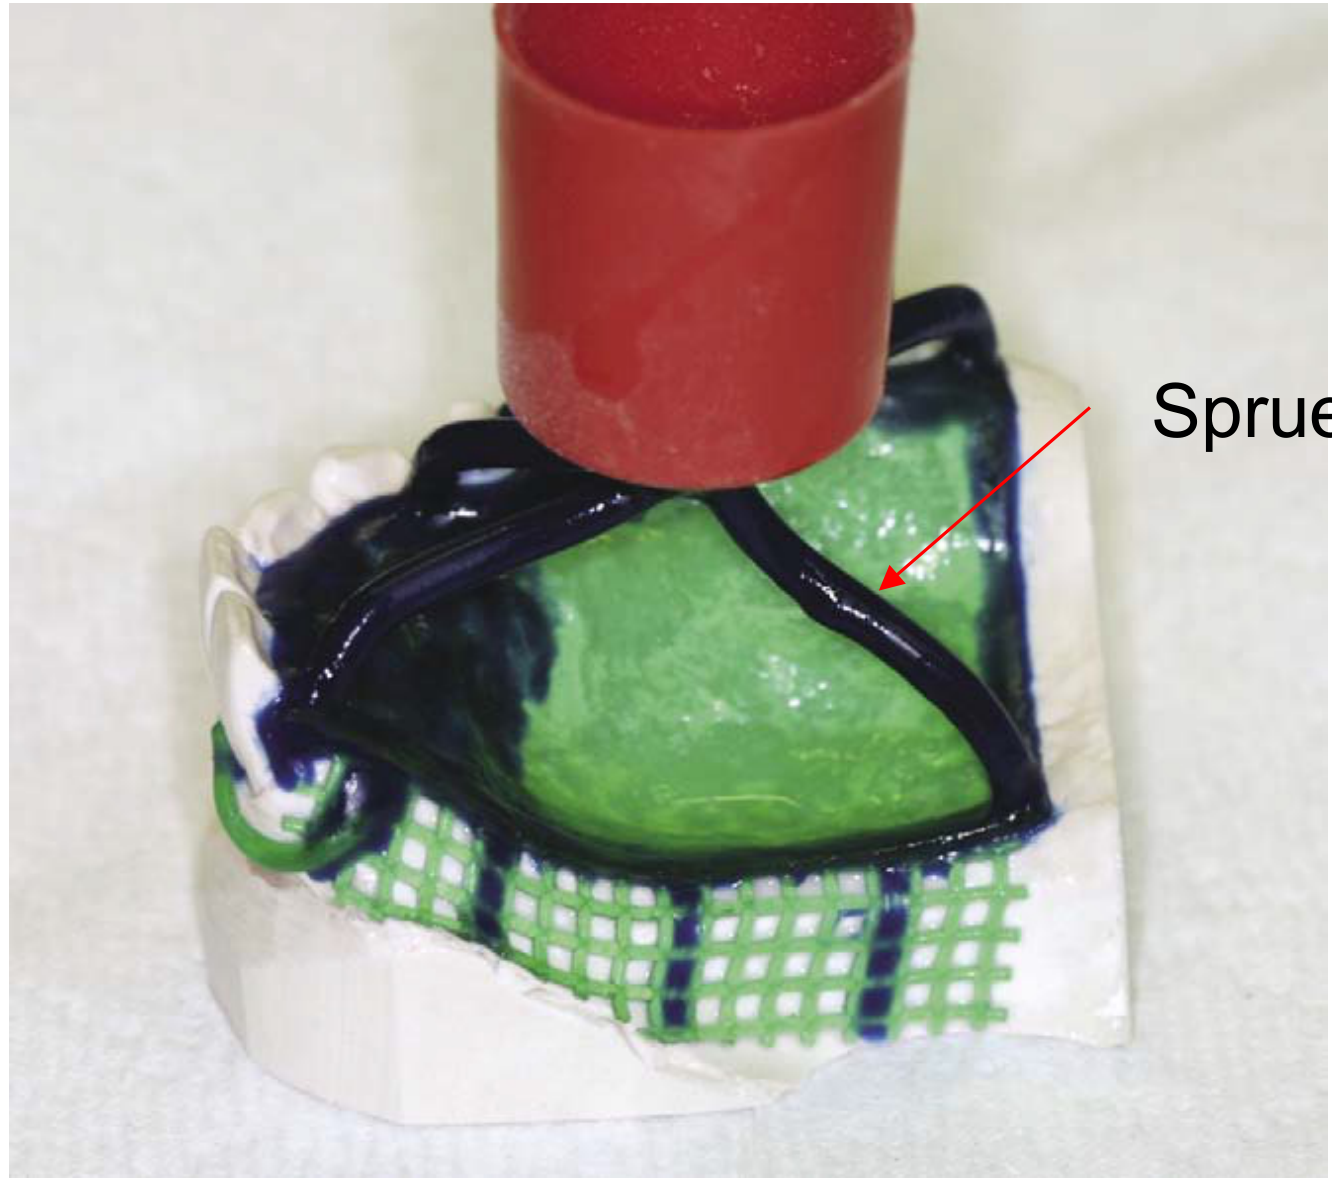
- Lab: bead, box and pour the master model; duplicate it (processing model + investment/refractory model after block-out); cast the Co-Cr framework.
Visit 5 — Framework try-in
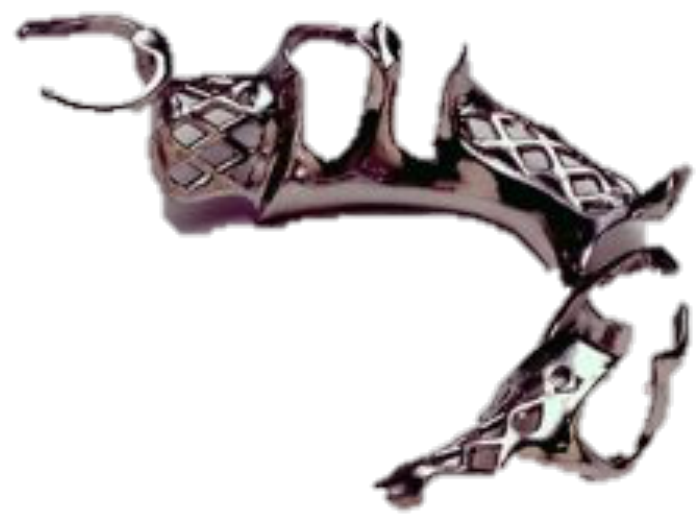
- Off the model / on the cast: check tissue-side defects, smoothness, adequate thickness; framework follows the design; seats and removes cleanly; clasps correctly placed.
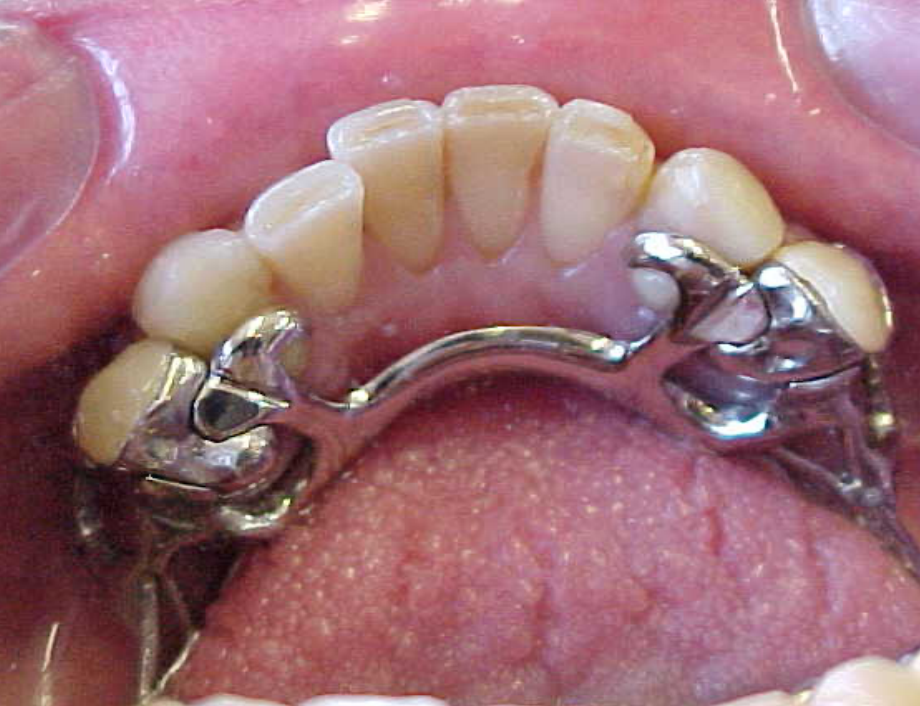
- In the mouth: passive seating, rests fully seated, no rocking (pressure on one rest must not lift the opposite side), correct clasp position, soft-tissue clearance, adequate mesh relief.
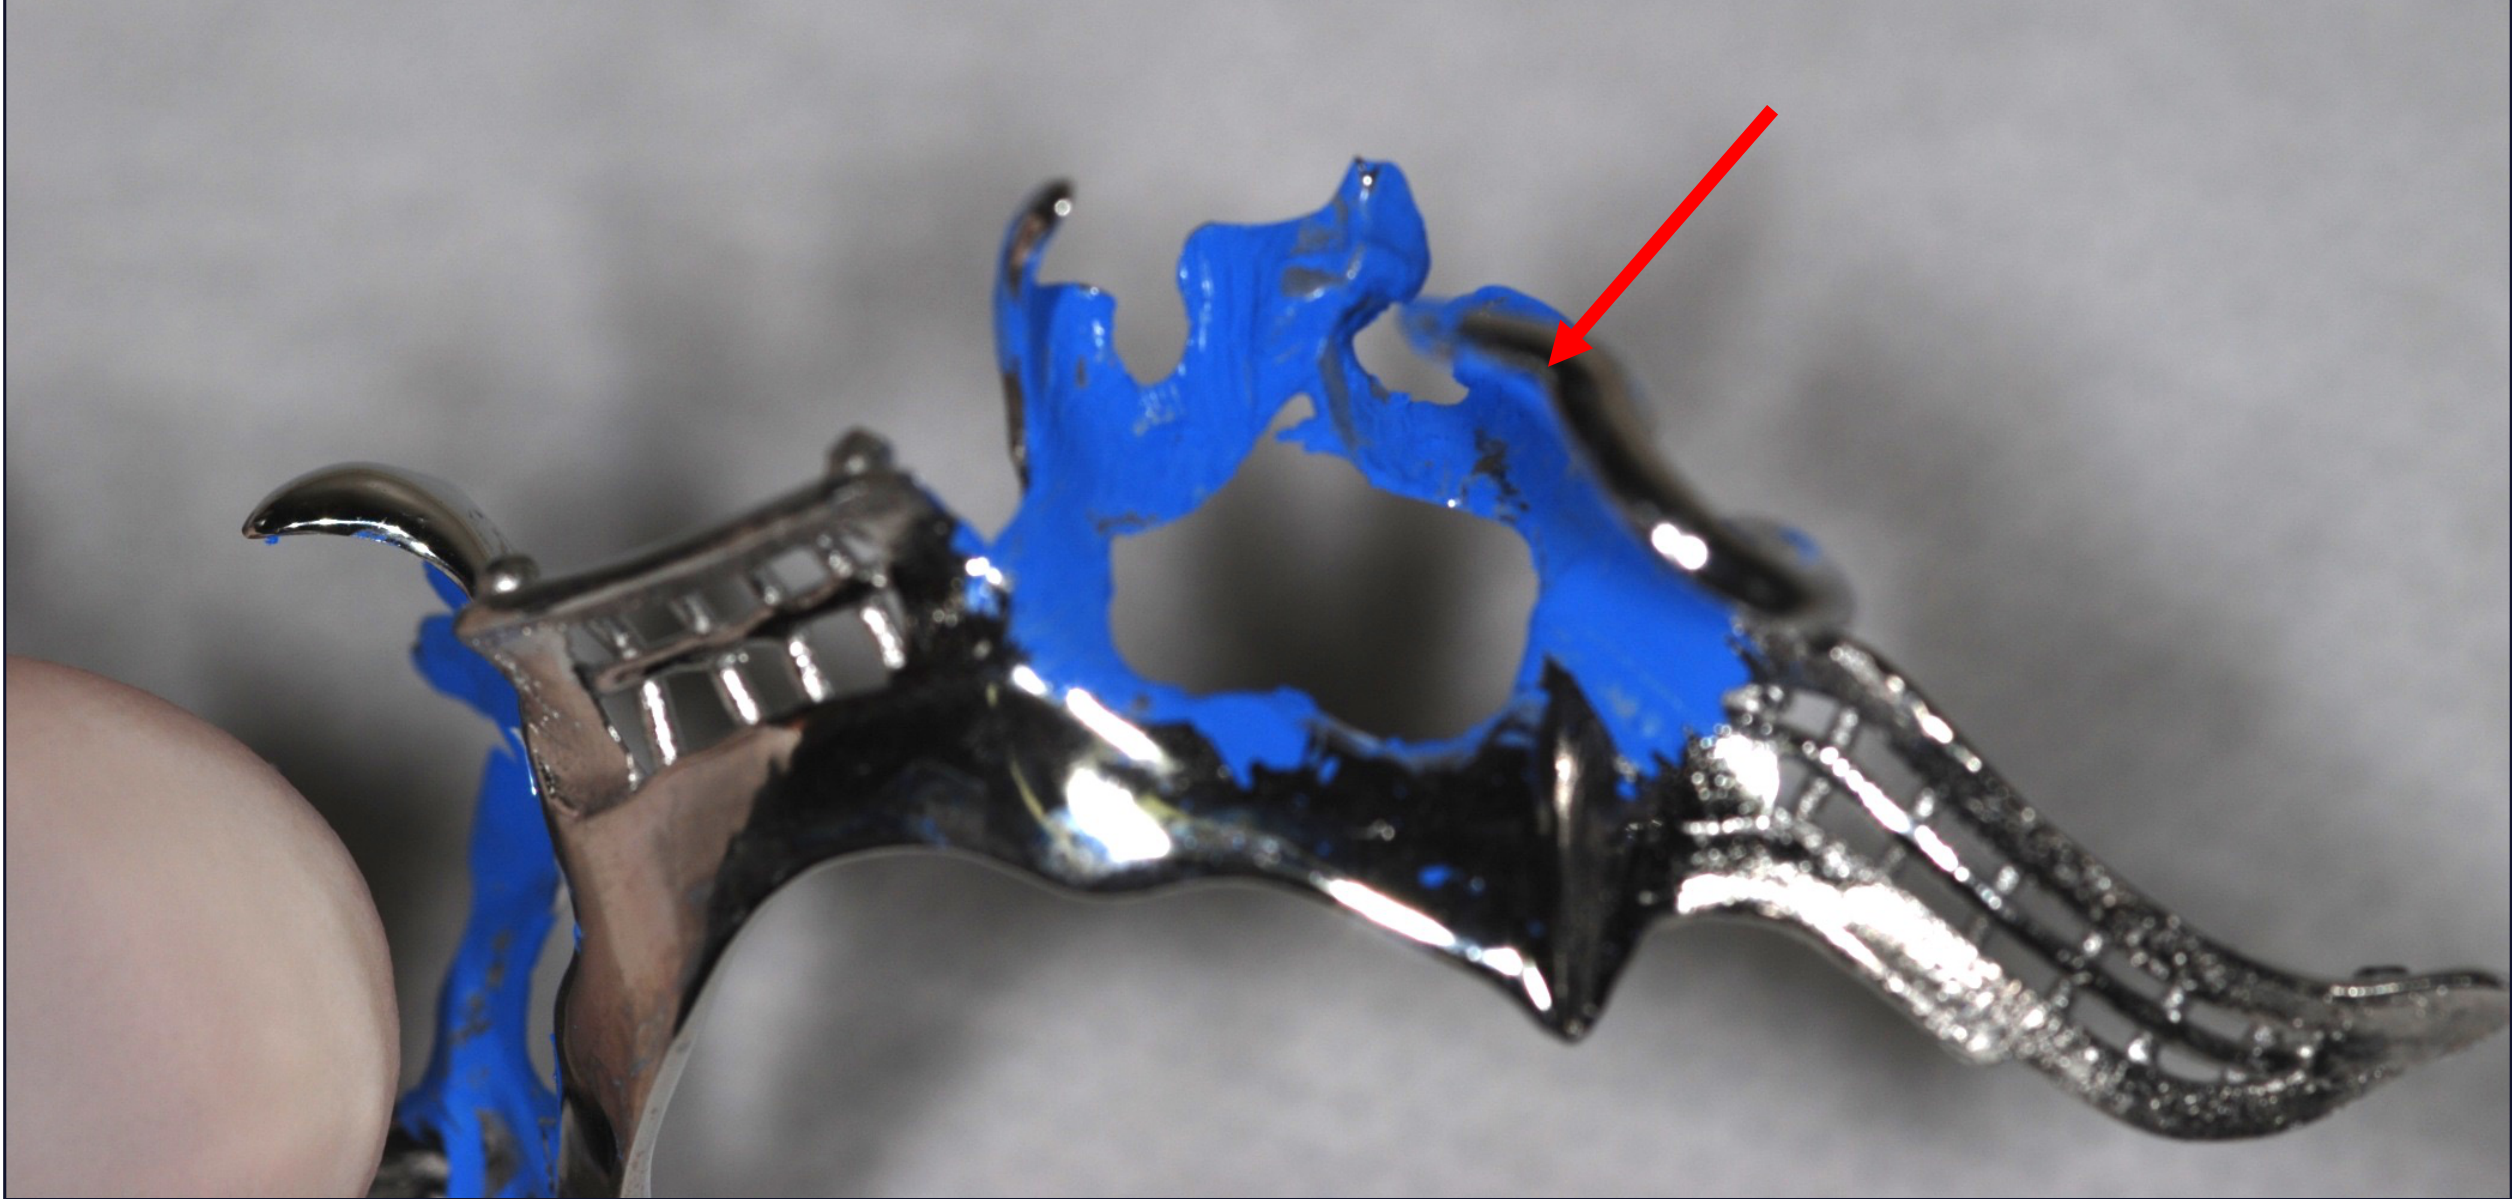
- Adjust with fit-checker spray / carbon-mark liquid + high-speed cylindrical carbide bur on interferences. Permissible sites: minor connectors, reciprocal arm, proximal ⅔ of retentive arm. Never adjust the terminal ⅓ (tip) of the retentive arm.
- If it fits the cast but not the mouth → suspect an inaccurate cast (re-impress/re-cast).
- Check occlusion with the framework seated (shim stock / articulating paper).
- Then, same visit — record MMR on the framework: add an acrylic base + wax rim to the saddle region (within the bearing area) and record the maxillo-mandibular relationship.
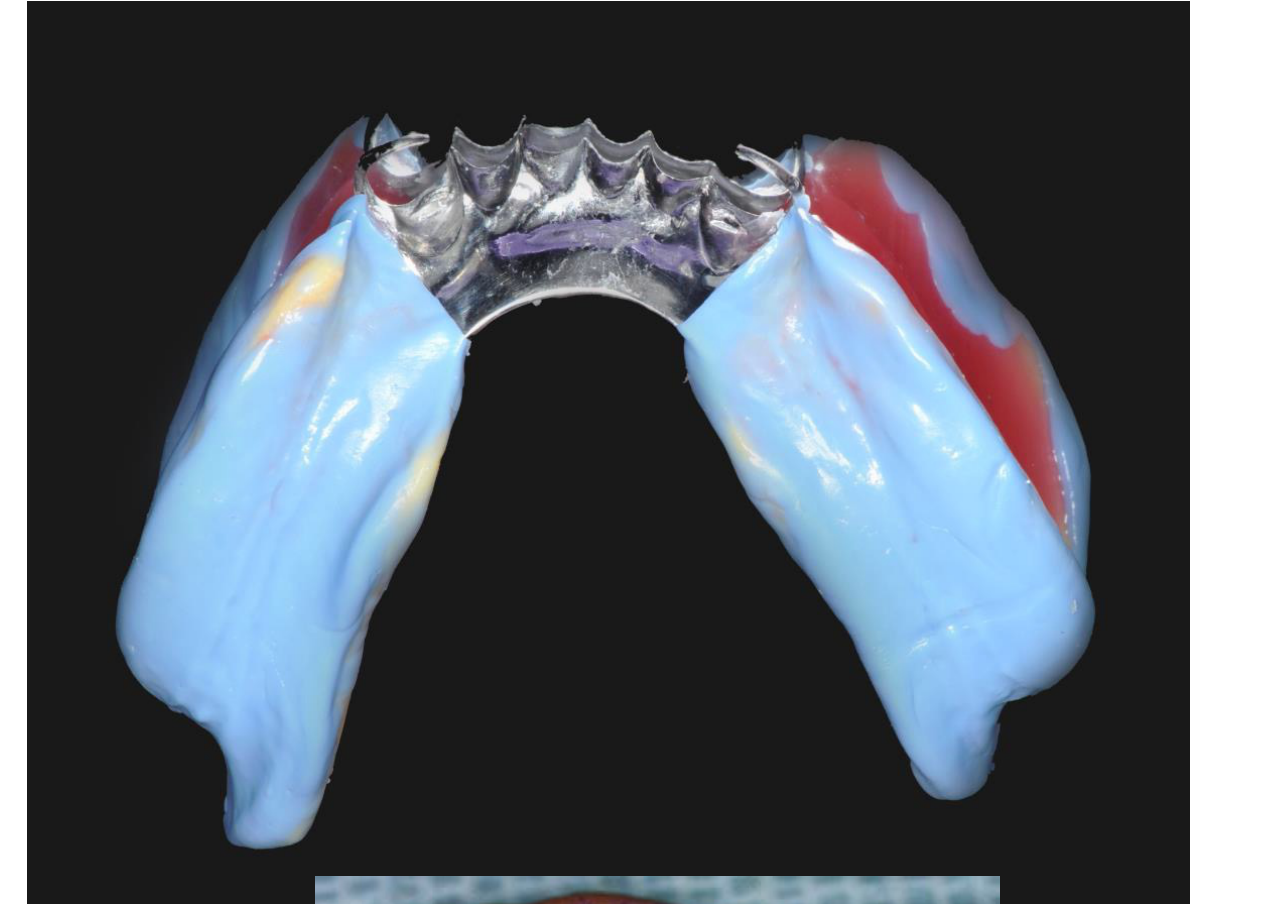
- Altered-cast (corrected-cast) technique — only for mandibular Kennedy Class I & II: border-mould the free-end saddle (putty) + light body; apply finger pressure on the rests only, never on the saddle, with functional tongue/cheek movements; hold until set. (Not used for maxilla or Class III.)
- Lab: mount/cross-mount master models; set up teeth.
Visit 6 — Wax tooth try-in
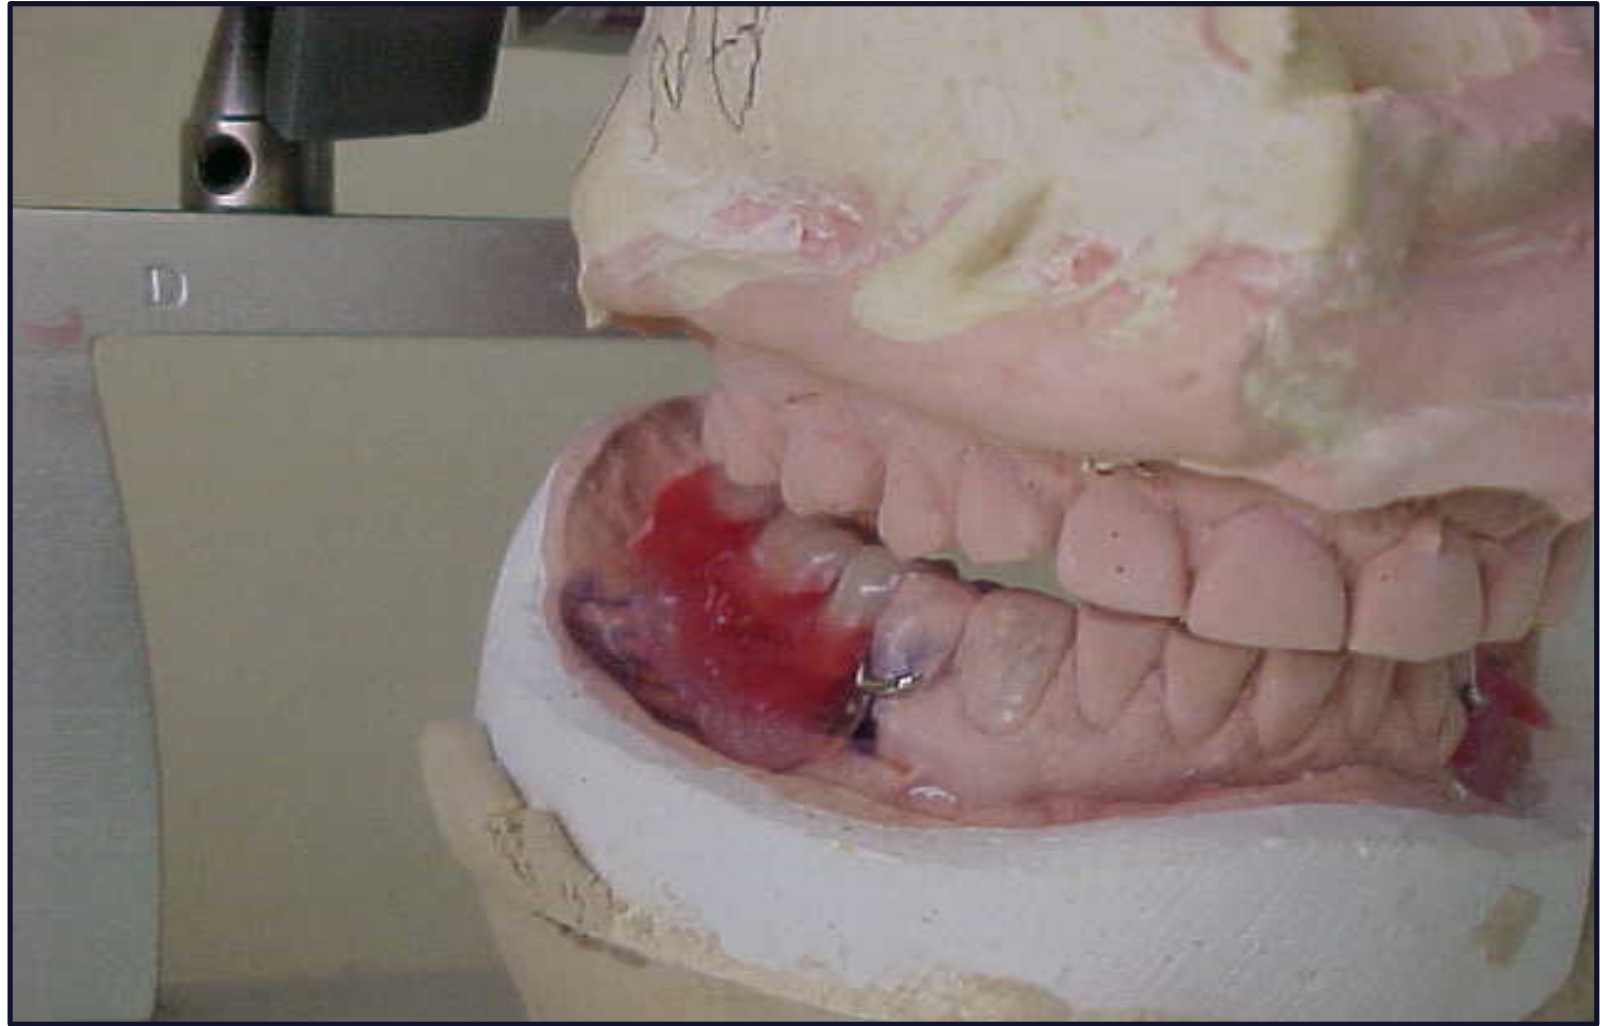
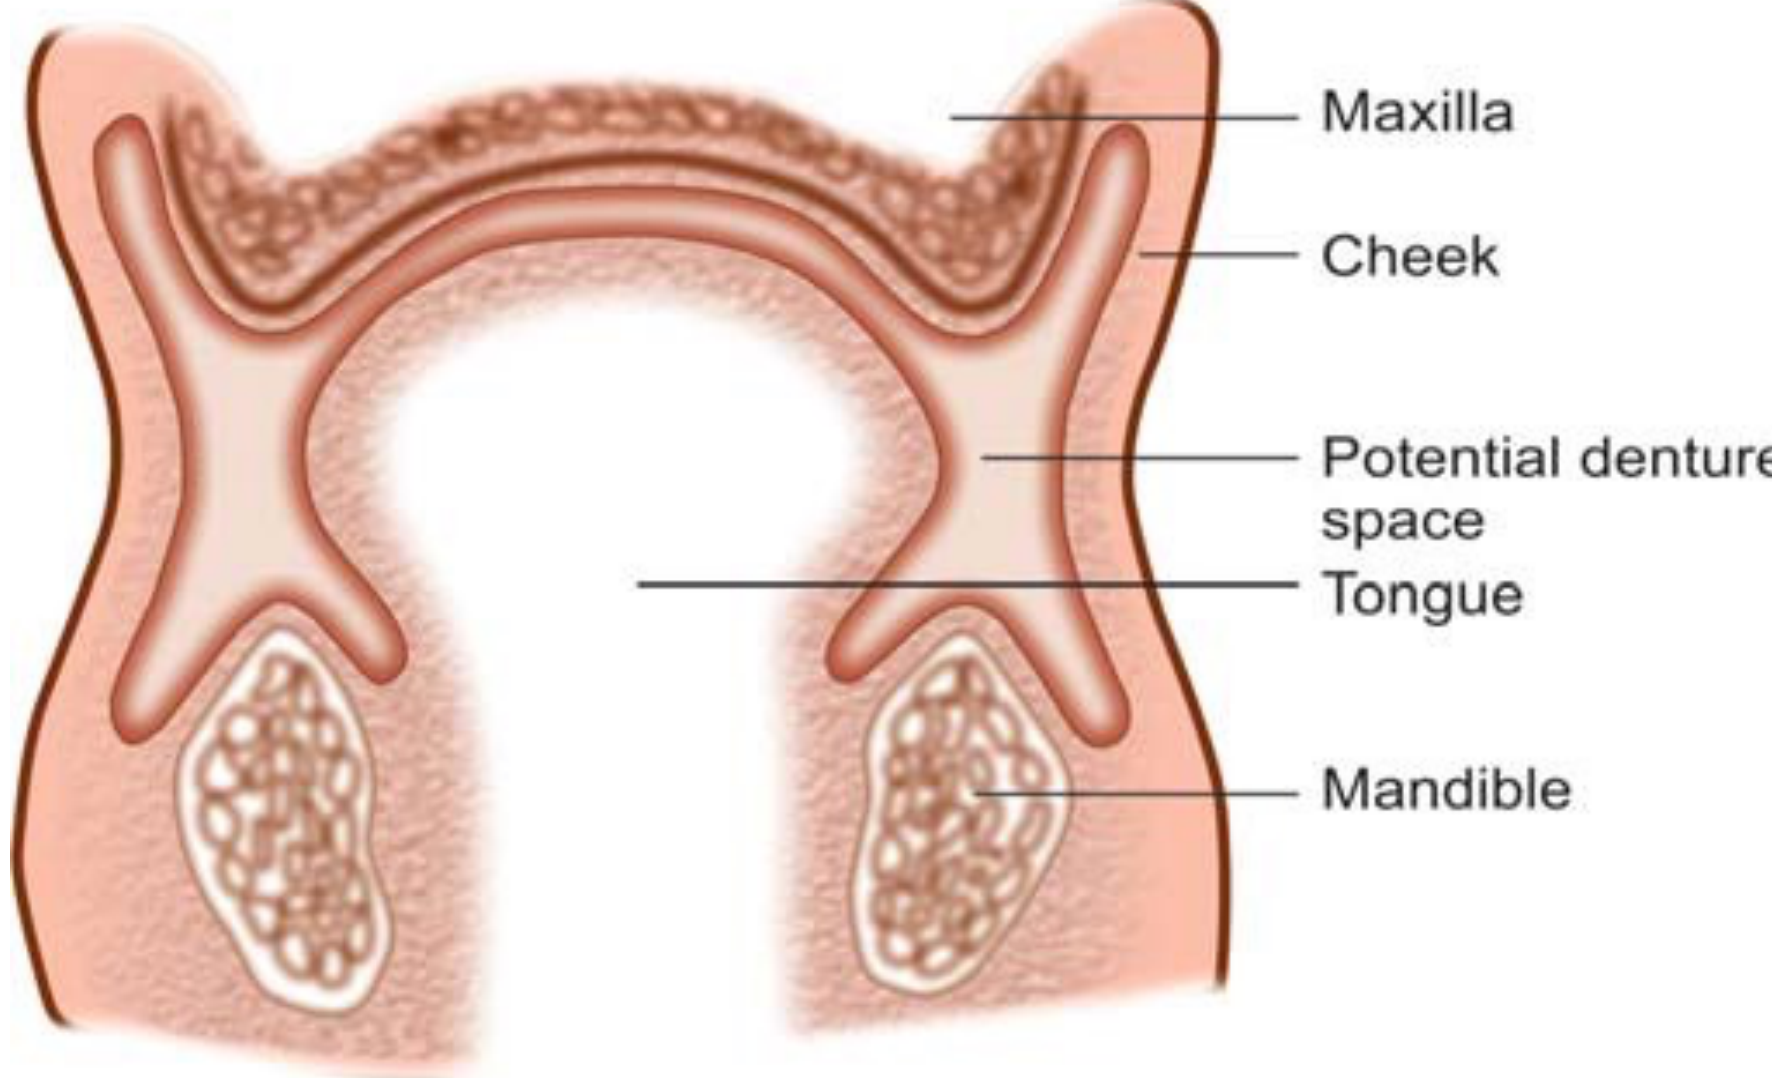
- Evaluate occlusal contacts (even across the arch), OVD, aesthetics, and neutral-zone position.
- Prefer to move teeth rather than grind them at this stage.
- Obtain patient approval before processing.
- Lab: process the denture (flask, wax elimination, pack/cure acrylic).
Visit 7 — Insertion
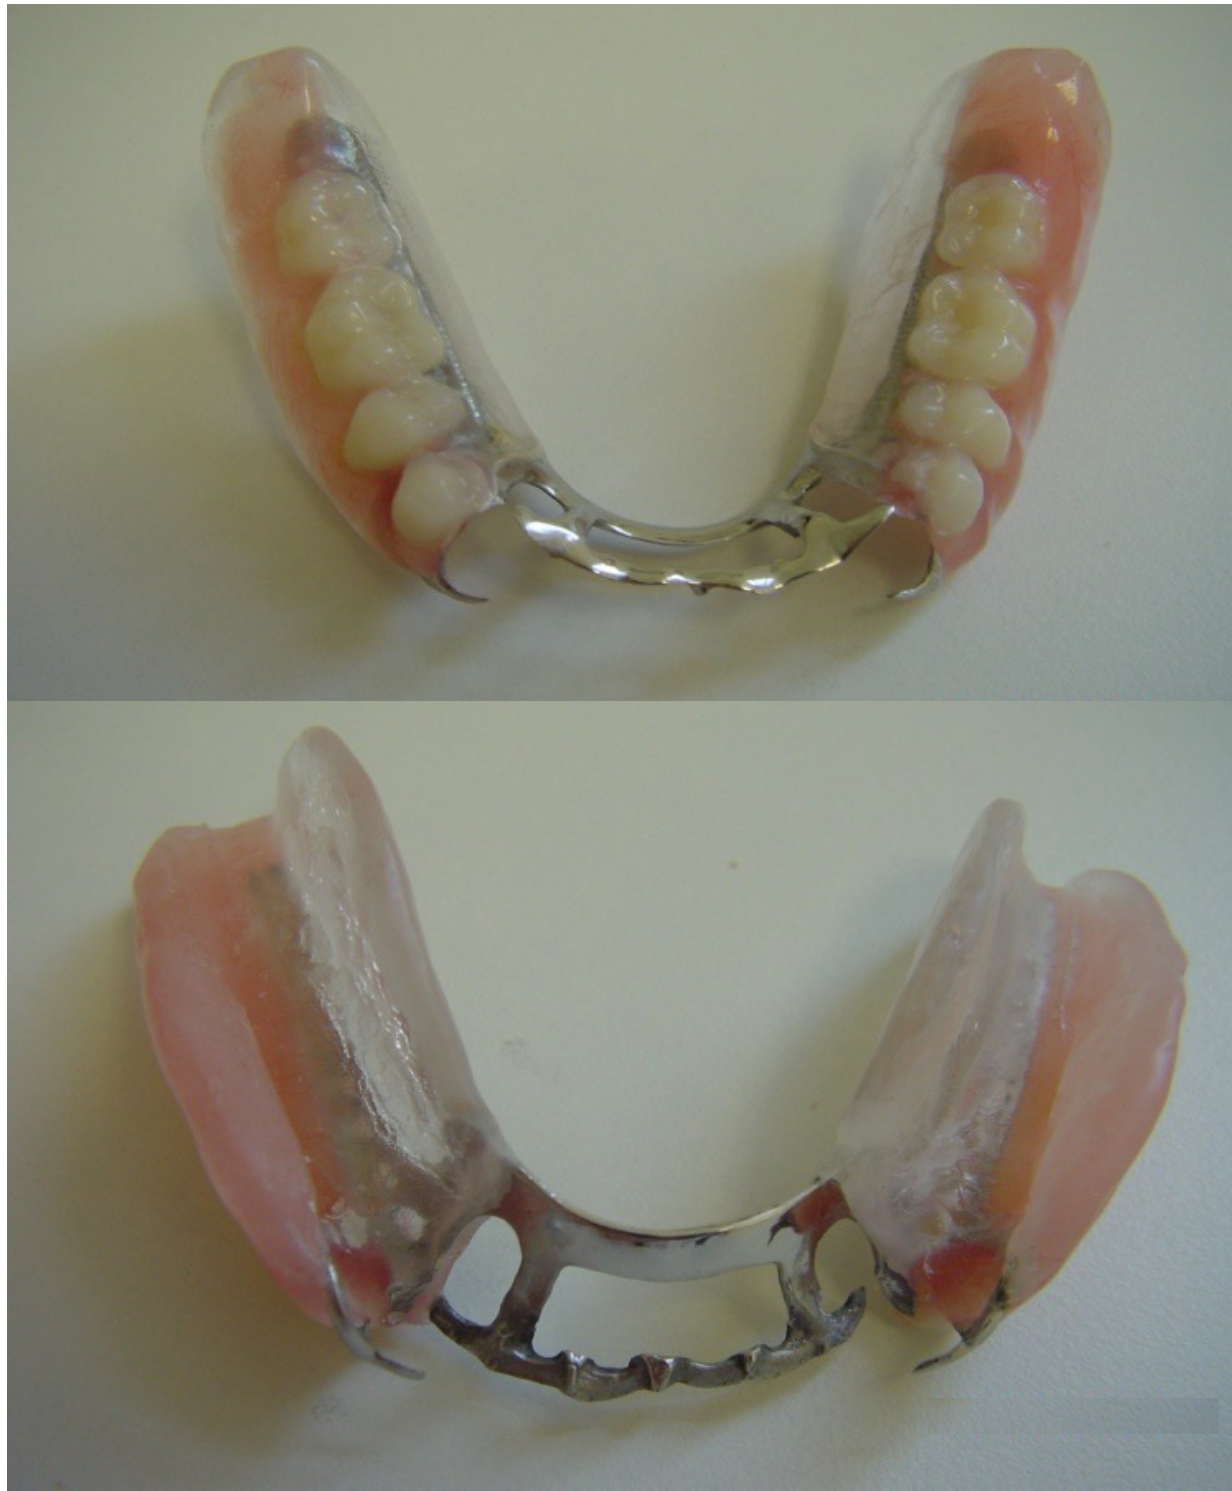
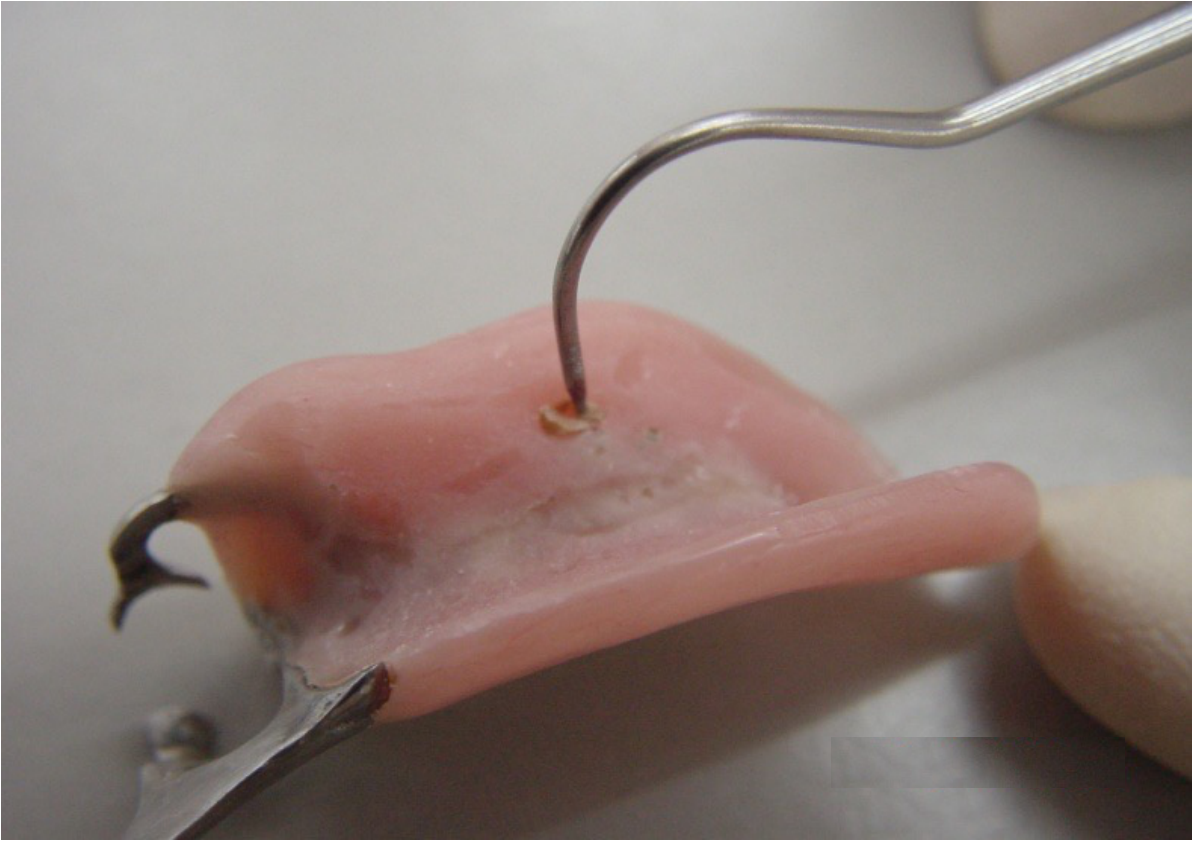
- Inspect the denture base before insertion: voids/porosity (→ return to lab), nodules/sharp projections (remove chairside), overextensions (trim), round sharp edges.
- Seat and assess: retention, stability, base extension, occlusal contacts (articulating paper), reassess OVD (processing can shift teeth), appearance.
- If poor saddle adaptation (e.g. altered-cast not done): reline with PVS / ZOE using the rests-only pressure technique. For a chairside reline pickup, record the bite registration before the pickup impression.
- Give denture care, cleaning and adaptation instructions.
Visit 8 — Review (~2 weeks; earlier if symptomatic)
- Assess adaptation and address complaints.
- Don’t over-adjust at insertion — confirm true pressure points at review using fit checker / light body (perforations = strong contact).
- Trim gradually with an acrylic bur in a straight handpiece.
Sequence B — Co-Cr RPD, with OVD increase
Same skeleton as Sequence A — only the early steps differ. The OVD increase is established and stabilised before the final impression, then the case rejoins Sequence A from Visit 4 onward.
Visit 1 — Preliminary impressions
- Identical to Sequence A (alginate prelims → lab study models, base & rim).
Visit 2 — Jaw relations at the new OVD (reorganised)
- Establish the target increased OVD on the wax rim (don’t simply record MIP).
- Use extraoral references (base of nose → chin), RVD − freeway space, and confirm with phonetics / closest speaking space.
- Facebow + record jaw relation at the new vertical dimension.
- Select shade & mould; mark landmarks.
- Lab: mount at the new OVD.
Visit 3 — Diagnostic wax-up at the new OVD
- Wax up to the new OVD and confirm the occlusal plane.
- Plan composite build-ups and/or survey crowns to support the increased VD — this is where survey crowns are most often triggered.
- Survey & design the framework on the duplicated model.
- Lab: special tray.
Visit 3b/4 — Stabilise the new OVD (extra step vs. Sequence A)
- Place composite build-ups and/or cement survey crowns to the planned OVD.
- Verify patient comfort, phonetics and occlusion; allow an adaptation period at the new VD before proceeding.
-
Heavily worn dentitions (the usual reason to raise OVD) often warrant prosthodontic referral — assess complexity before committing.
Visit 4 onward — rejoin Sequence A
- From the mouth-preparation/final-impression visit onward, follow Sequence A, Visits 4–8 unchanged. The final denture is built to the increased OVD.
- Provisional composite build-ups may later be replaced with definitive restorations (gold onlays / crowns) once the patient has adapted.
Acrylic partial denture — how the pathway differs
- No framework try-in stage (no cast metal framework).
- After the master model, send: master model + bite registration + lab slip (clasp positions, teeth to be replaced, shade).
- Clasps are added after processing, not cast.
- Mounting still needs a facebow; a new base & wax rim is made for the master model.
- If significant changes are needed at try-in, return to the lab for repositioning.
- See the paste-ready Acrylic RPD Clinical Sequence Template for the full acrylic visit sequence.
Copy-pastable checklists
Sequence A — Co-Cr RPD, NO OVD increase
VISIT 1 — Preliminary impressions
- Alginate prelim impressions U/L (stock trays, periphery wax)
- Lab: study models (type 3 gypsum), base & rim if needed

VISIT 2 — Jaw relations & tooth selection
- Try in base & rim
- Record CR (leaf gauge, confirmative/MIP), facebow, protrusive
- OVD = RVD - freeway; verify "Mississippi 66" (closest speaking space)
- Mark midline / canines / smile line
- Select shade & mould
- Lab: mount on semi-adjustable articulator

VISIT 3 — Diagnostic wax-up, survey & design
- Review wax-up on duplicated model
- Survey & design framework (rests, clasps, connectors, guide planes)
- Decide if survey crown needed (prep at V4)
- Lab: special (custom) tray

VISIT 4 — Mouth prep & final impression (KEY)
- Complete control phase first (perio/endo/resto/surgical)
- Prep rest seats + guide planes; adjust height of contour; create undercuts
- If indicated: prep + fabricate + CEMENT survey crown BEFORE impression
- Try-in custom tray (not overextended)
- Border-mould (putty) -> light-body PVS on prepped teeth/rests -> heavy-body in tray
- Take final elastomeric impression
- Lab: bead/box/pour master model; duplicate (processing + investment); cast Co-Cr framework

VISIT 5 — Framework try-in + MMR
- Check off model: defects, smoothness, thickness, follows design
- In mouth: passive seating, rests seated, no rock, clasp position, soft-tissue clearance
- Adjust with fit-checker + carbide bur; NEVER terminal 1/3 of retentive arm
- Check occlusion with framework seated
- Record MMR on framework (acrylic base + wax rim on saddle)
- Altered-cast technique IF mandibular Kennedy I/II (pressure on rests only)
- Lab: cross-mount, tooth setting

VISIT 6 — Wax try-in
- Check occlusion, OVD, aesthetics, neutral zone
- Move teeth, don't grind; get patient approval
- Lab: process denture

VISIT 7 — Insertion
- Inspect base: voids (->lab), nodules/sharp edges (remove chairside), overextensions (trim)
- Check retention, stability, extension, occlusion (articulating paper), OVD, appearance
- Reline if poor saddle adaptation (bite reg BEFORE pickup impression)
- Care / cleaning / adaptation instructions

VISIT 8 — Review (~2 weeks)
- Assess adaptation, address complaints
- Identify true pressure points (fit checker / light body), trim gradually
Sequence B — Co-Cr RPD, WITH OVD increase
VISIT 1 — Preliminary impressions
- Alginate prelim impressions U/L (stock trays, periphery wax)
- Lab: study models, base & rim

VISIT 2 — Jaw relations at NEW OVD (reorganised)
- Establish target increased OVD on wax rim (NOT MIP)
- Extraoral refs (nose-chin), RVD - freeway; verify phonetics
- Facebow + jaw relation at the new VD
- Select shade & mould; mark landmarks
- Lab: mount at new OVD

VISIT 3 — Diagnostic wax-up at new OVD
- Wax up to new OVD; confirm occlusal plane
- Plan composite build-ups and/or survey crowns to support new VD
- Survey & design framework
- Lab: special tray

VISIT 3b/4 — Stabilise the new OVD (extra step)
- Place composite build-ups and/or cement survey crowns to planned OVD
- Verify comfort, phonetics, occlusion; allow adaptation period
- NOTE: heavily worn dentitions -> consider prosthodontic referral

VISIT 4 onward — REJOIN SEQUENCE A (Visits 4-8)
- Mouth prep, final impression, framework try-in, try-in, insertion, review
- Final denture built to the INCREASED OVD
- Replace provisional composites with onlays/crowns later if planned