All Ceramic Crown Preparation for Lithium Disilicate #4 KILGORE
Clinical Protocol: All-Ceramic Crown Preparation for Lithium Disilicate (E-max)
Presented by: Dr. Richard Stevenson, Stevenson Dental Solutions
Material Focus: Lithium Disilicate (E-max
 )
)
Note: This protocol is specific to E-max and does not apply to Zirconia or Lava restorations.
1. Preparation Requirements and Goals
The primary objective of an E-max preparation is to provide sufficient bulk for material strength while maintaining conservative tooth reduction where possible.
Key Dimensions
- Occlusal Clearance: 1.5 mm to 2.0 mm.
- Rationale: Anything less than 1.5 mm can lead to material flexing and post-operative sensitivity.
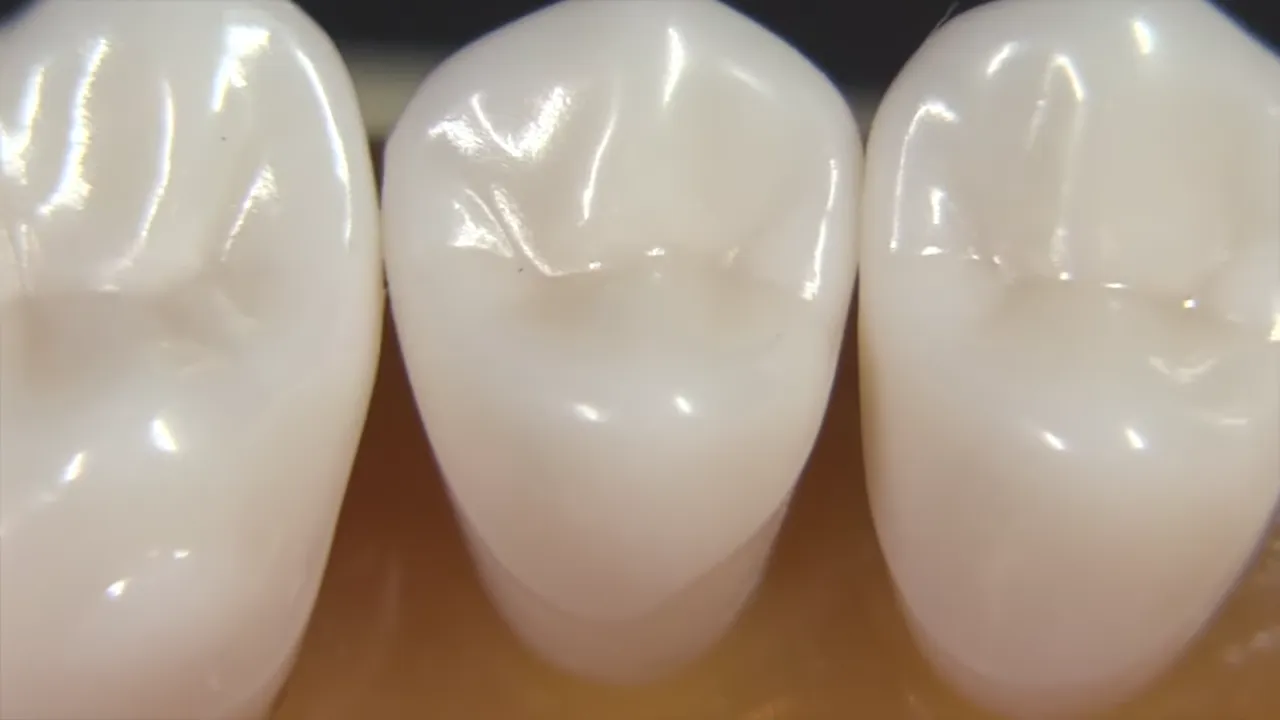
- Axial Reduction: 1.5 mm to 2.0 mm (preferred).
- Finish Line: 0.6 mm to 0.8 mm Fillet finish line
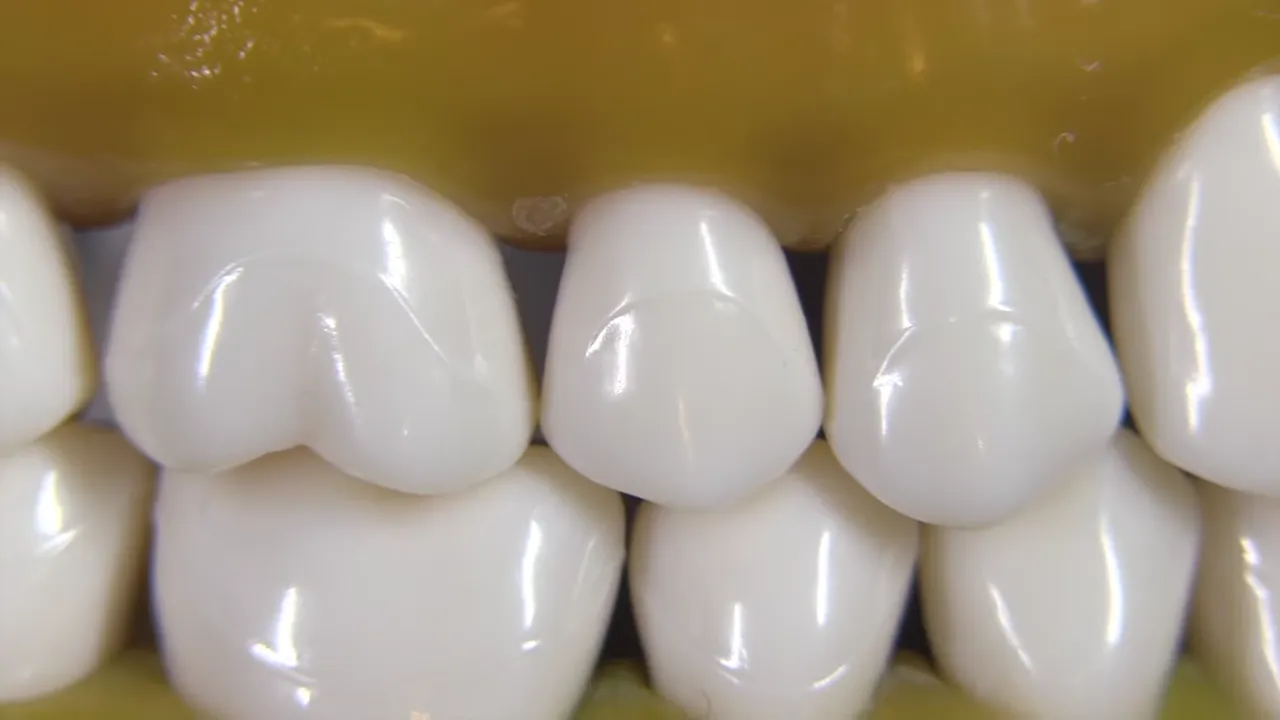 .
.
- Enamel Bonding Exception: If bonding strictly to enamel (e.g., opening vertical dimension), thickness may be less than 1.5 mm. However, standard preparations for caries or wear require the full 1.5–2.0 mm reduction.
2. Armamentarium
This technique utilizes a streamlined four-bur system:
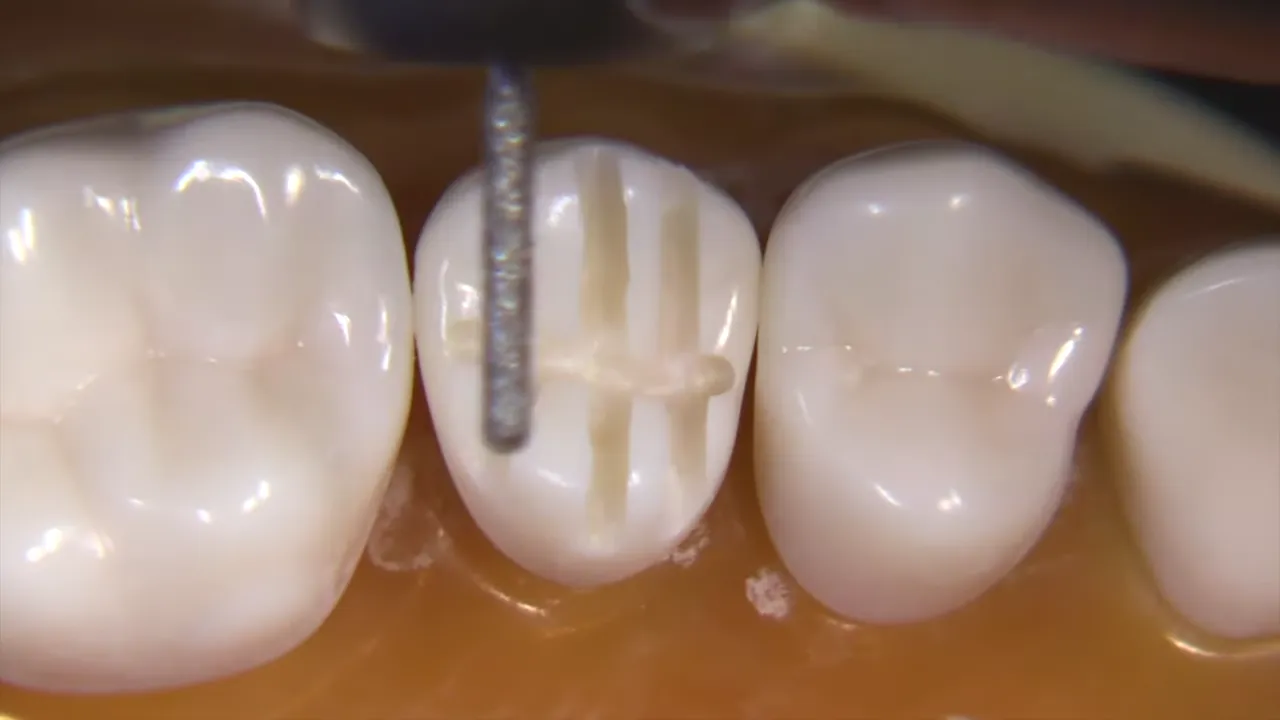
| Bur Type | Specification | Primary Function |
|---|---|---|
| 330 Carbide | 1.6 mm length | Initial occlusal depth cuts/slots |
| KS0 Diamond | 1.0 mm diameter (Coarse) | Bulk axial and occlusal reduction |
| 859-010 Needle | Fine/Thin | Interproximal “uphill” slicing |
| KS0F Diamond | 1.0 mm diameter (Fine - 30 micron) | Finishing and margin refinement |
3. Step-by-Step Preparation Technique
Step I: Occlusal Depth Cuts
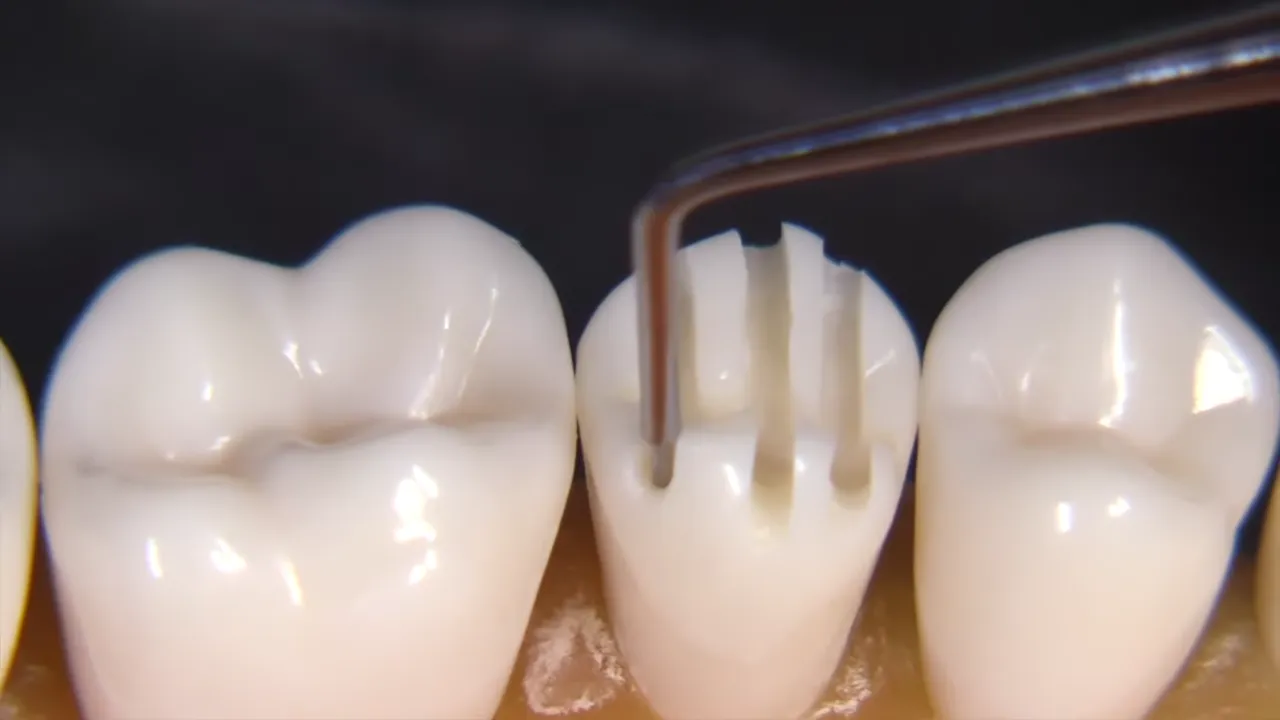
- Use the 330 Carbide bur (1.6 mm length) to establish vertical slots.
- Place three slots across the occlusal surface (buccal to lingual) and one along the central groove.
- Ensure the bur is extended to the full depth of the flutes to guarantee a minimum of 1.5 mm clearance.
- Verification: Use an RGS4 instrument (1.5 mm tip) to confirm depth.
Step II: Bulk Reduction (KS0 Bur)
- Utilize the KS0 Diamond to connect the depth cuts.
- Maintain the natural anatomy by creating three planes on the occlusal (A, B, and C planes).
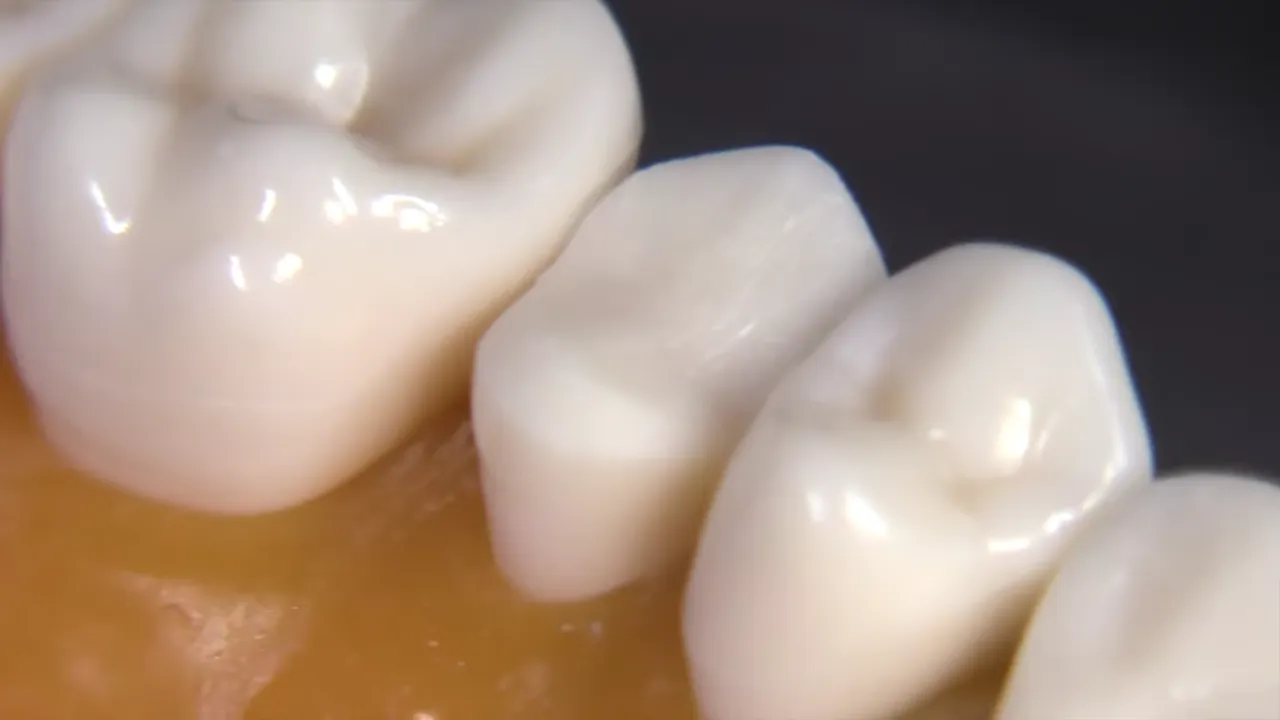
- Perform axial reduction by tipping the handpiece to create a natural taper (as the KS0 is a straight cylindrical bur).
- Establish the Gingival One-Third as a “retention ring” with minimal taper, increasing taper as you move toward the occlusal.
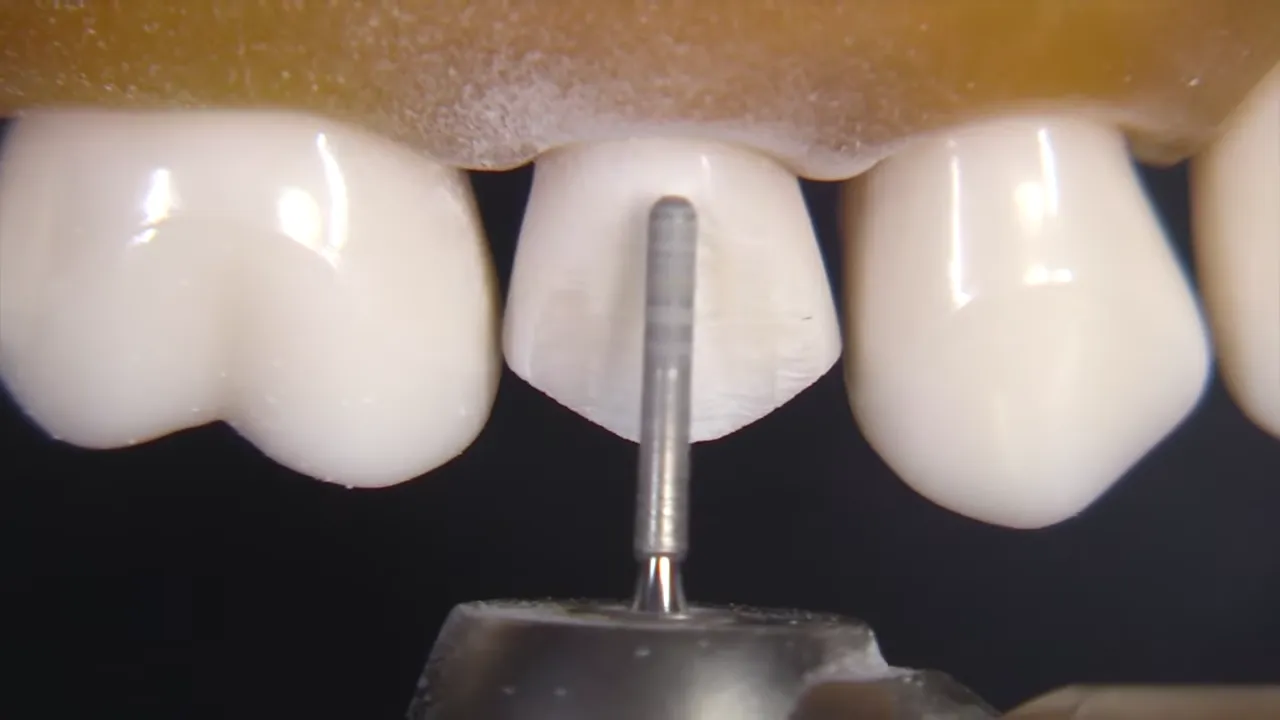
Step III: Interproximal Slicing
- To avoid damaging adjacent teeth, use the 859-010 Needle bur.
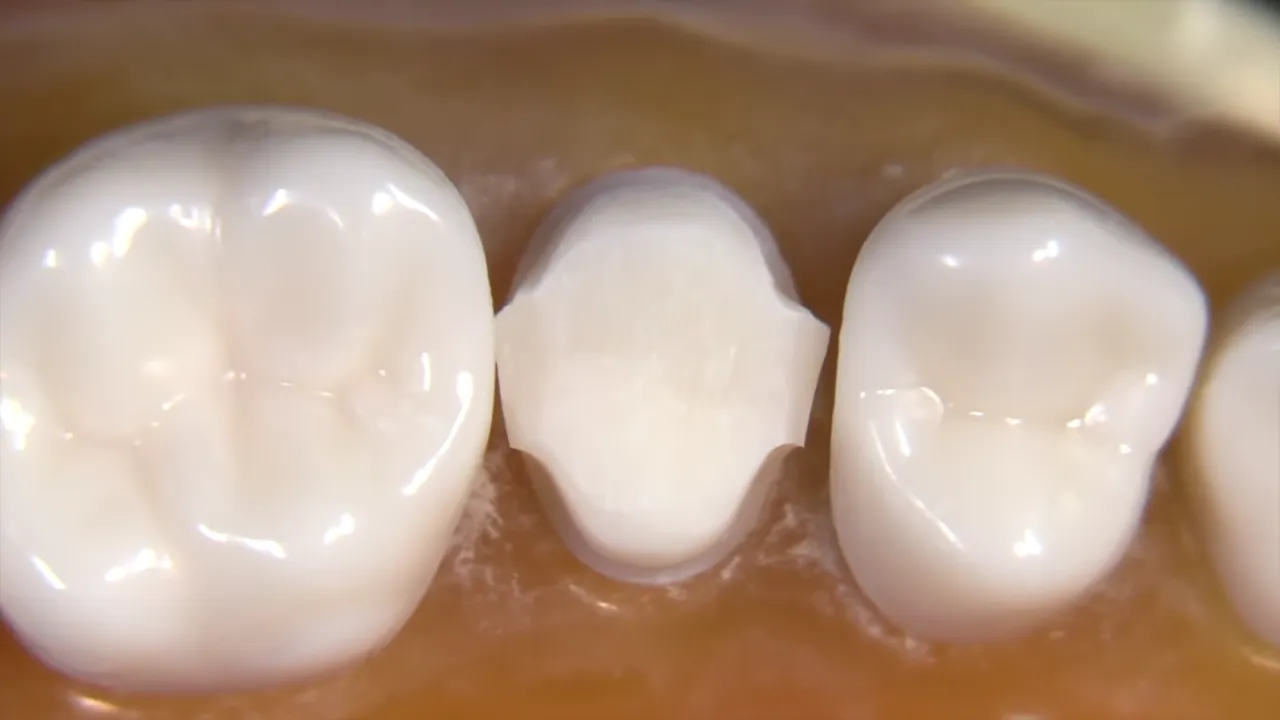
- “Uphill” Technique: Start at the gingival aspect and slide the bur upward toward the occlusal.
- Repeat this motion, moving deeper gingivally with each pass until the contact is broken. This leaves a thin “lip” of tooth structure that protects the adjacent tooth until the final breakthrough.
Step IV: Finishing and Margin Design
- Switch to the KS0F (Fine Diamond), identified by the red stripe.
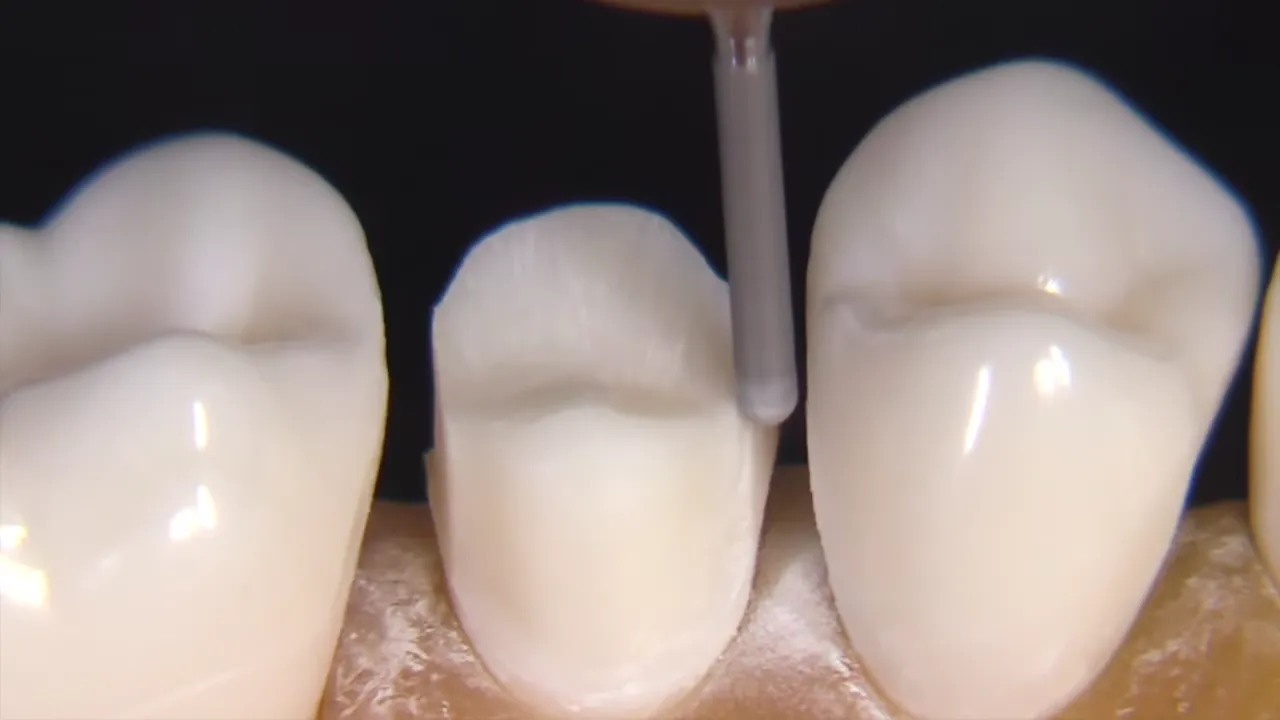
- The Fillet Margin: Aim for a 90-degree internal angle transition (fillet) rather than a traditional chamfer or shoulder.
- Terminology Note: A “Fillet” provides a 90-degree shoulder-type effect at the margin but with a rounded internal line angle, offering superior geometry for ceramic success.
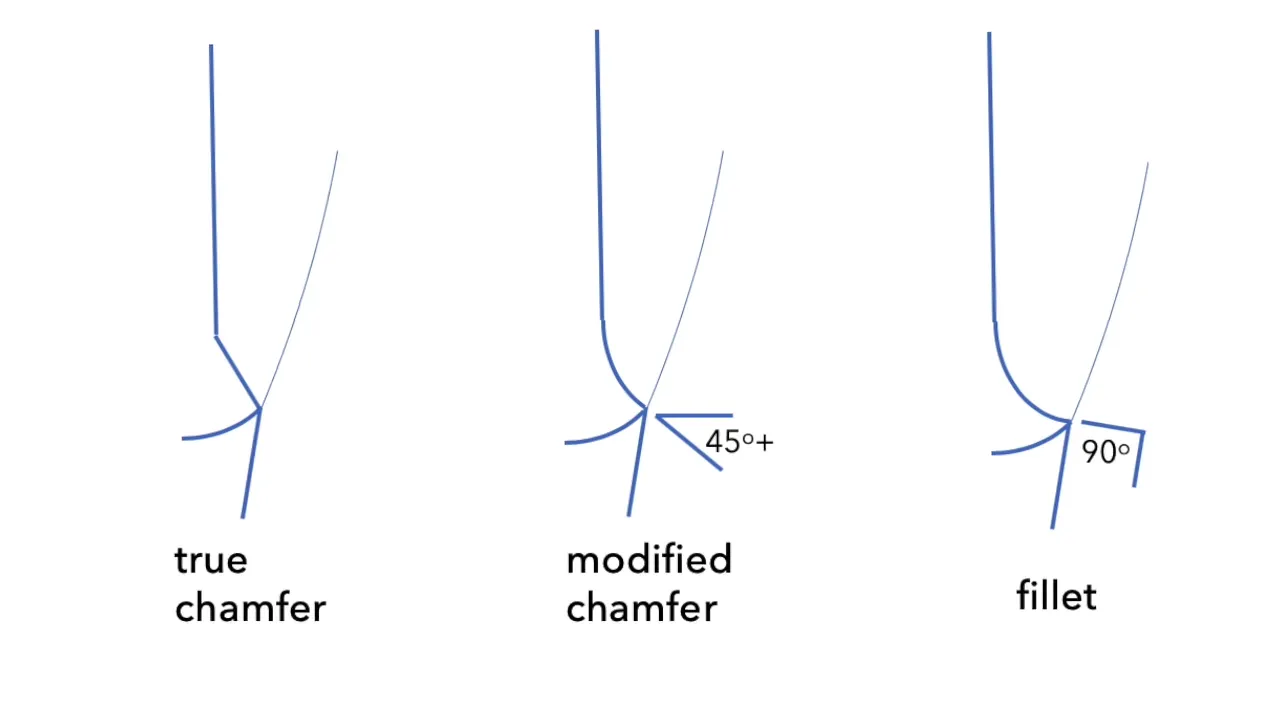
- Smooth all sharp line angles, particularly at the transitions between the facial/lingual and interproximal surfaces.
- Refinement: If using an electric handpiece, drop the speed to 5,000 RPM (or as low as 500 RPM under a microscope) for a high-polish finish.
4. Final Inspection Checklist
- Smoothness: No sharp edges or “bumps” in the preparation.
- Clearance: Minimum 1.5 mm verified with RGS instruments.
- Taper: Consistent axial reduction following the original contours of the tooth.
- Margin Integrity: A clean, uniform 0.6–0.8 mm fillet finish line.
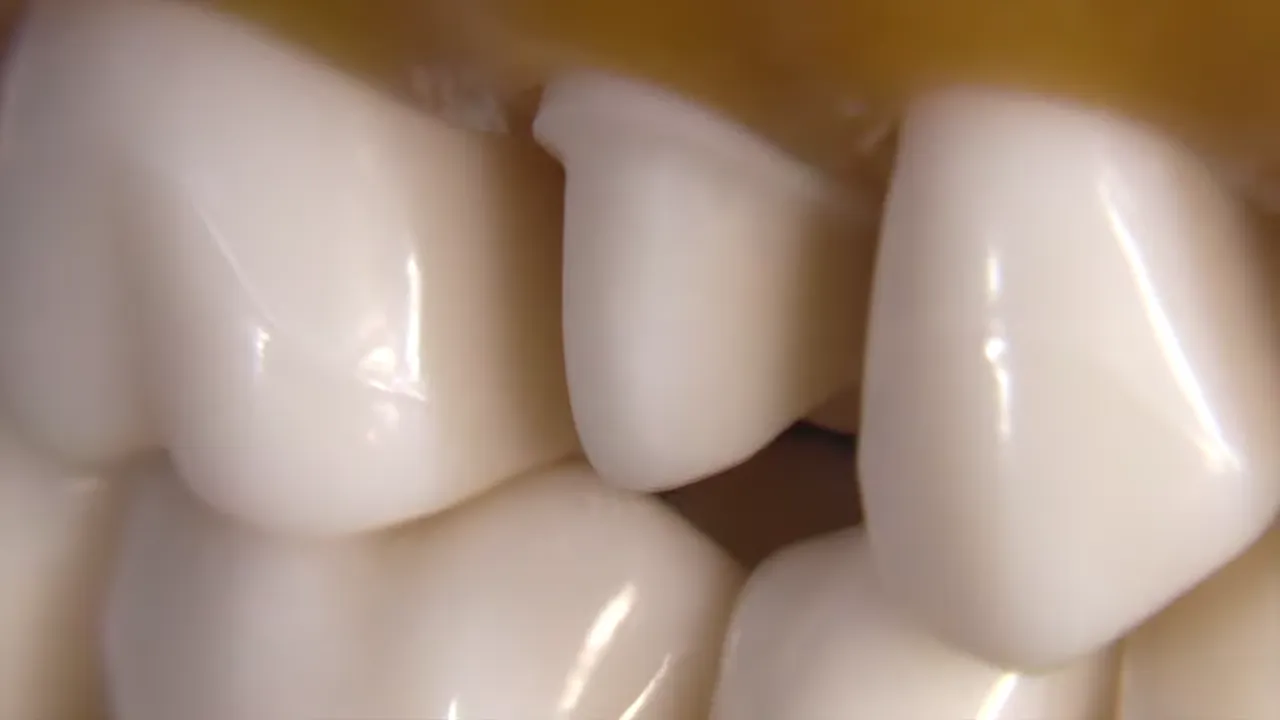
- Adjacent Teeth: Confirmed absence of “nicks” or scratches from interproximal work.
Professional results in all-ceramic restorations are highly dependent on the consistency of the reduction and the smoothness of the preparation, which facilitates better laboratory outcomes and long-term restoration success.