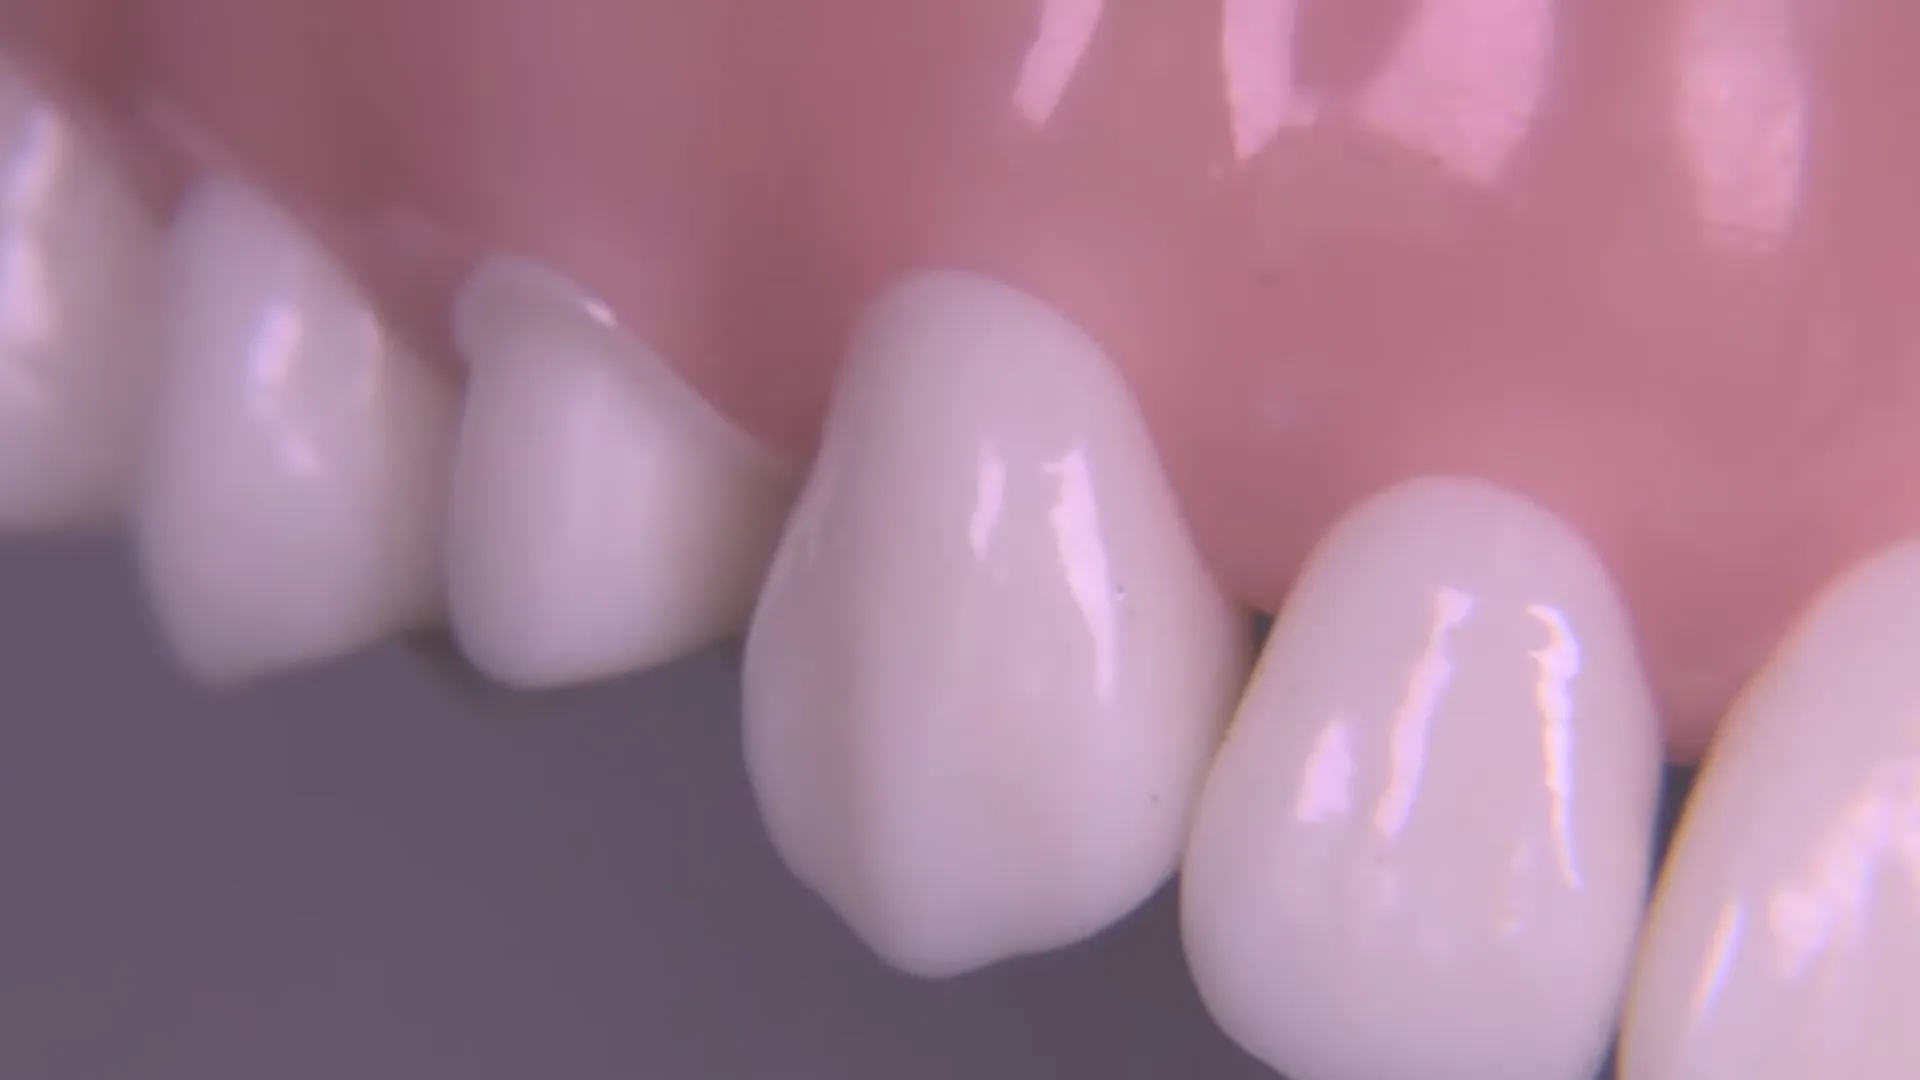
All Ceramic Prep #5 Kilgore 700 Series Typodont
Clinical Guide: All-Ceramic Posterior Crown Preparation
This document outlines the clinical protocols and techniques for preparing a posterior all-ceramic crown (Tooth #5) using the Universal Restorative Bur Kit. This approach emphasizes precision through the use of putty guides, specific reduction measurements, and the “ceramic obtuse fillet” margin.
1. Introduction to the Universal Restorative Bur Kit
The Universal Restorative Bur Kit is designed
 to cover virtually every restorative procedure. The kit primarily utilizes operative diamonds for bulk reduction, while carbides are reserved for caries removal, finishing, and polishing.
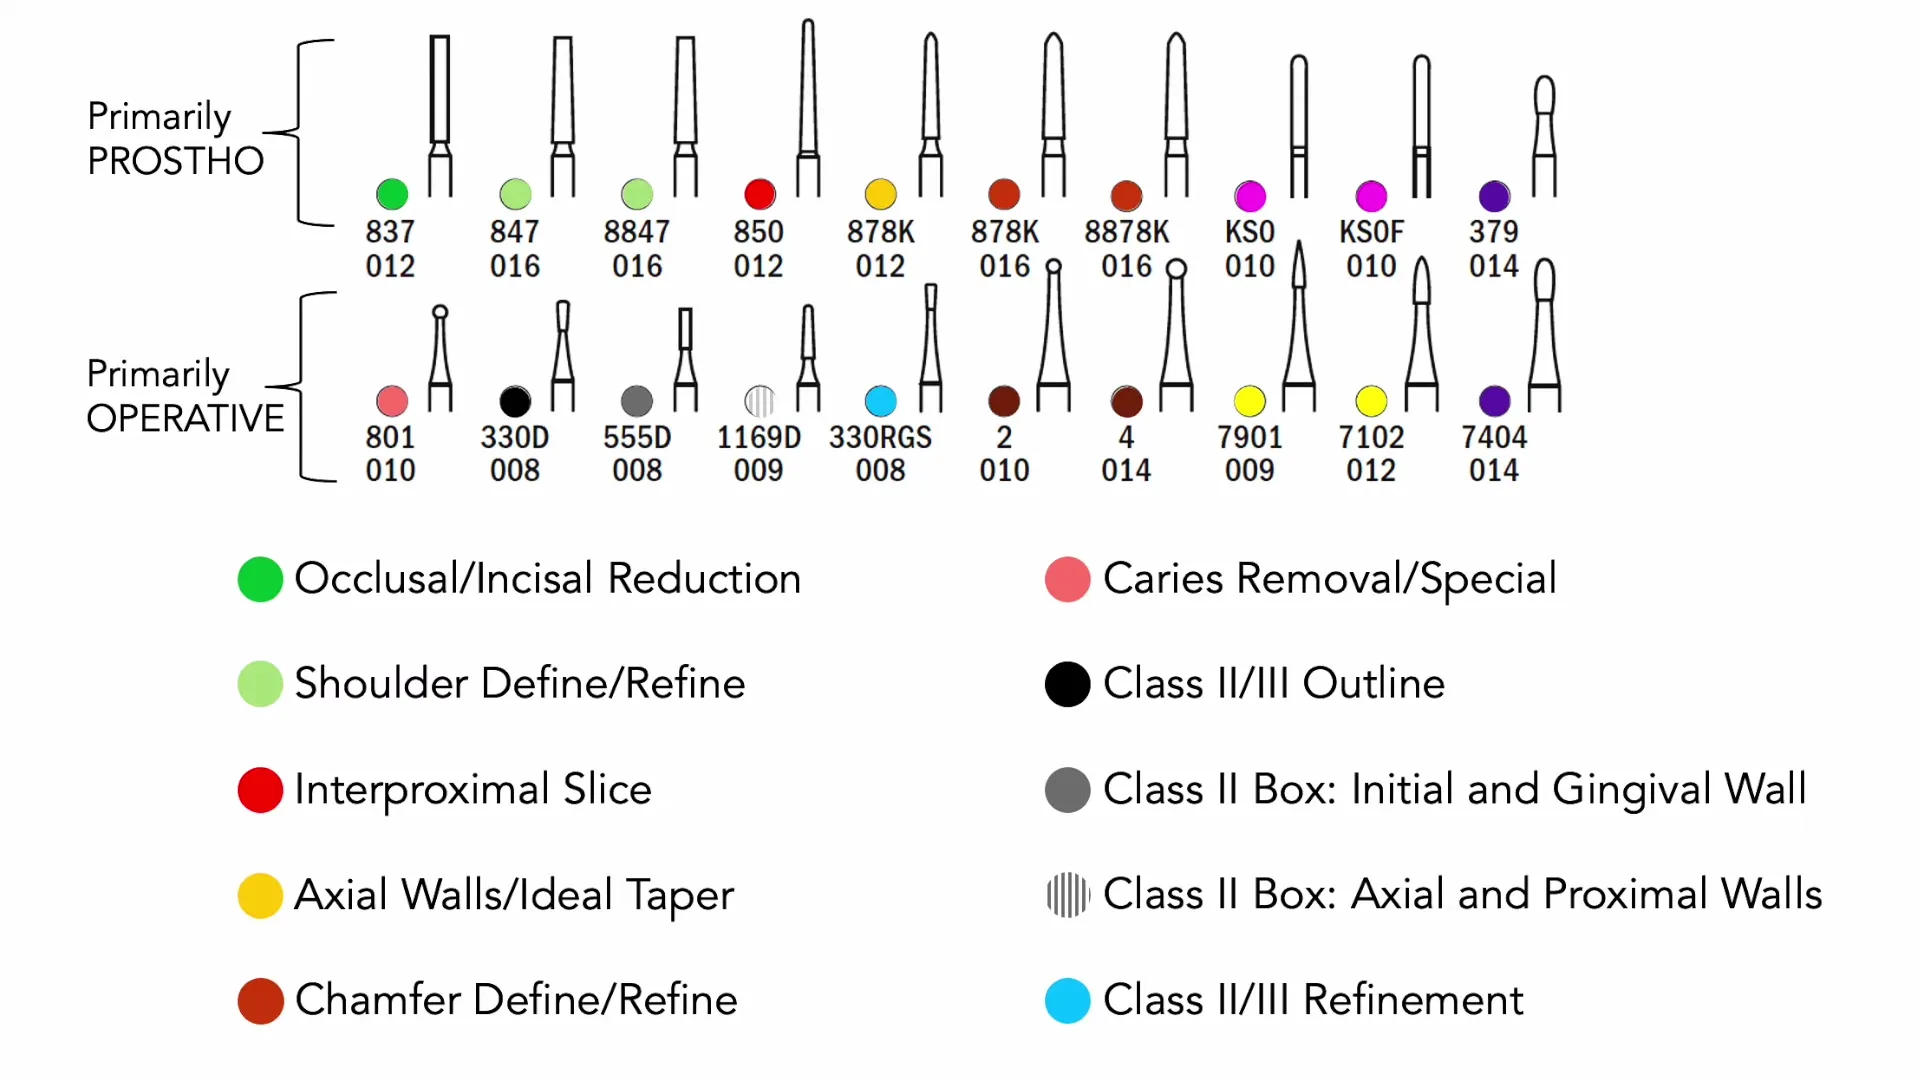
Key Burs for All-Ceramic Preparations
| Bur Ref # | Description | Primary Use |
|---|---|---|
| KS0 | 100-micron grit (1mm diameter) | Initial reduction and margin creation |
| 878K012 | Thin tapered diamond | Breaking interproximal contacts safely |
| KS0F | 30-micron fine grit diamond | Refining, smoothing, and final reduction |
| 7102 | Fine carbide | Smoothing edges and removing sharp transitions |
2. Pre-Preparation Assessment and Guides
Before beginning the reduction, it is essential to assess the existing occlusion and create a reference for the final restoration.
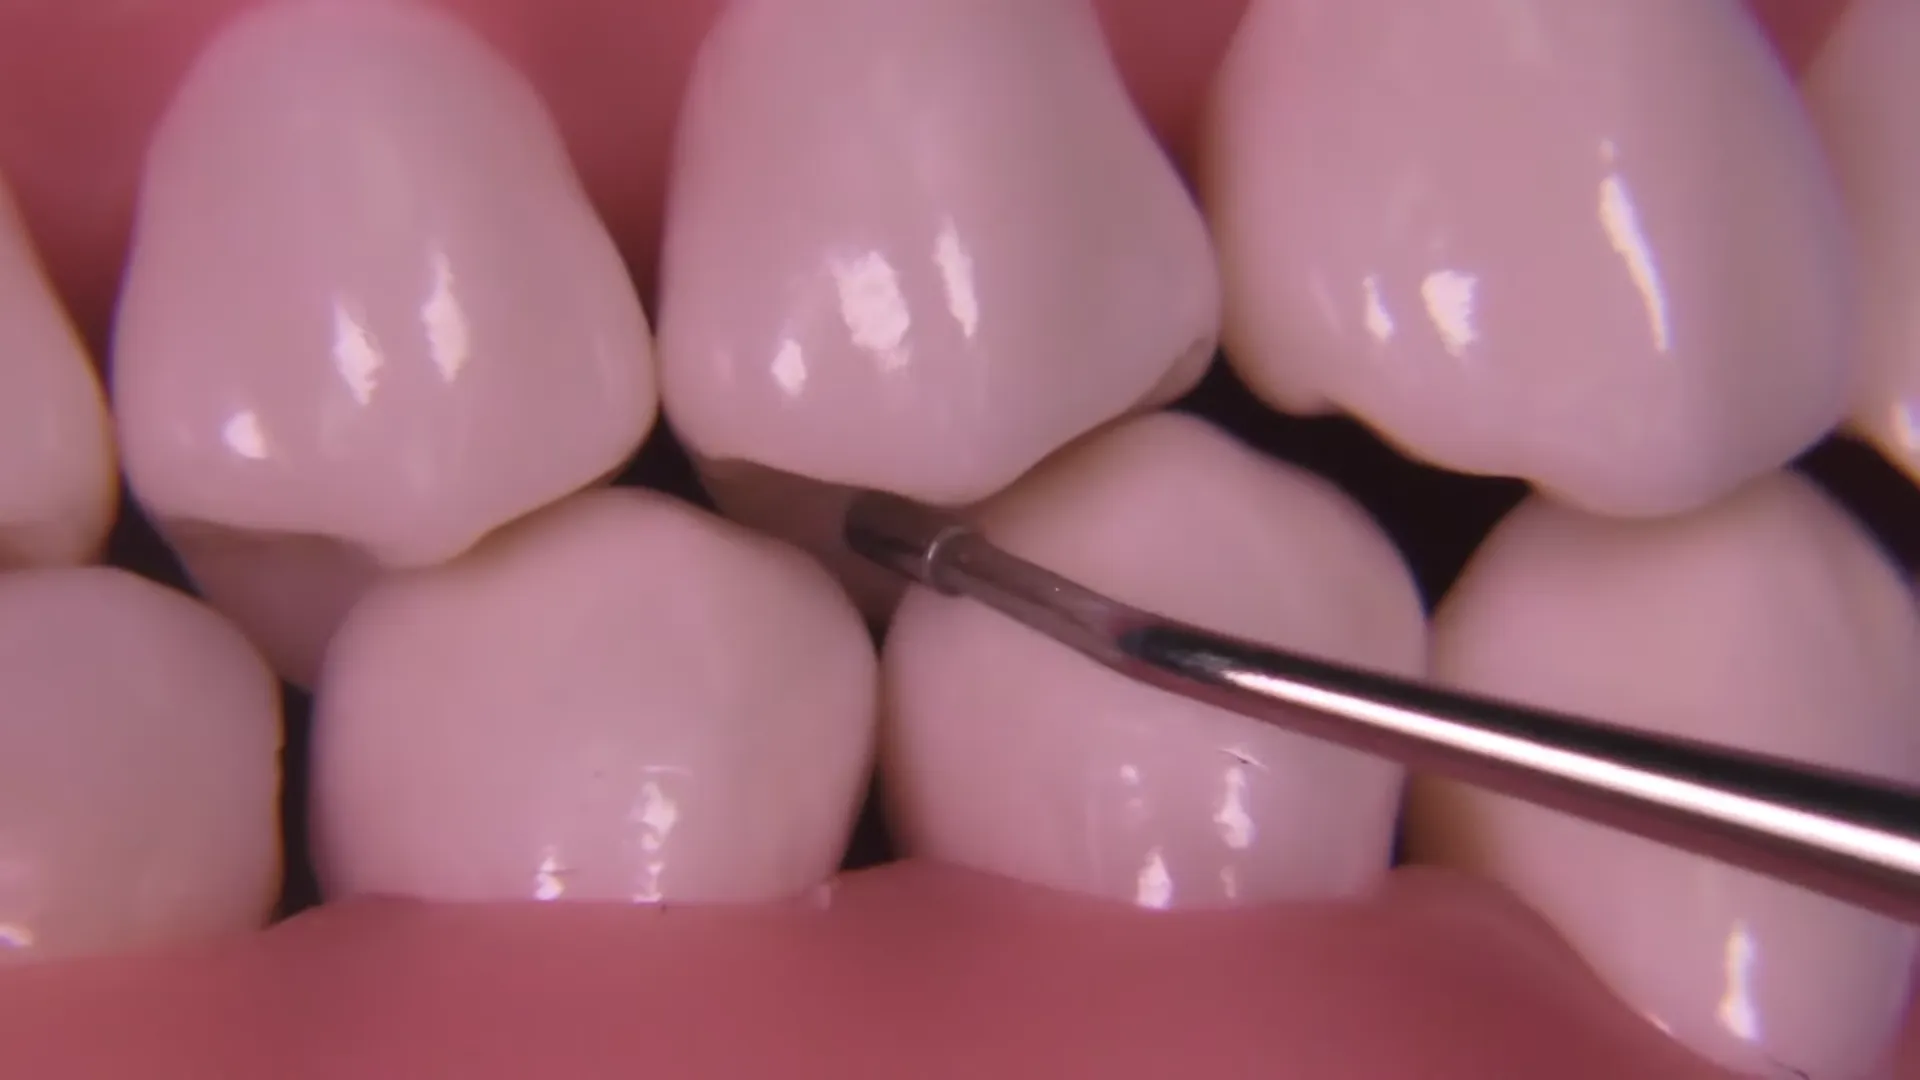
- Occlusal Assessment: On many typodonts or clinical cases, the tooth may already be out of occlusion. Use an RGS3 (1mm) probe to measure the baseline gap.
- Putty Reduction Guide:
- Apply a putty matrix over the tooth
and adjacent teeth. * Make a fiduciary mark to indicate orientation (anterior/posterior). * Trim the putty with a scalpel
to remove bulk, ensuring it fits comfortably in the patient’s mouth while remaining well-adapted to the teeth. * Note: Do not rely solely on the existing occlusal scheme if the tooth is already infra-occluded.
3. Reduction Requirements by Material
Reduction depth should be dictated by the specific restorative material being used:
- Zirconia: Requires approximately 1.5mm of clearance. While some suggest 1.0mm is possible, 1.5mm is recommended for better structural integrity.
- Lithium Disilicate (e.g., e.max): Ideally 1.5mm to 2.0mm.
- Exception: 1.0mm may be sufficient if the restoration is bonded to enamel (e.g., vertical dimension increases), but this limits the technician’s ability to create deep anatomy.
- PFM or Bi-layered Zirconia: Requires a full 2.0mm of clearance.
4. Preparation Technique
Initial Reduction and Margin Design
Using the KS0 bur (1mm diameter), begin the reduction. This bur is specifically used to create a Ceramic Obtuse Fillet margin.
- The Fillet Margin: Unlike a traditional chamfer (60-degree decline) or a shoulder, the fillet has a wide radius internal line angle with a slightly obtuse downward declination
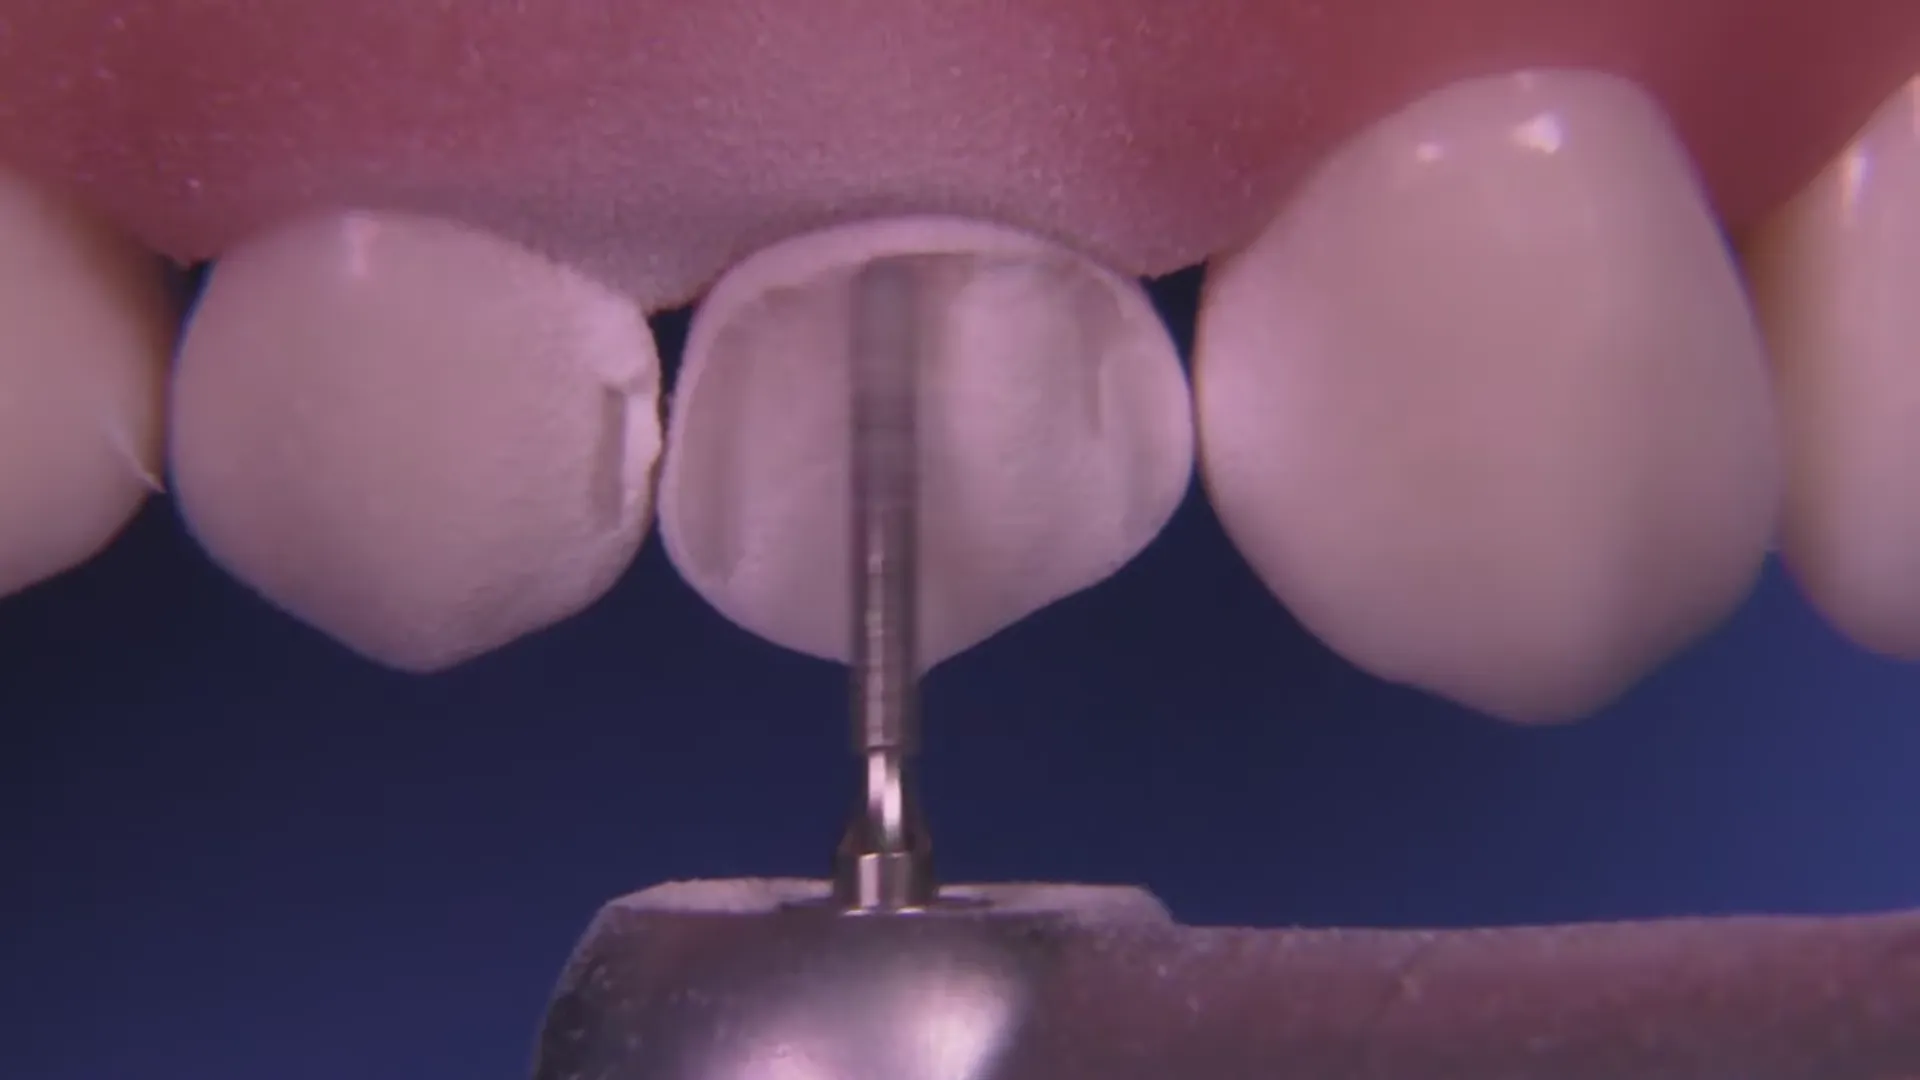 (approx. 15 degrees relative to the horizon).
Interproximal Contacts
For beginners and intermediate learners, use the 878K012 bur to break contacts.
This protects the adjacent tooth. Advanced practitioners may use the KS0, provided they have the high magnification and handpiece control necessary to avoid “nicking” the neighbor.
Axial and Occlusal Planes
To ensure proper contour and structural strength, the preparation must follow specific planes:
- Facial: Two planes (Primary and Secondary). Tip the bur to parallel the adjacent tooth’s contour.
- Lingual: Two planes (Primary and Secondary).
- Occlusal: Three planes (A, B, and C). The “A” plane
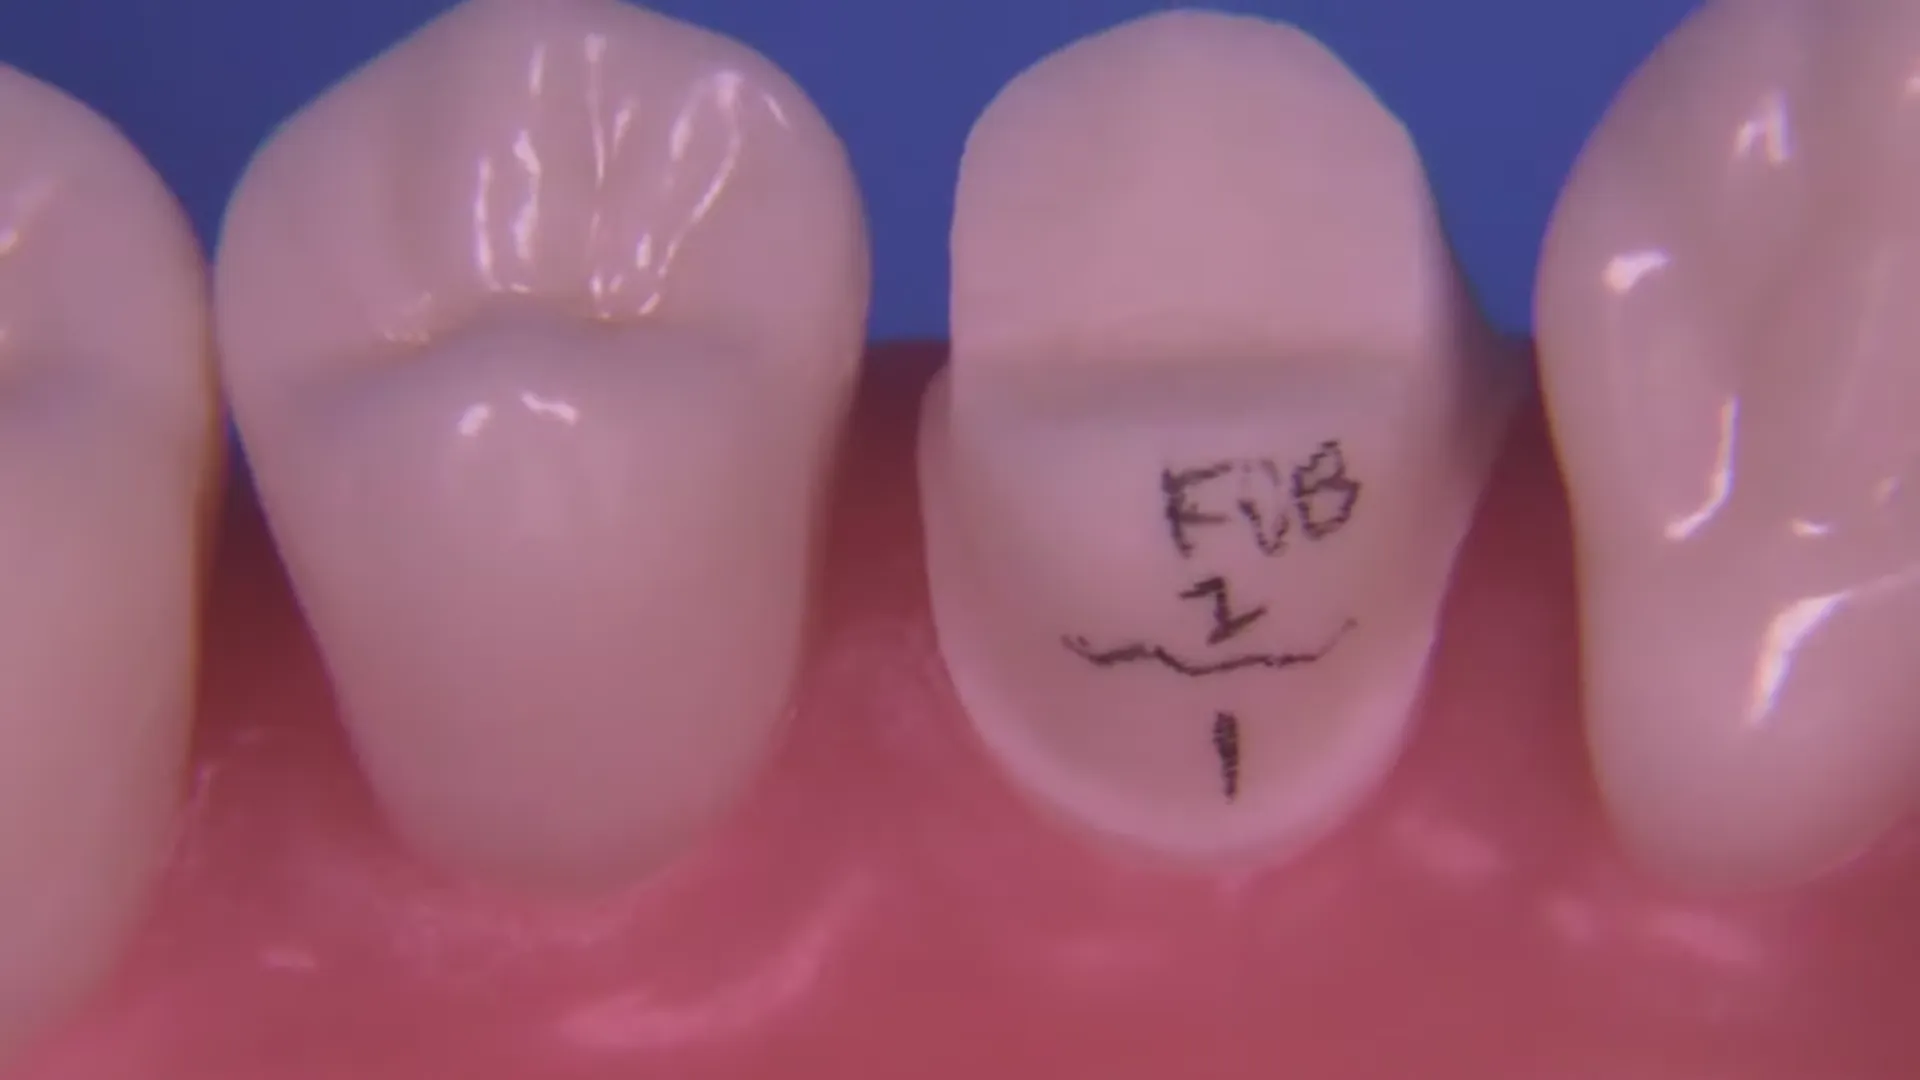 is the functional cusp bevel.
5. Refining and Troubleshooting
Under-reduction is the most common error in crown preparation. Use the KS0F (Fine) bur for final smoothing and to achieve the last 0.5mm of required clearance.
Common Corrections
- Internal Undercuts: If a pencil line drawn at the margin disappears when viewed from the occlusal, an internal undercut exists.
Use the tip of the bur to remove the bulge before paralleling the axial wall.
- Functional Cusp Bevel: Ensure the “A” plane is sufficiently reduced to allow for material thickness in high-stress areas.
- Sharp Edges: Use the 7102 carbide bur to round off all sharp transitional angles.
This is critical for CAD/CAM restorations, as milling machines tend to “over-mill” sharp internal peaks, resulting in a poor fit.
6. Final Evaluation
A successful preparation should meet the following criteria:
- Clearance: Verified with RGS3 (1mm) and RGS4 (1.5mm) probes
against the putty guide. 2. Finish Line: Equigingival (or 0.5mm above the tissue for exam purposes). 3. Smoothness: No jagged edges or “steps” between planes. 4. Path of Draw: No undercuts, with a slight taper that follows the anatomy of adjacent teeth. 5. Sagittal View: Check the side profile to ensure the preparation follows the natural curve of the arch.