Clinical Protocol: Monolithic Lithium Disilicate Crown Preparation
This document outlines the procedural steps for preparing tooth number 30
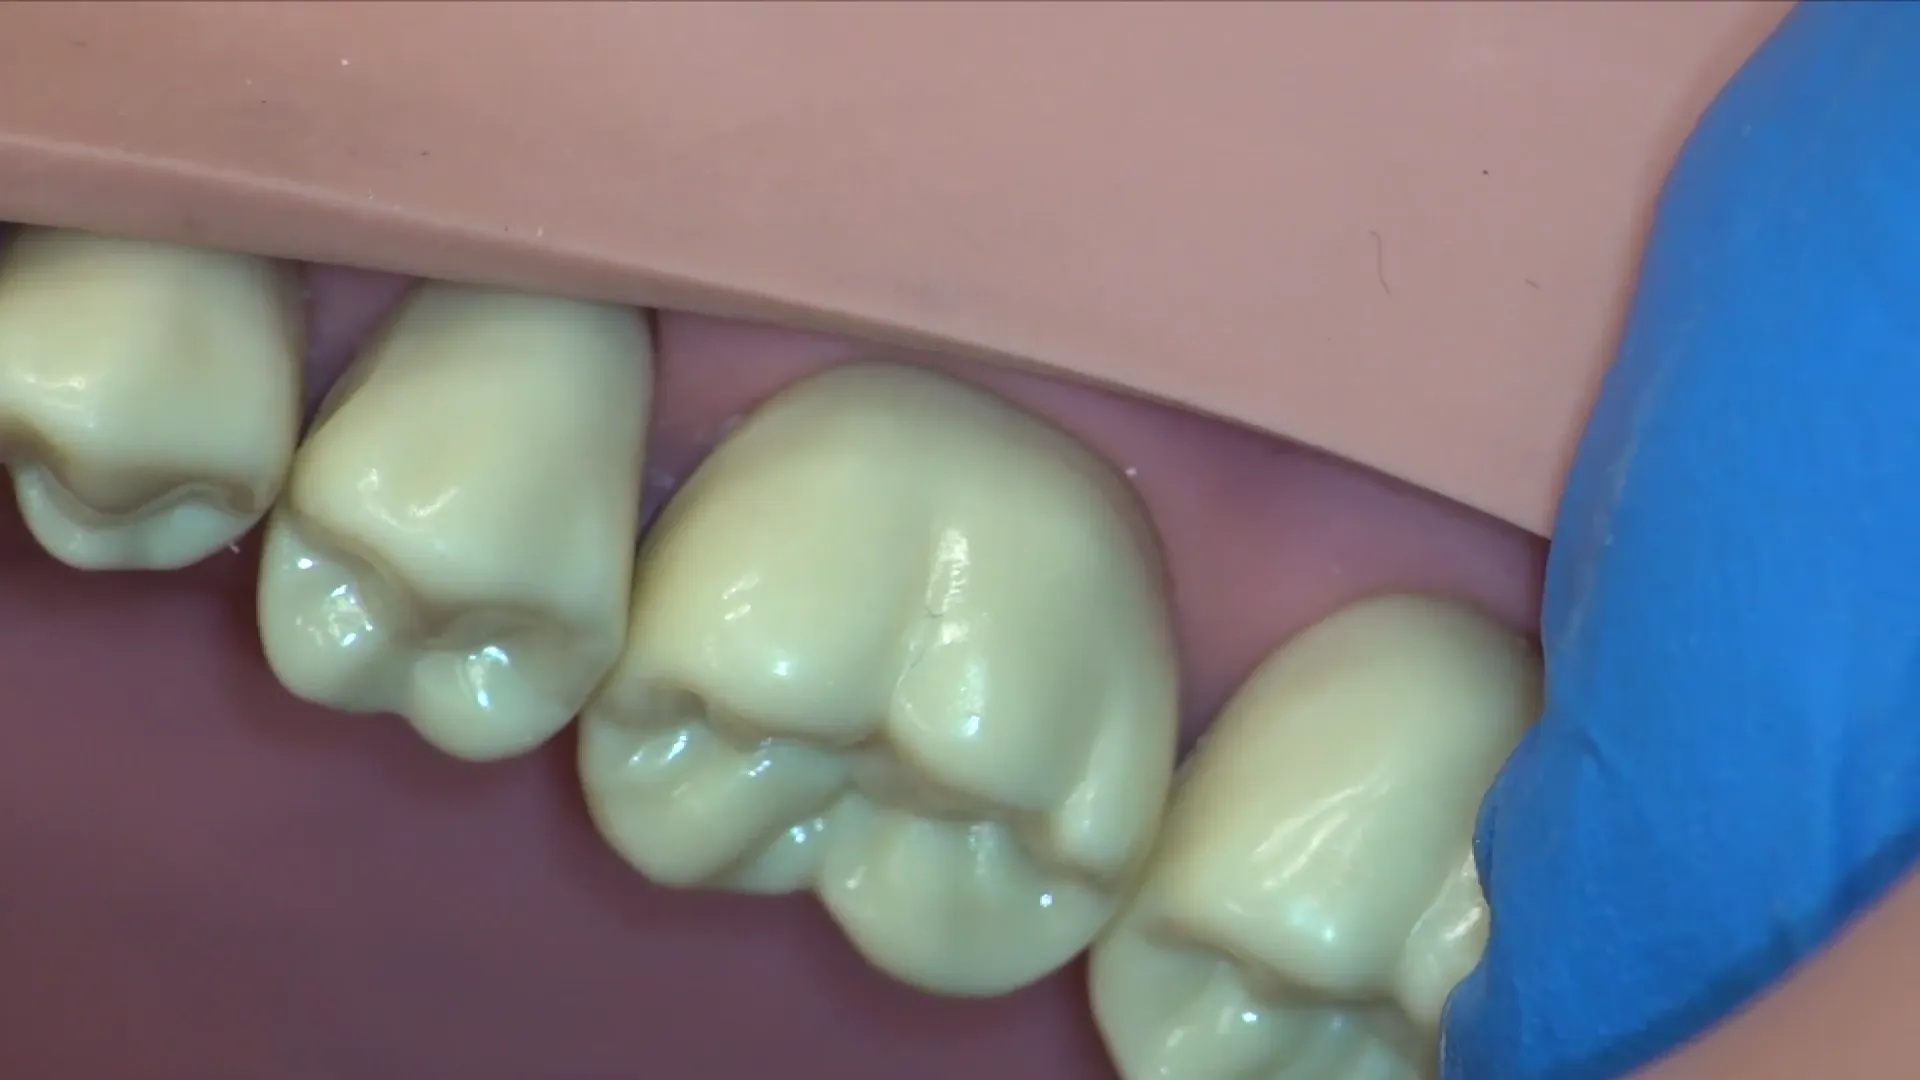 for a monolithic lithium disilicate crown. The design features a modified shoulder finish line and a uniform 2 mm reduction across all occlusal landmarks.
1. Preparation Overview and Patient Positioning
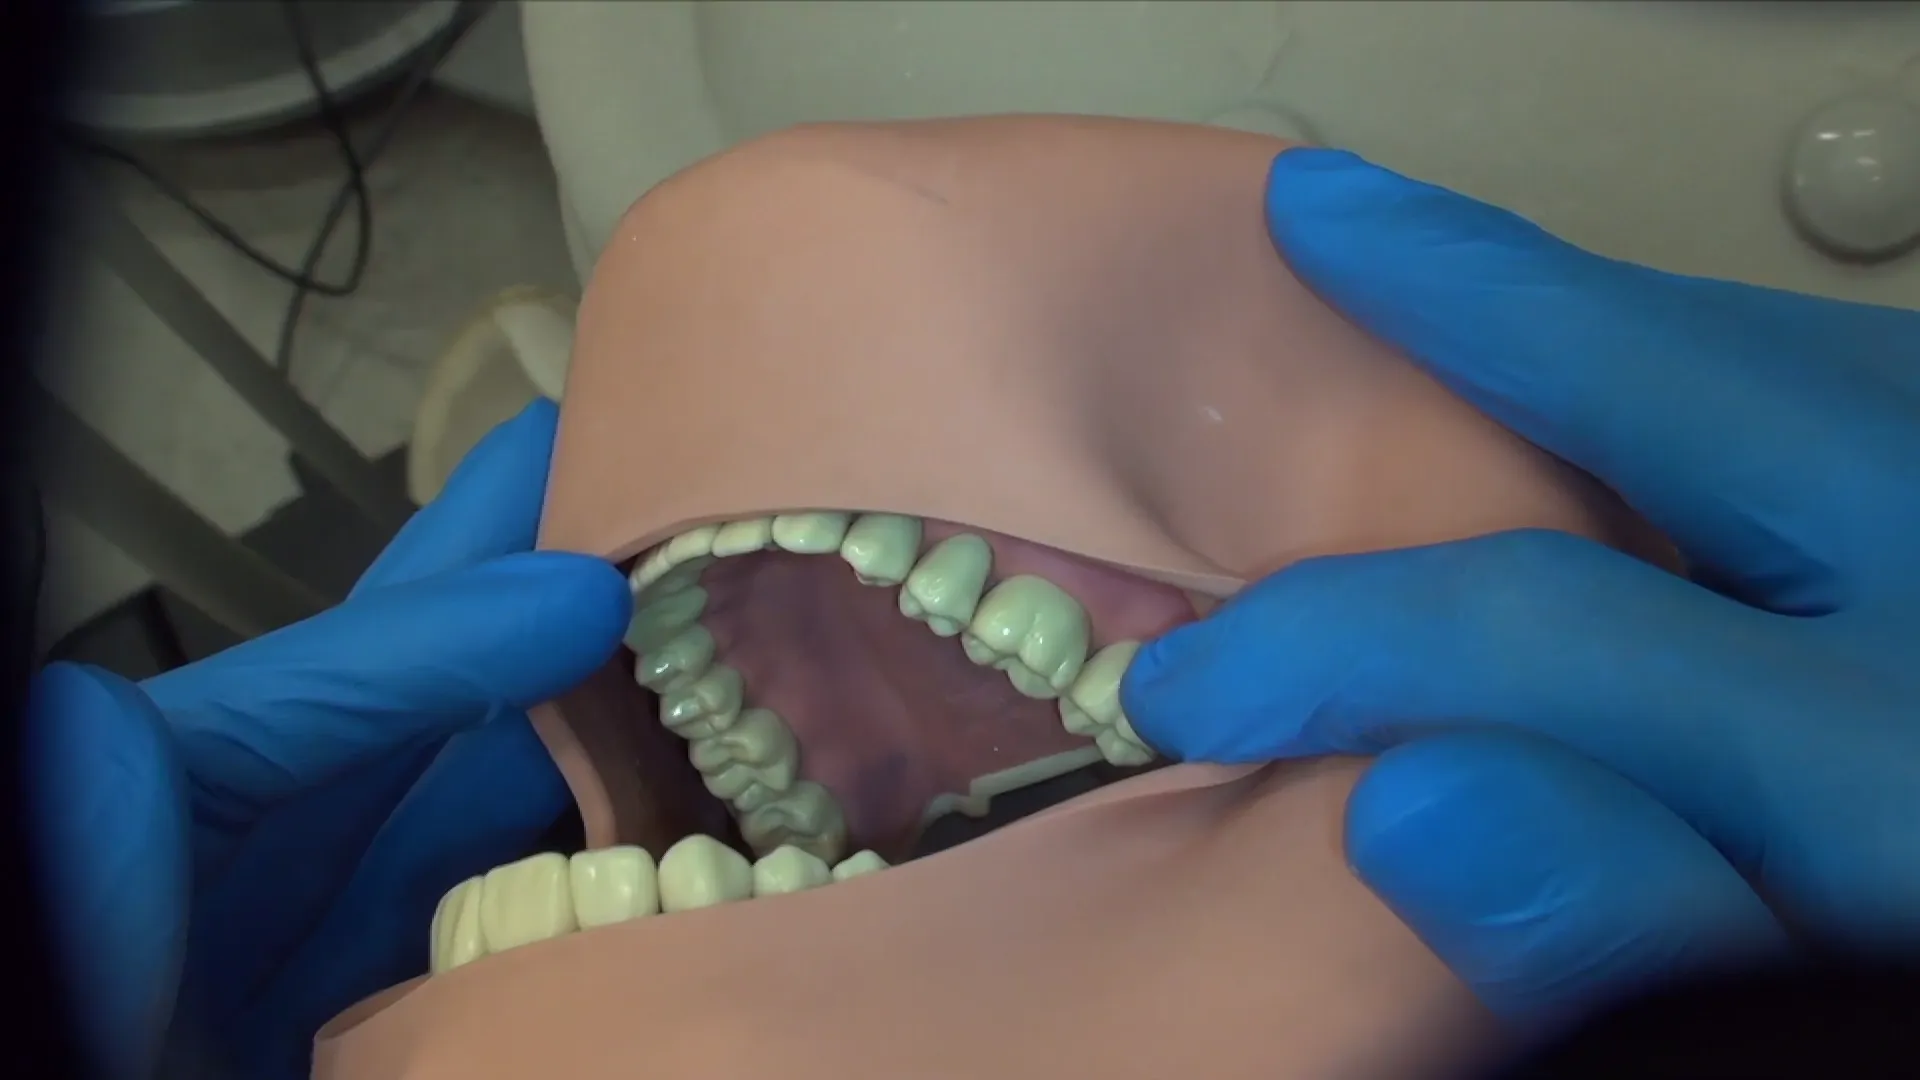
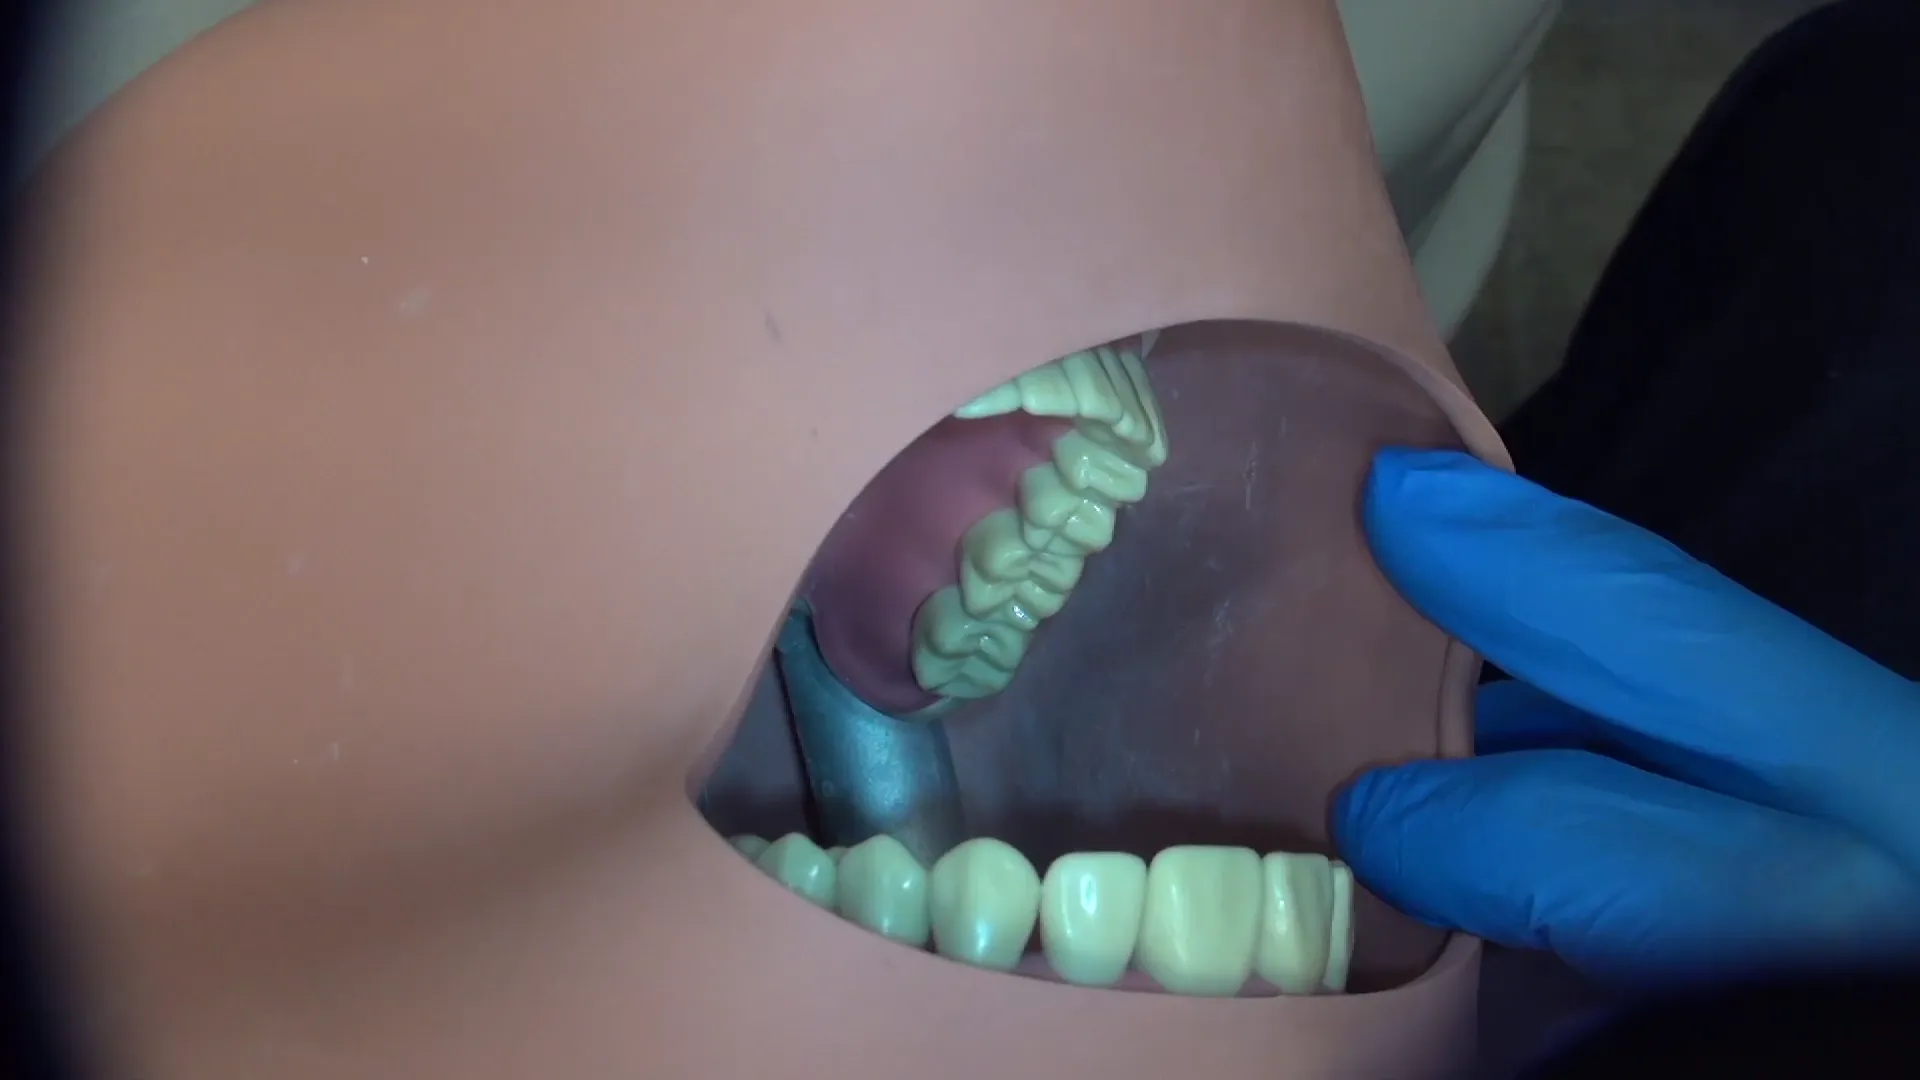
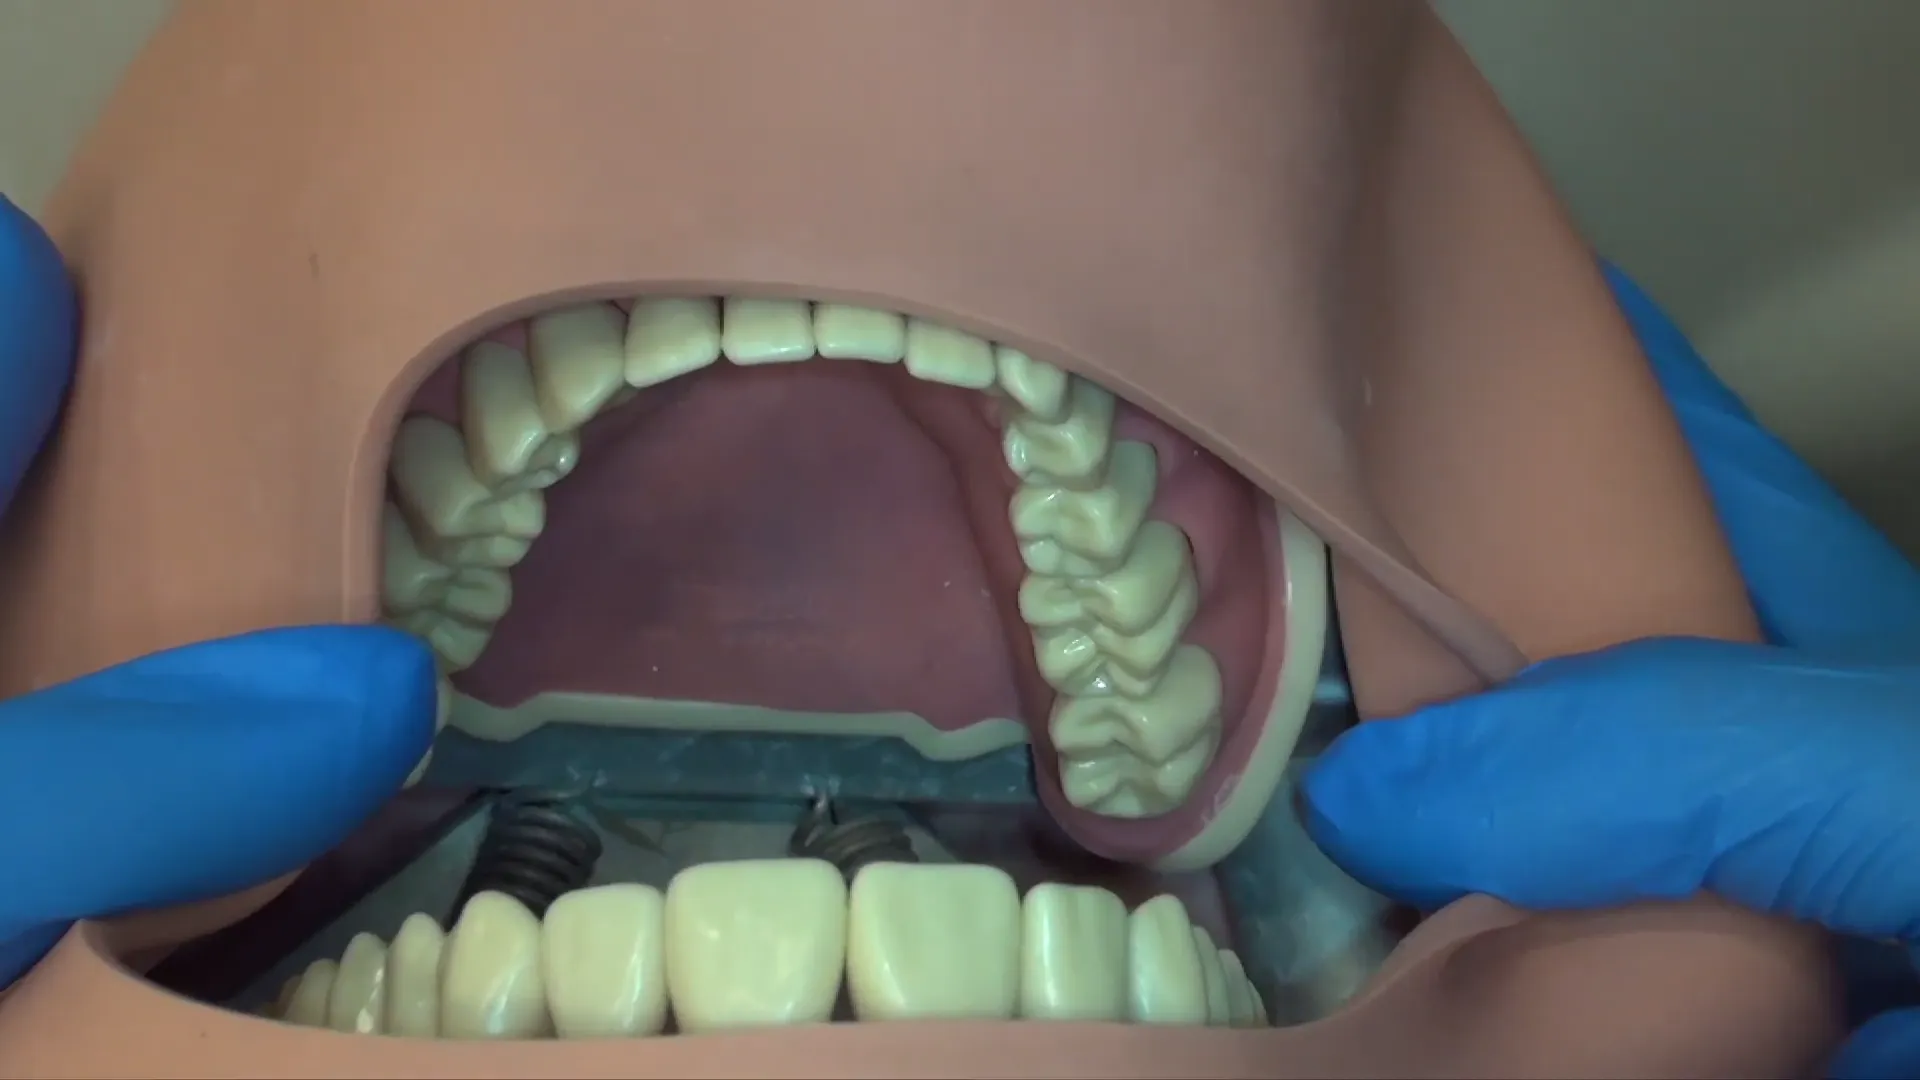
Successful preparation requires specific viewpoints to ensure accuracy. These views are achieved through patient head rotation rather than the use of a dental mirror.
| View | Patient Positioning |
|---|---|
| Buccal View | Rotate head to the left |
| Lingual View | Rotate head to the right |
| Occlusal / TOC View | Patient looking straightforward |
2. Pre-Preparation: Putty Reduction Guide
A putty reduction guide is essential for verifying adequate tooth reduction.
- Fabrication: Apply a small amount of putty directly to the occlusal surface first to prevent air bubbles and ensure sharp recording of the anatomy.
- Trimming: Trim the putty closely to the teeth to prevent gingival interference
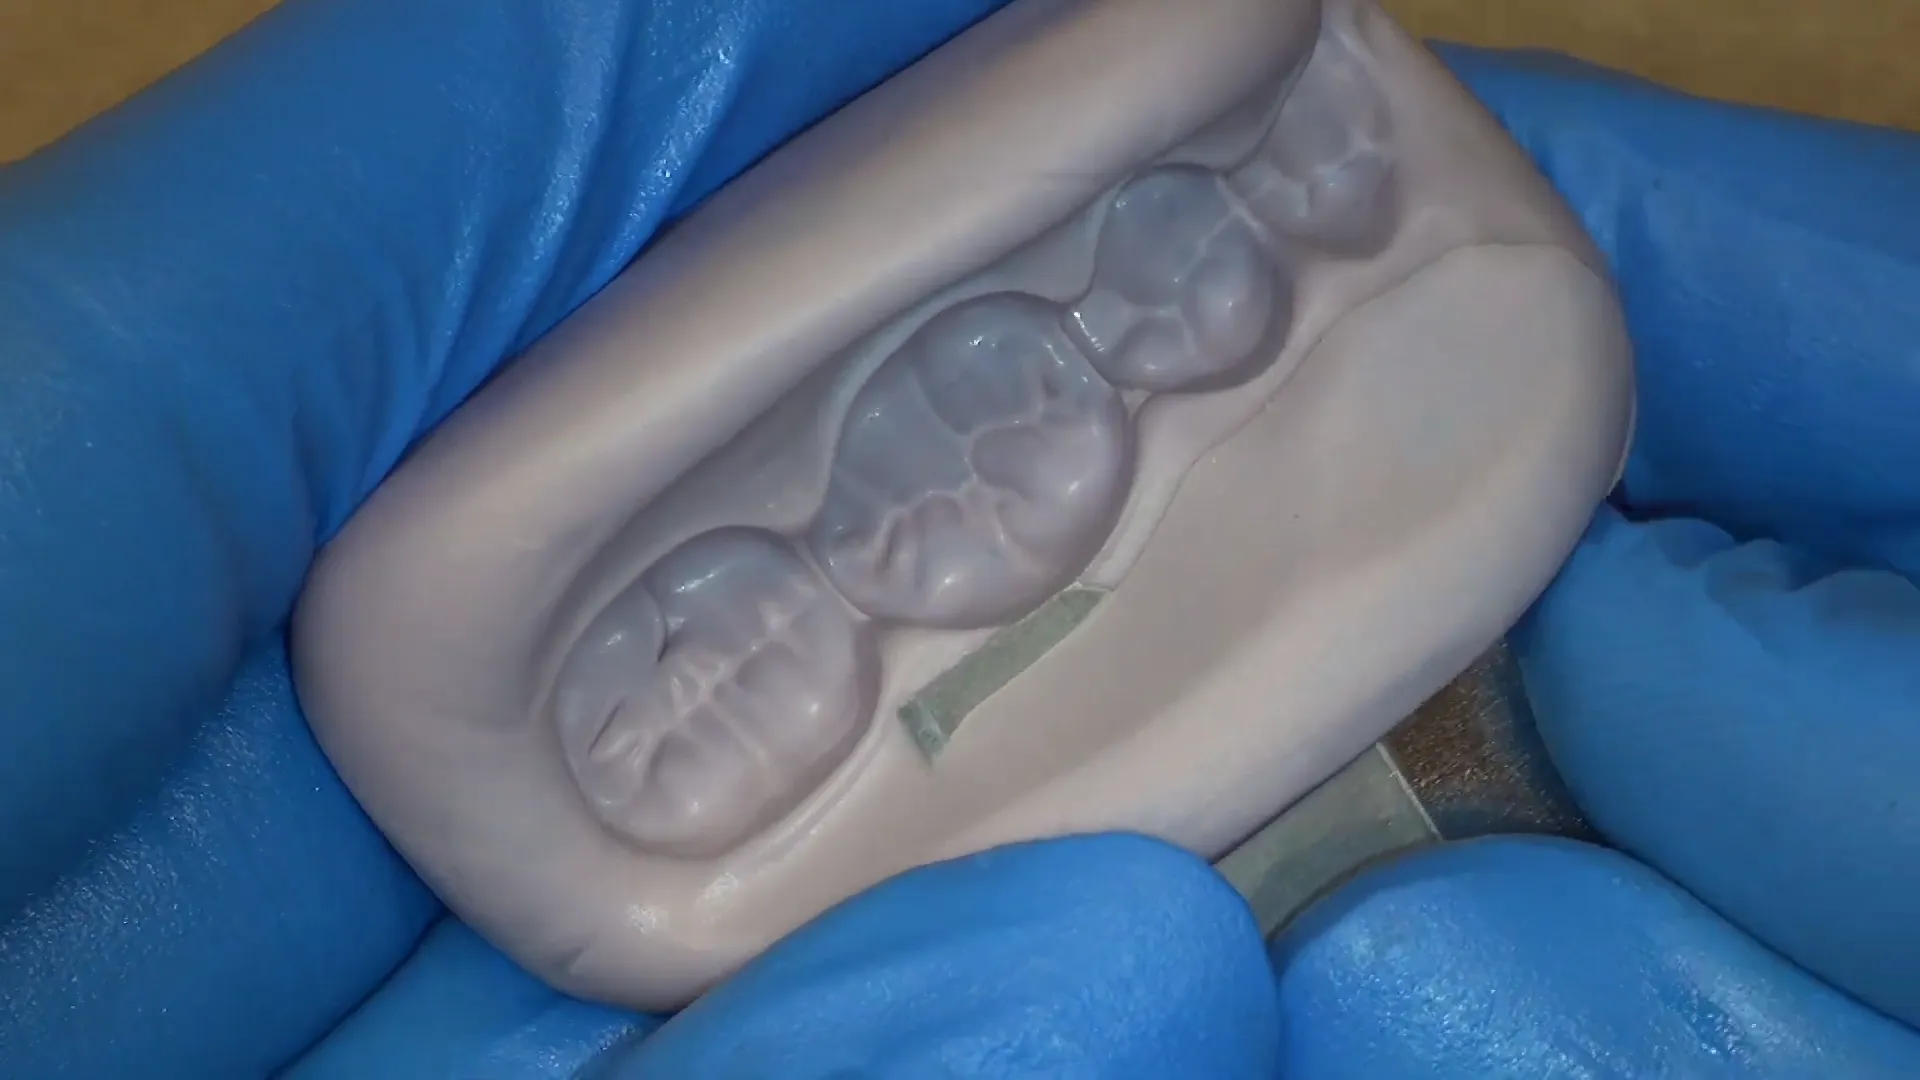 during seating.
- Sectioning: Cut the guide through the center of the deepest parts of the occlusal anatomy.
- Quality Control: If the putty does not fit perfectly or the anatomy is not well-defined
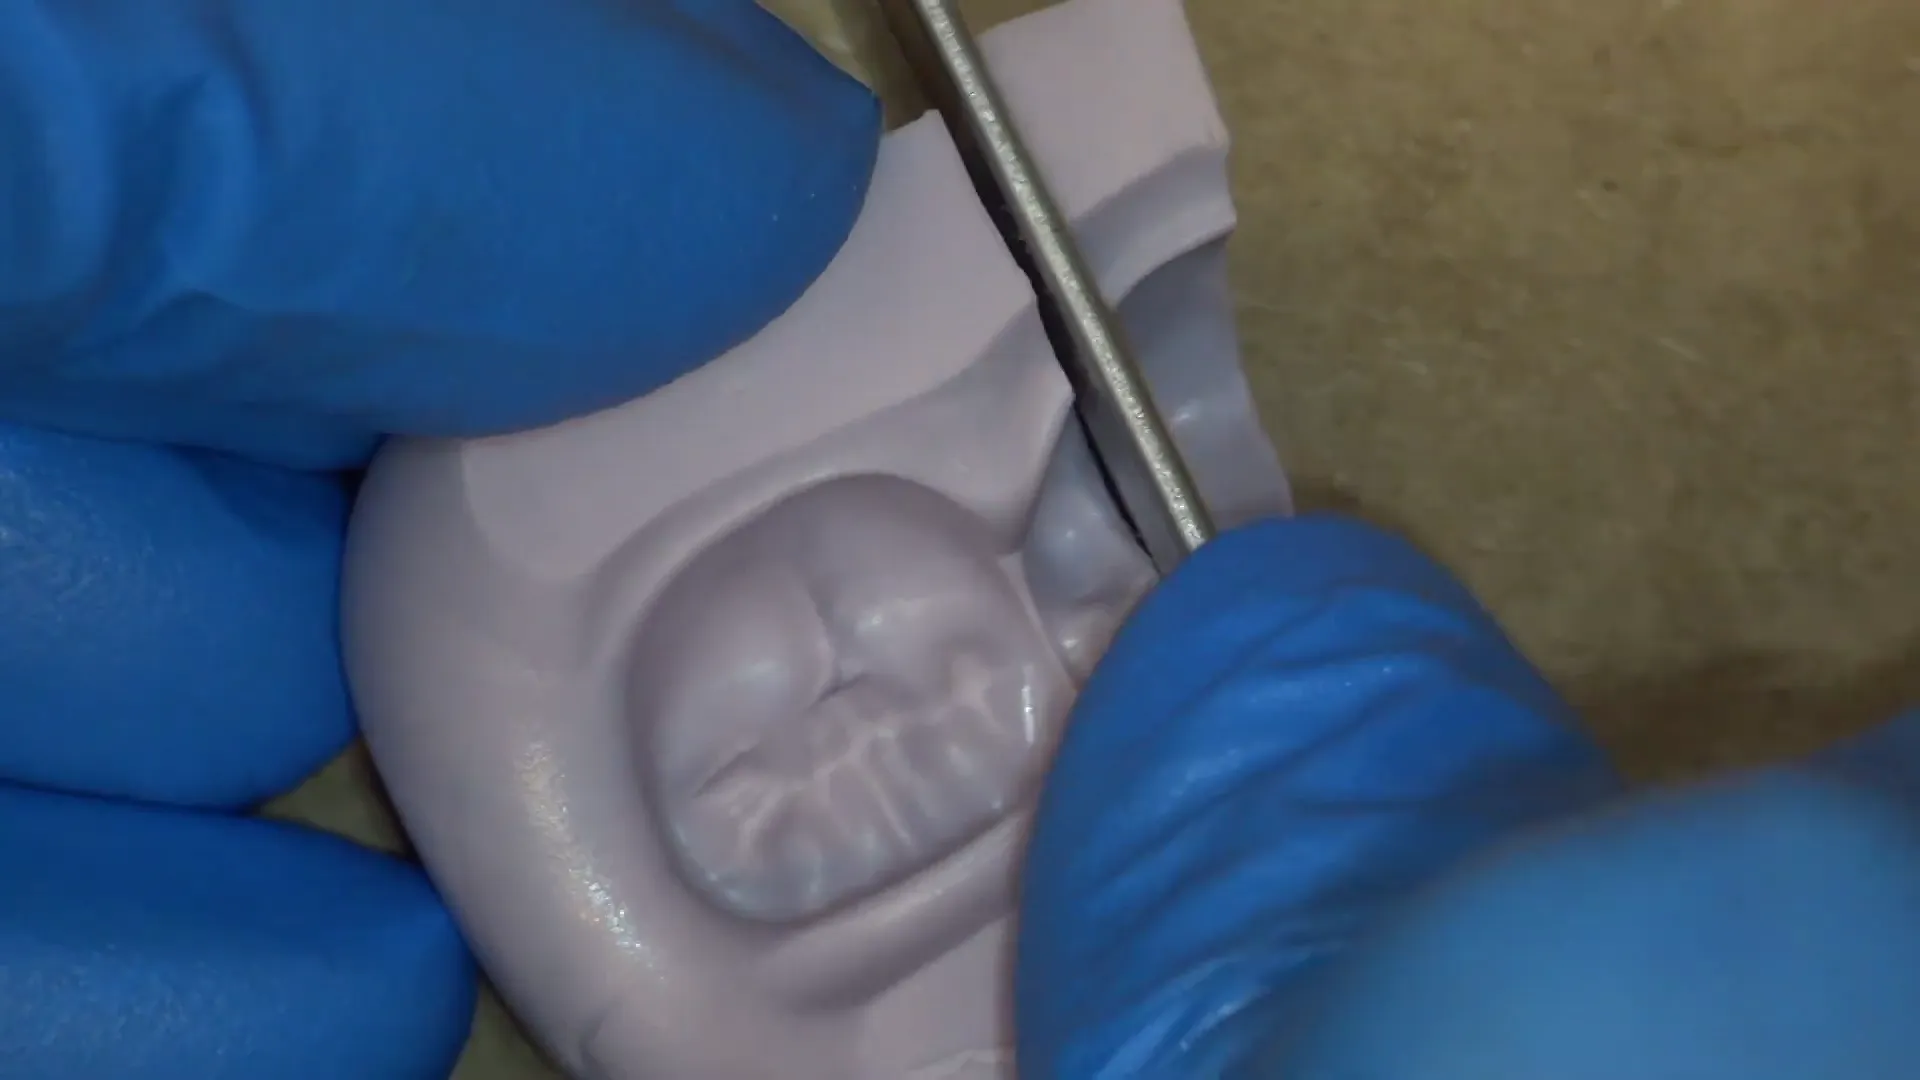 , a new guide must be fabricated before proceeding.
3. Axial Reduction and Interproximal Separation
Buccal Axial Reduction
- Stability: Use a finger rest on both hands, using the left hand to support the handpiece.
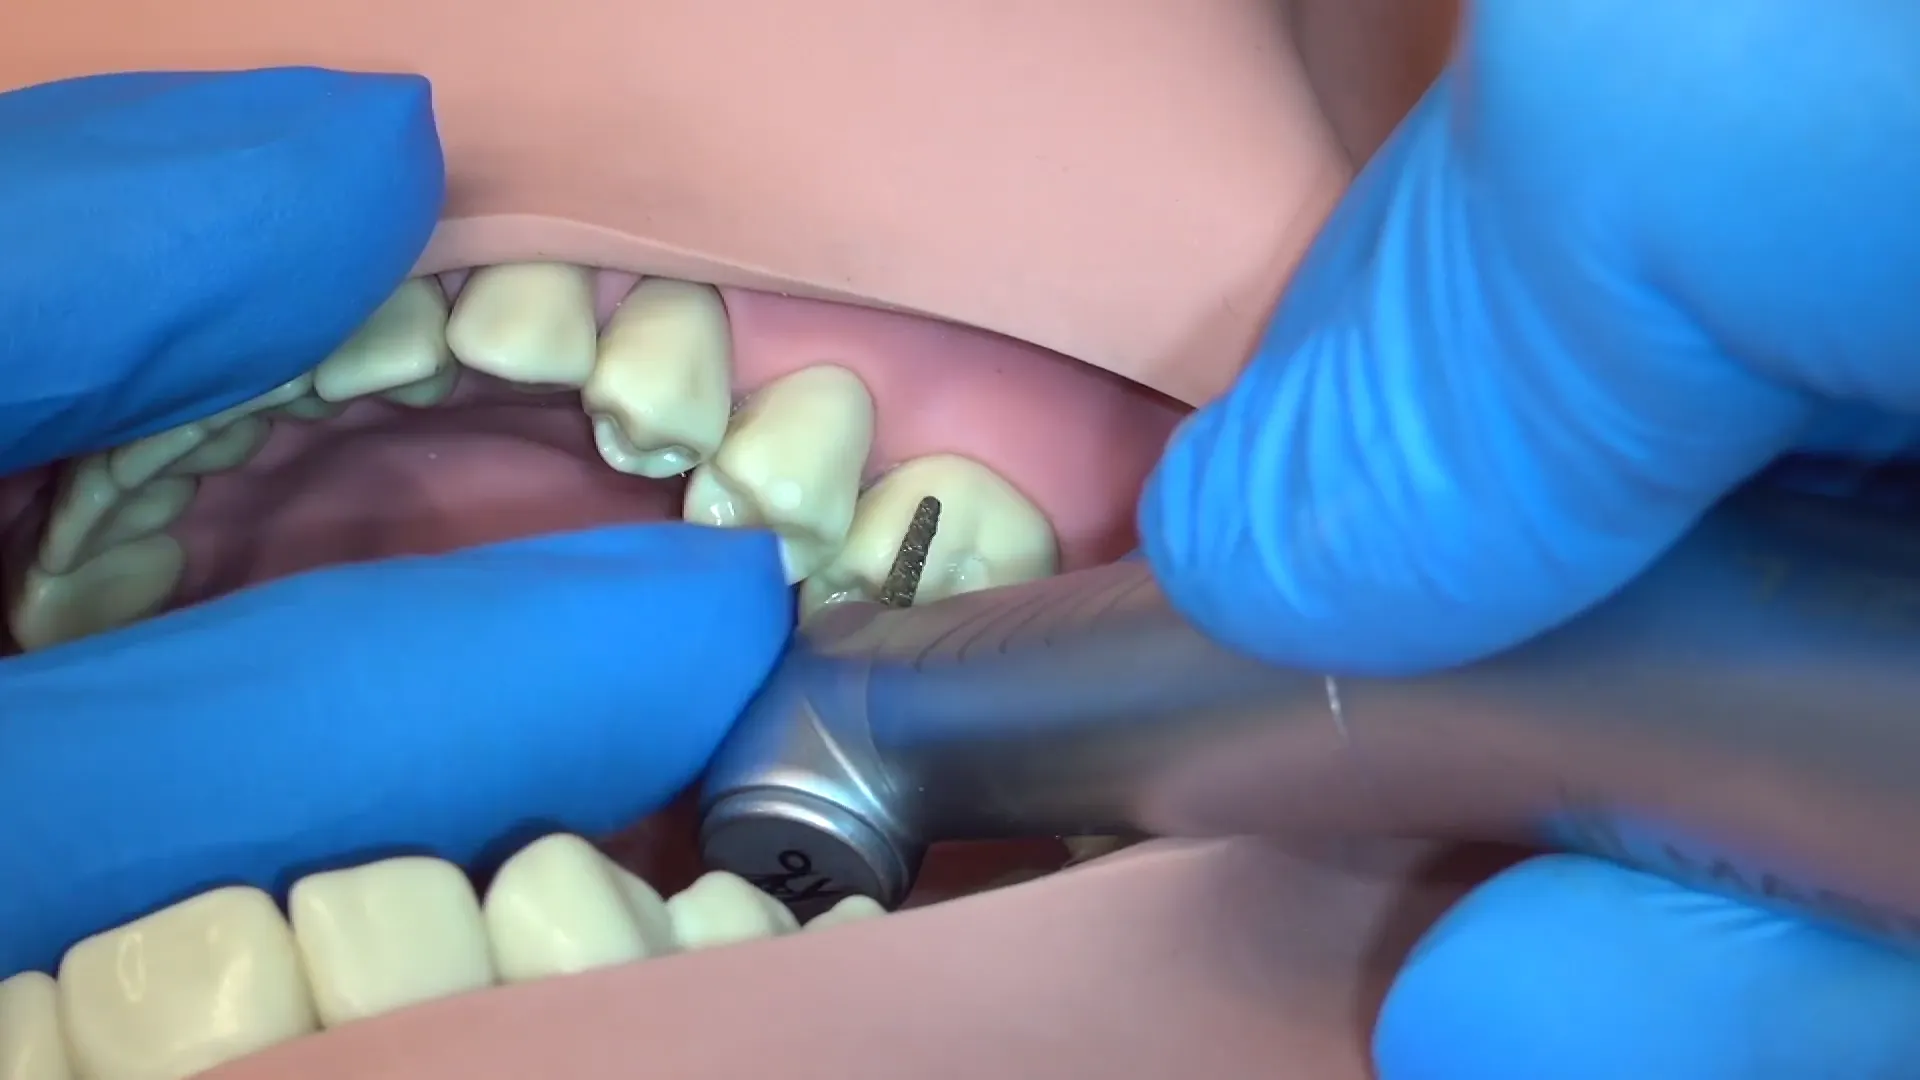
- Bur Rotation: To maintain control when removing large amounts of tooth structure, move the handpiece against the direction of the bur’s rotation.
(e.g., if the bur rotates right, move the handpiece to the left).
- Finish Line: Aim for correct placement during the initial cut, as adjusting a poorly placed finish line is significantly more difficult than initial accurate placement.
Interproximal Separation
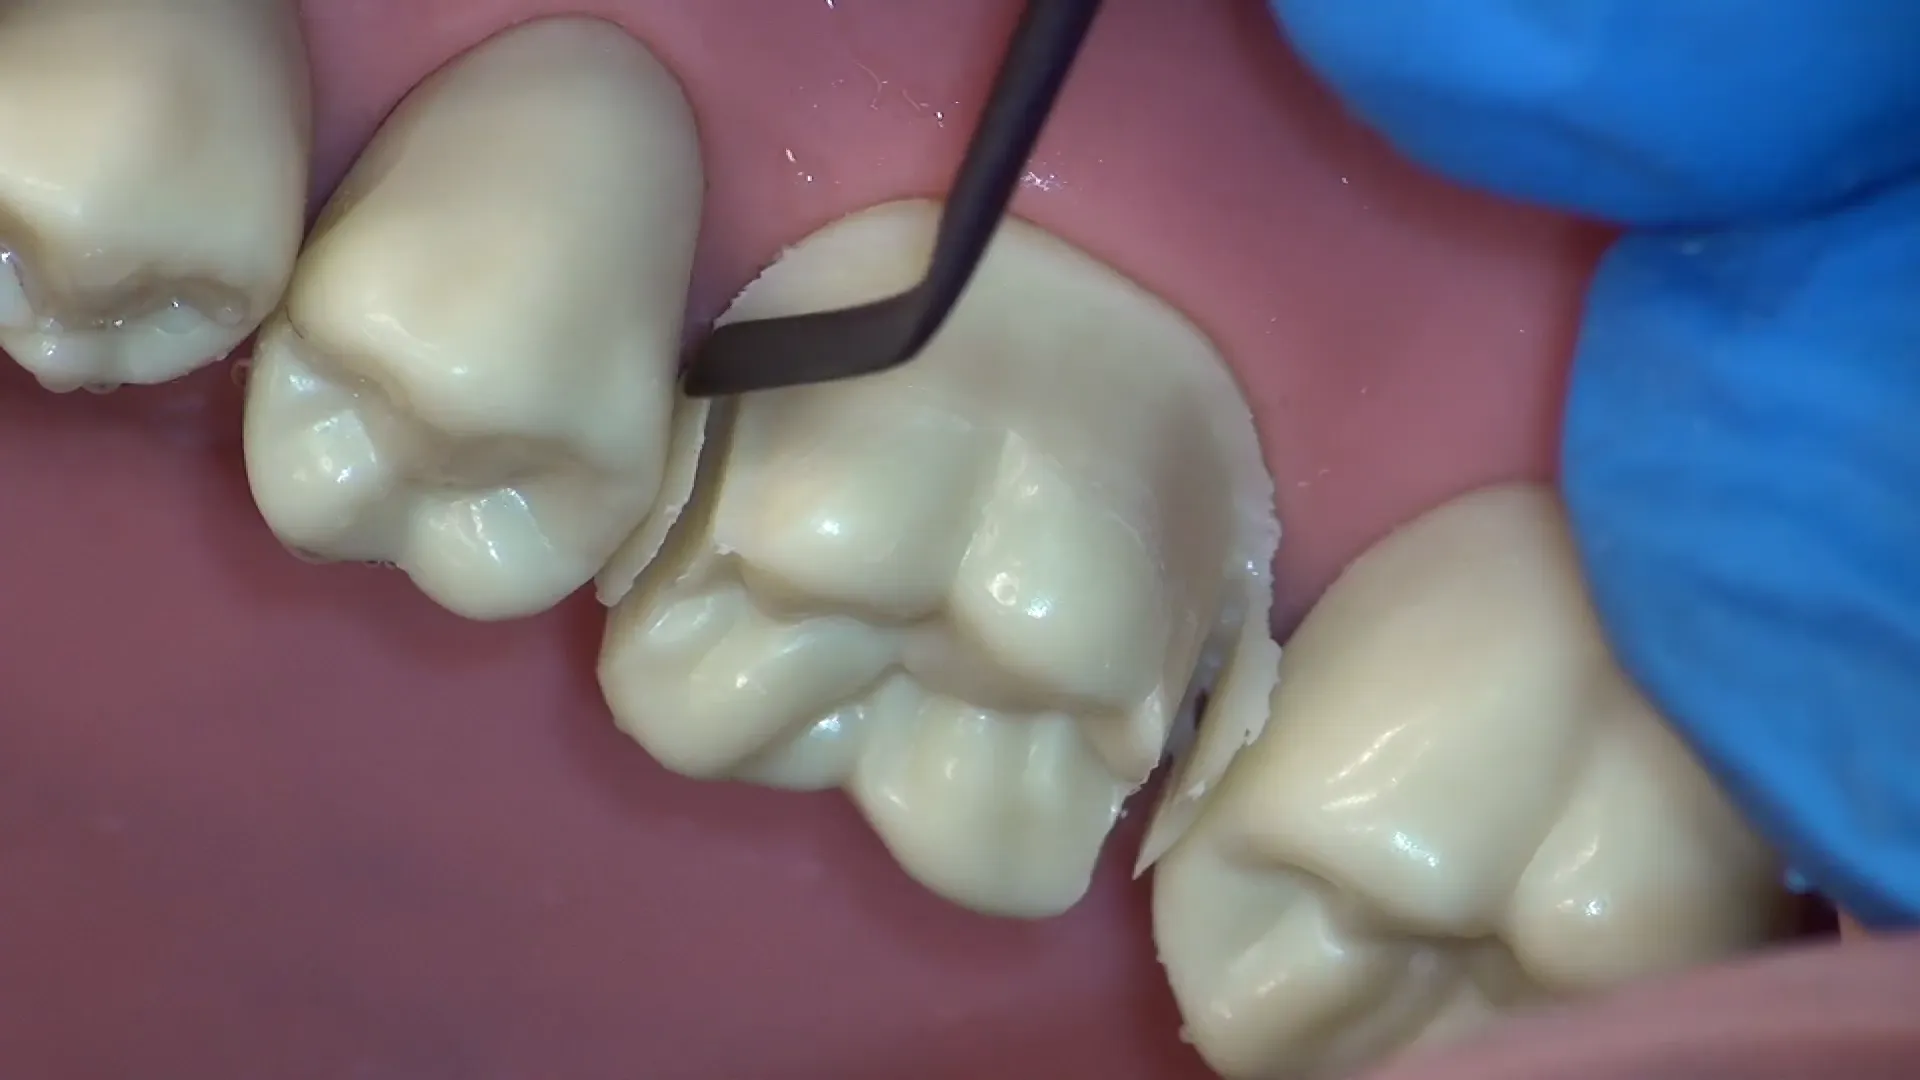
- Technique: Use a thin bur to move through the contact area, leaving a “thin shell” of enamel to protect the adjacent tooth.
- Irrigation: Lift the bur intermittently to allow water to reach the site and prevent overheating.
- Completion: Once the cut is complete, remove the remaining thin shields of tooth structure with a small hand instrument.
Lingual Axial Reduction
- Rotate the patient’s head to the right for a direct view.
- Extend the reduction around the distolingual line angle.
- Compare the axial surface with adjacent teeth to ensure a harmonious contour.
4. Occlusal Reduction
Depth Grooves
Depth grooves serve as the primary guide to prevent under-reduction.
- Target Depth: 2.0 mm for the functional cusp, non-functional cusp, central groove, and functional cusp bevel.
- Placement: Place grooves at the highest points (cusp tips) and deepest points (grooves) of the occlusal surface.
- Verification: Use a periodontal probe (ideally with 0.5 mm markings) to verify depth.
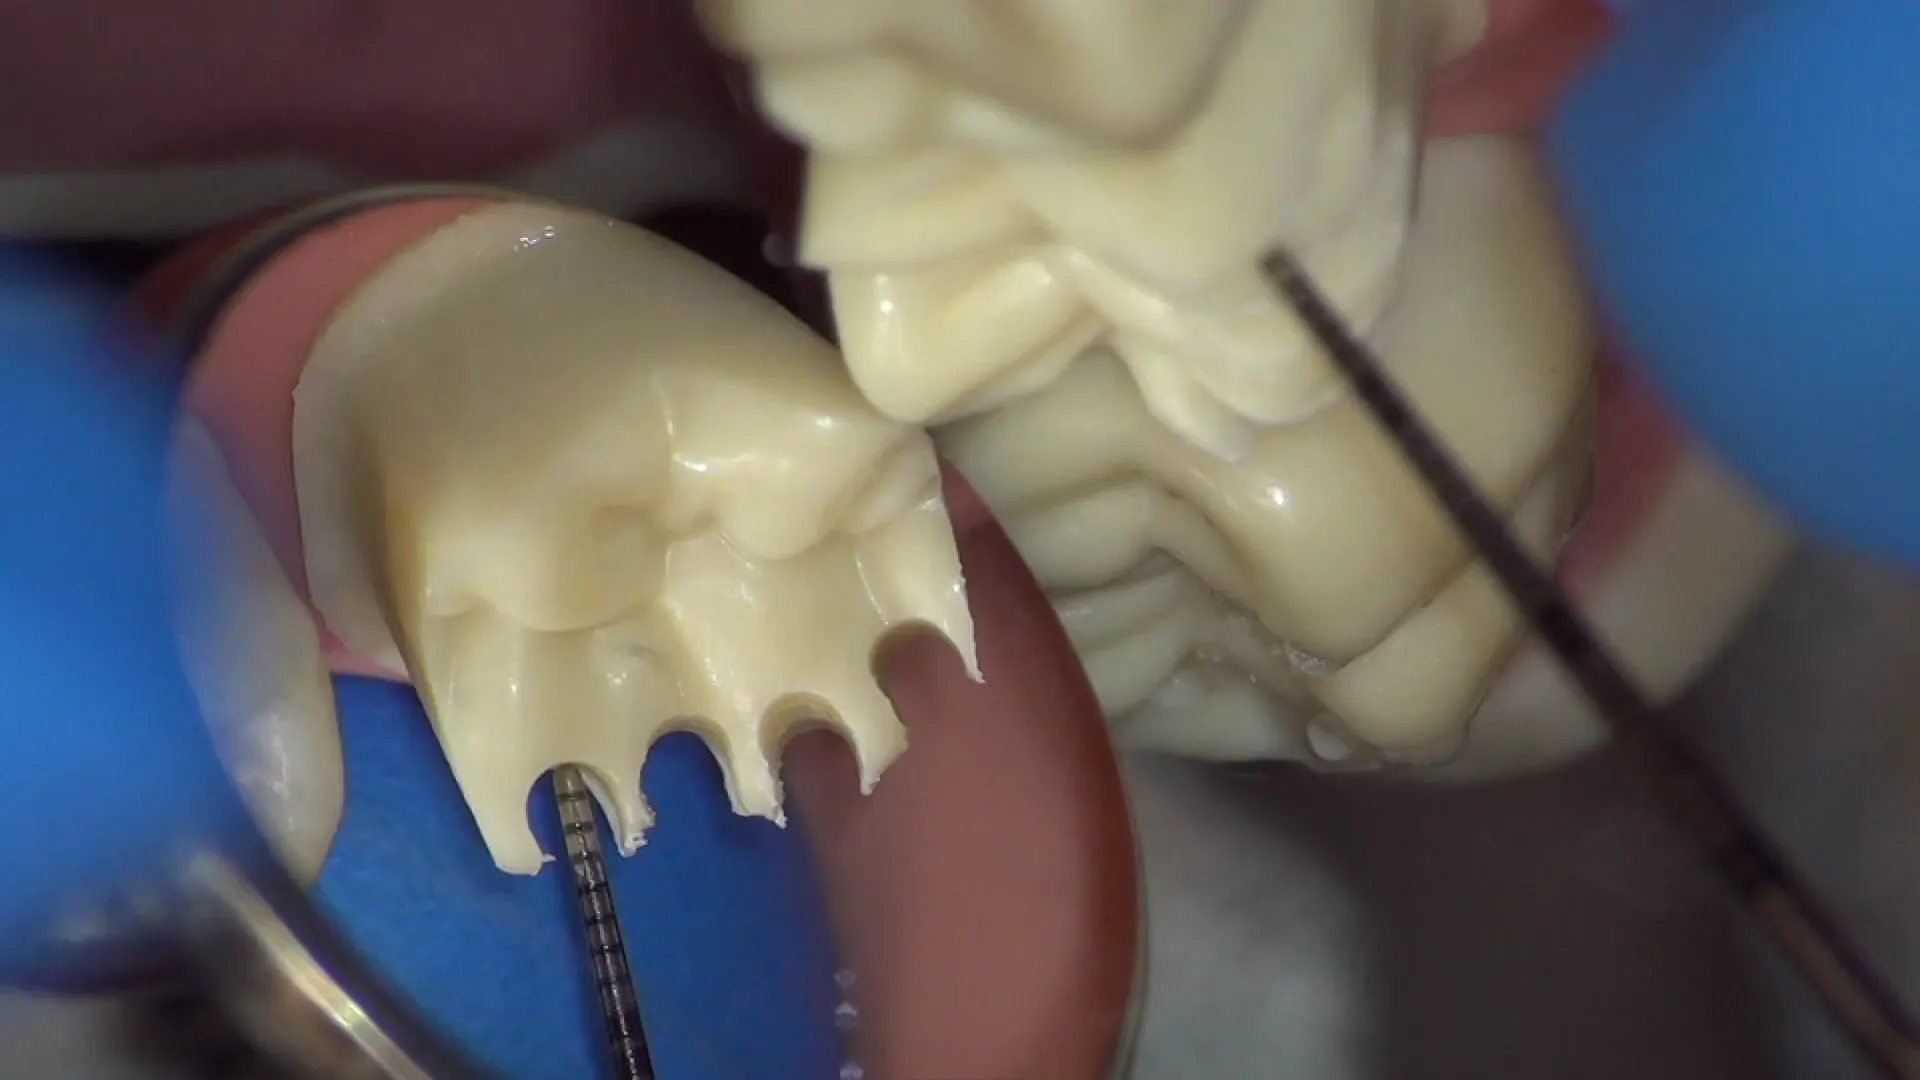 If the reduction is between 1.0 mm and 1.5 mm, increase the depth until a full 2.0 mm is achieved.
- Visual Aid: Mark the bottom of the depth grooves with a pencil
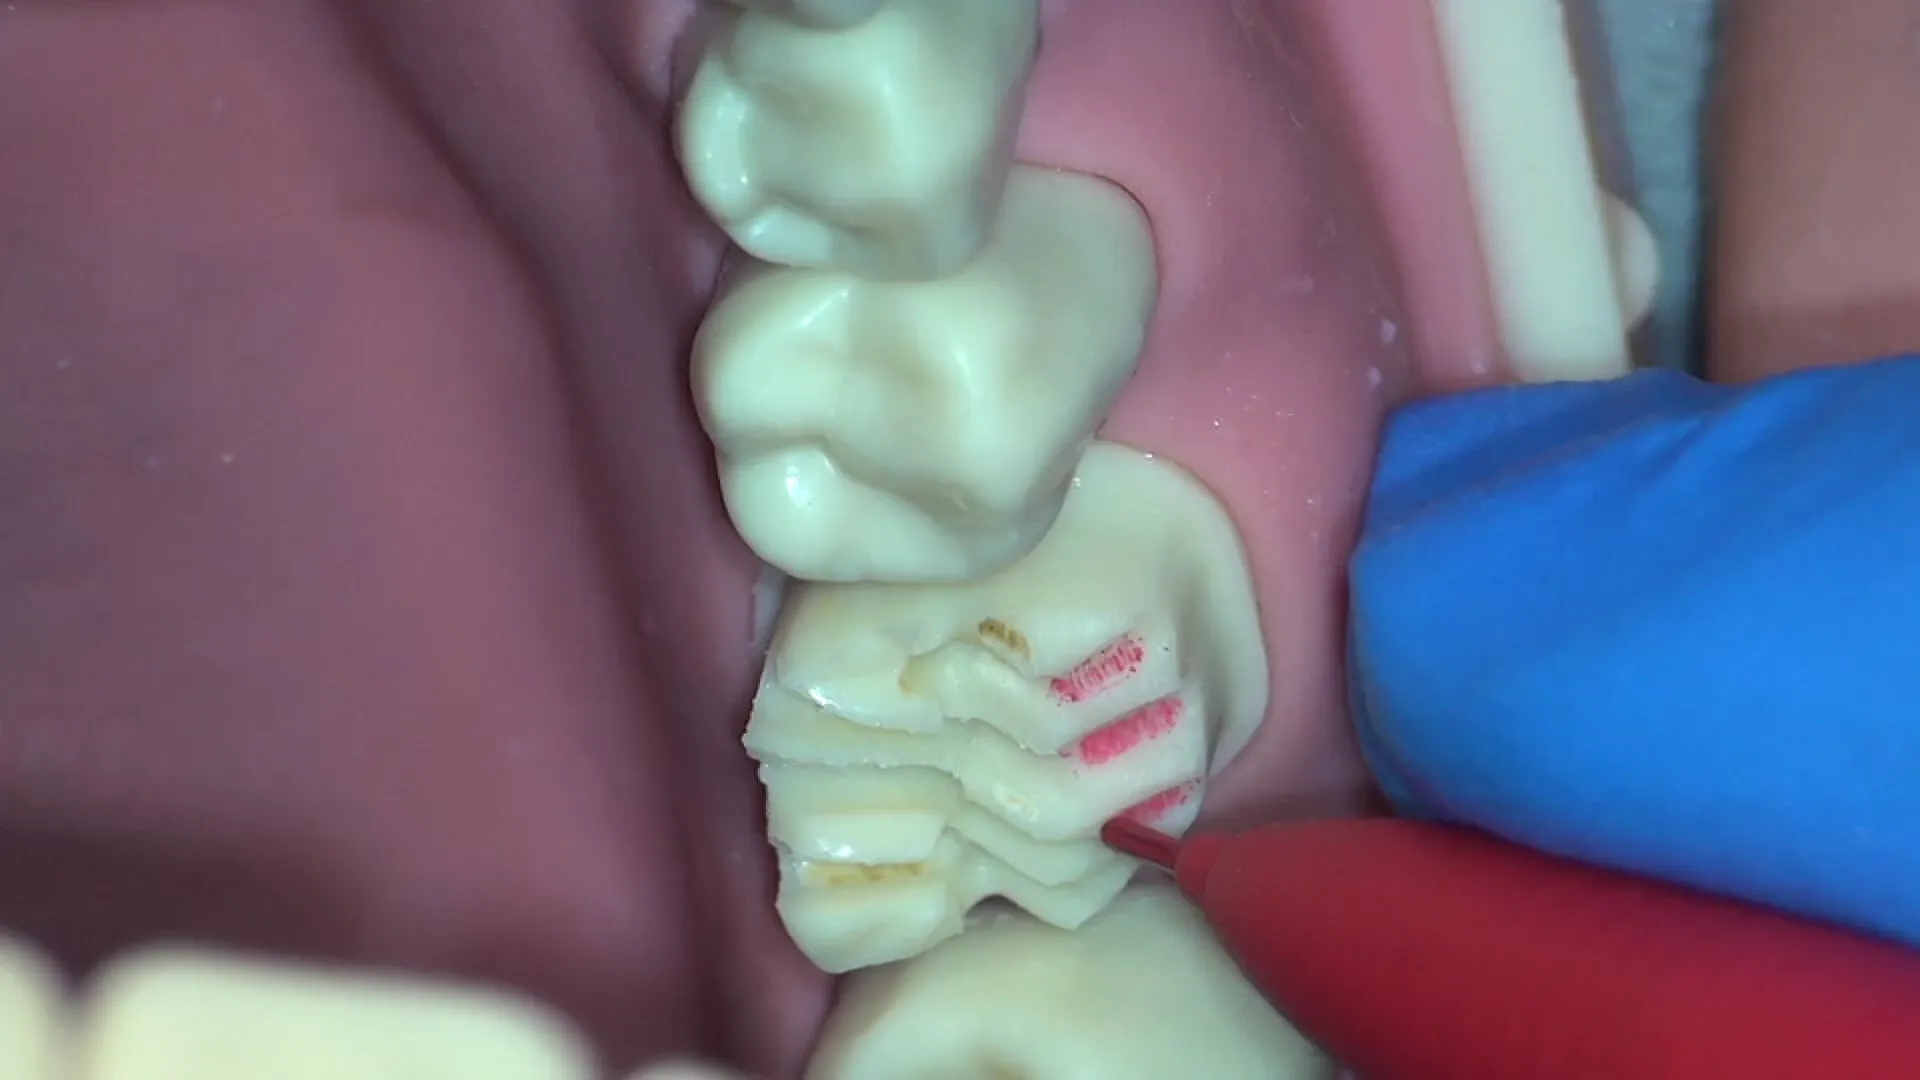 to serve as a guide during the smoothing phase.
5. Refining and Smoothing
Slow-Speed Finishing
Once the bulk reduction is complete, switch to a red diamond bur for refinement.
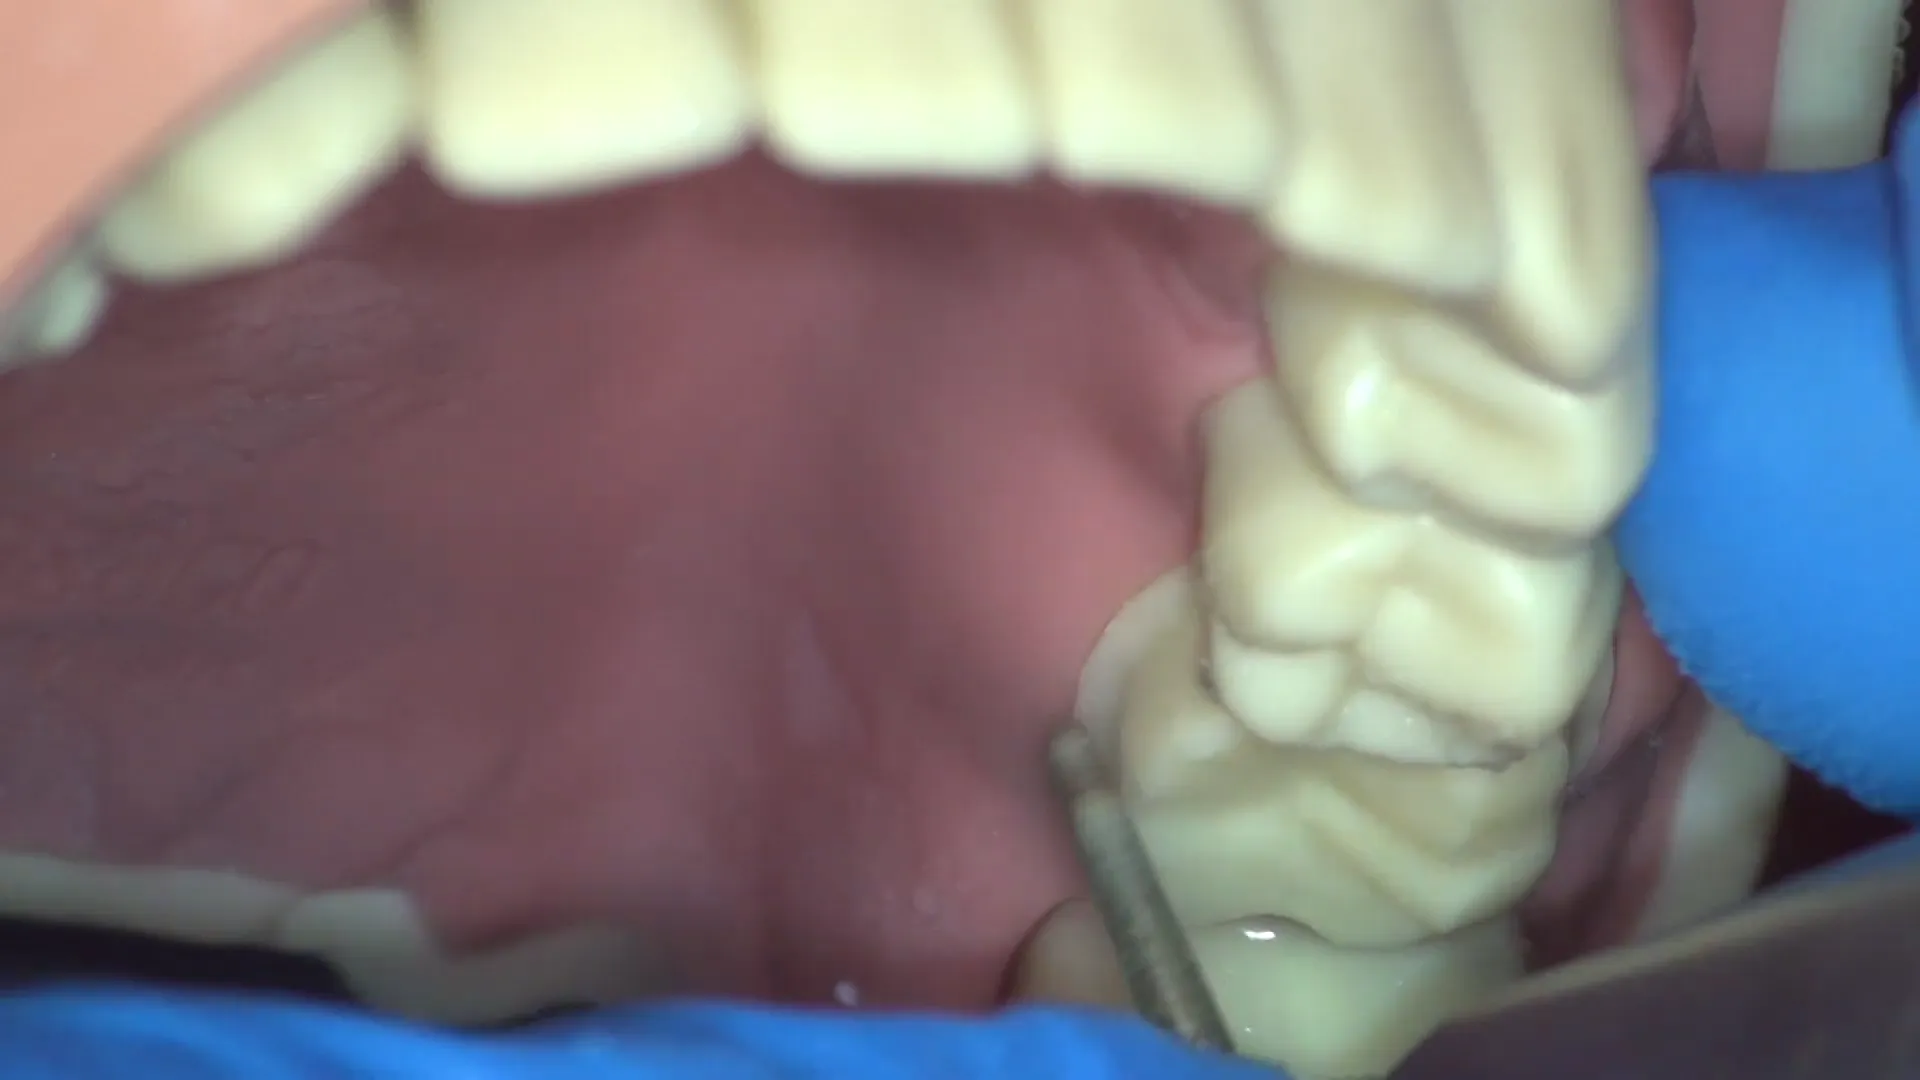
- Speed: 20,000 to 60,000 RPM.
- Technique: Unlike rough reduction, smoothing should be done by “rolling with the bur” (moving the handpiece in the same direction the bur rotates).
Finish Line Refinement
- Method: Move methodically from mesial to distal in single strokes
, lifting the bur between each pass.
- Dimensions: The finish line must be at least 1.0 mm wide. Verify this by ensuring the entire tip of the bur fits within the shoulder without overhanging
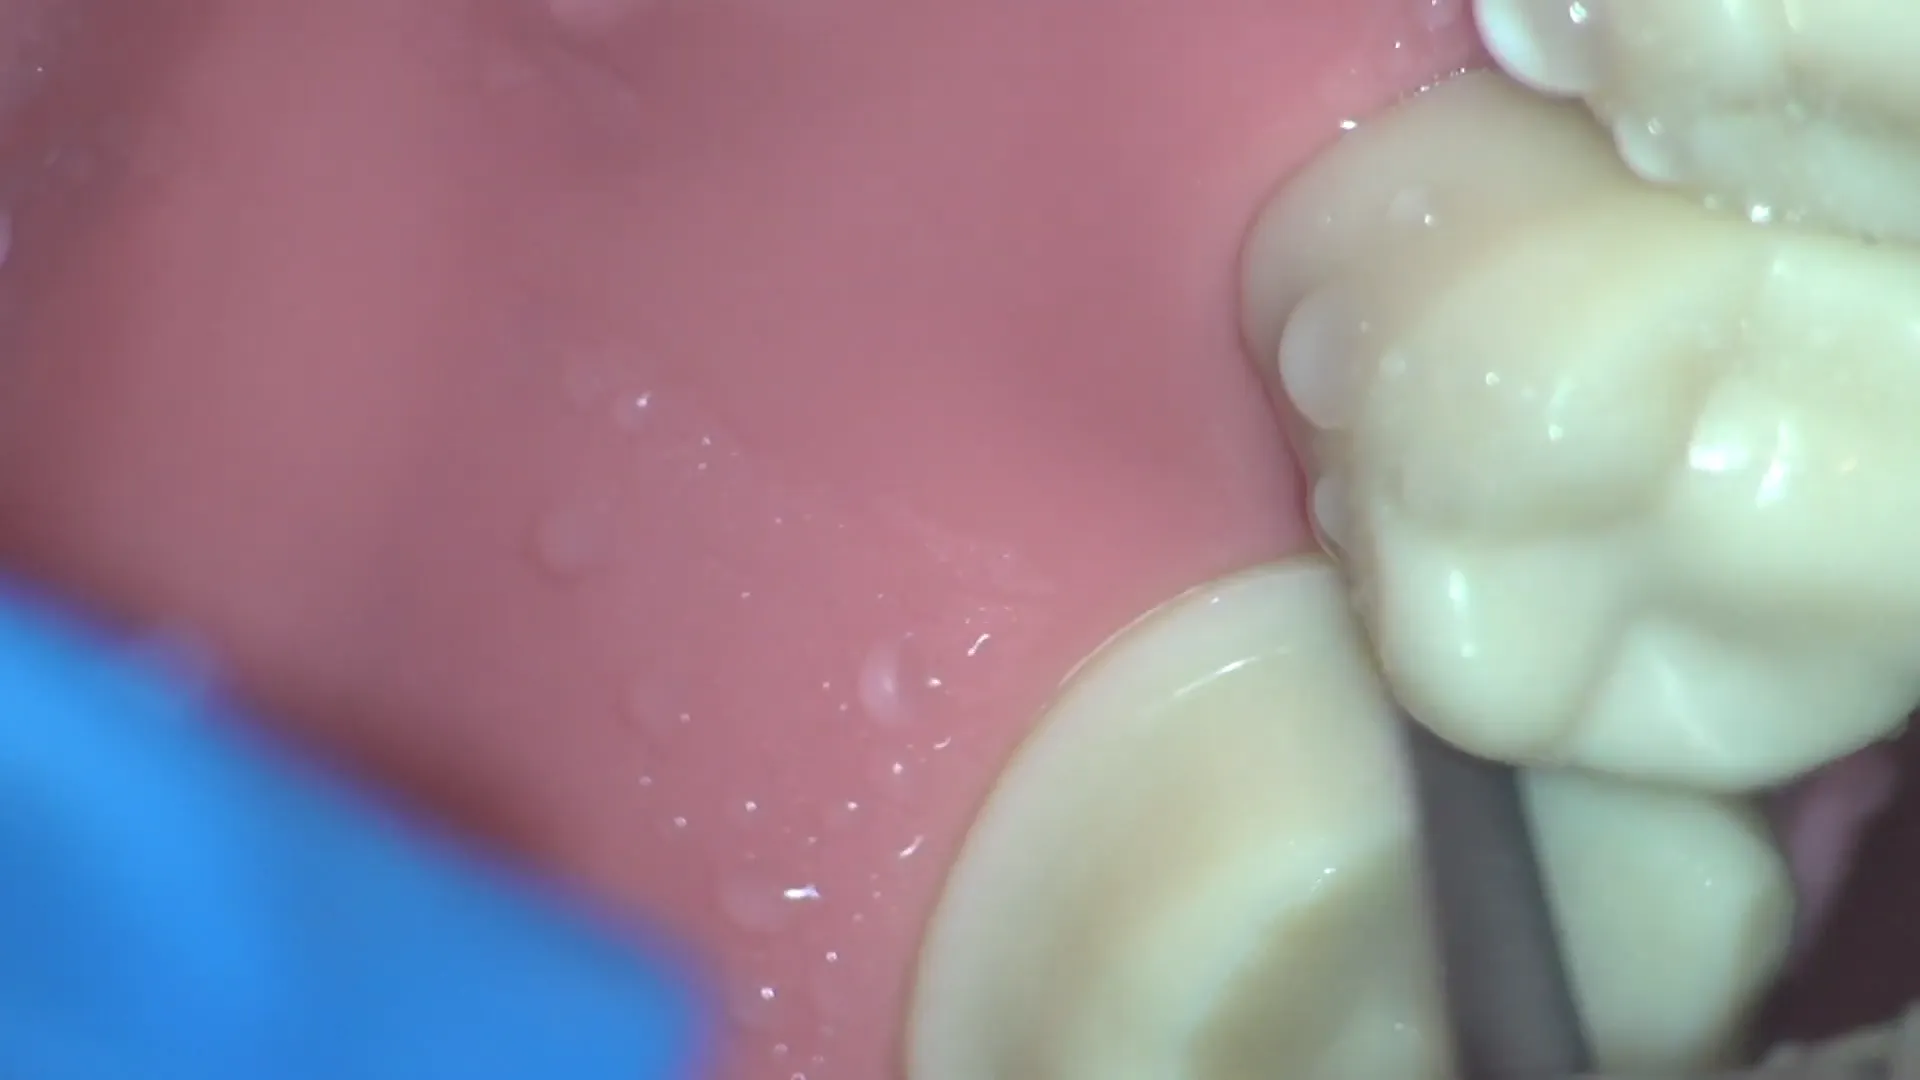 or being restricted.
Final Contouring
- Line Angles: Pay close attention to the mesiolingual and distolingual line angles; these often require extra reduction
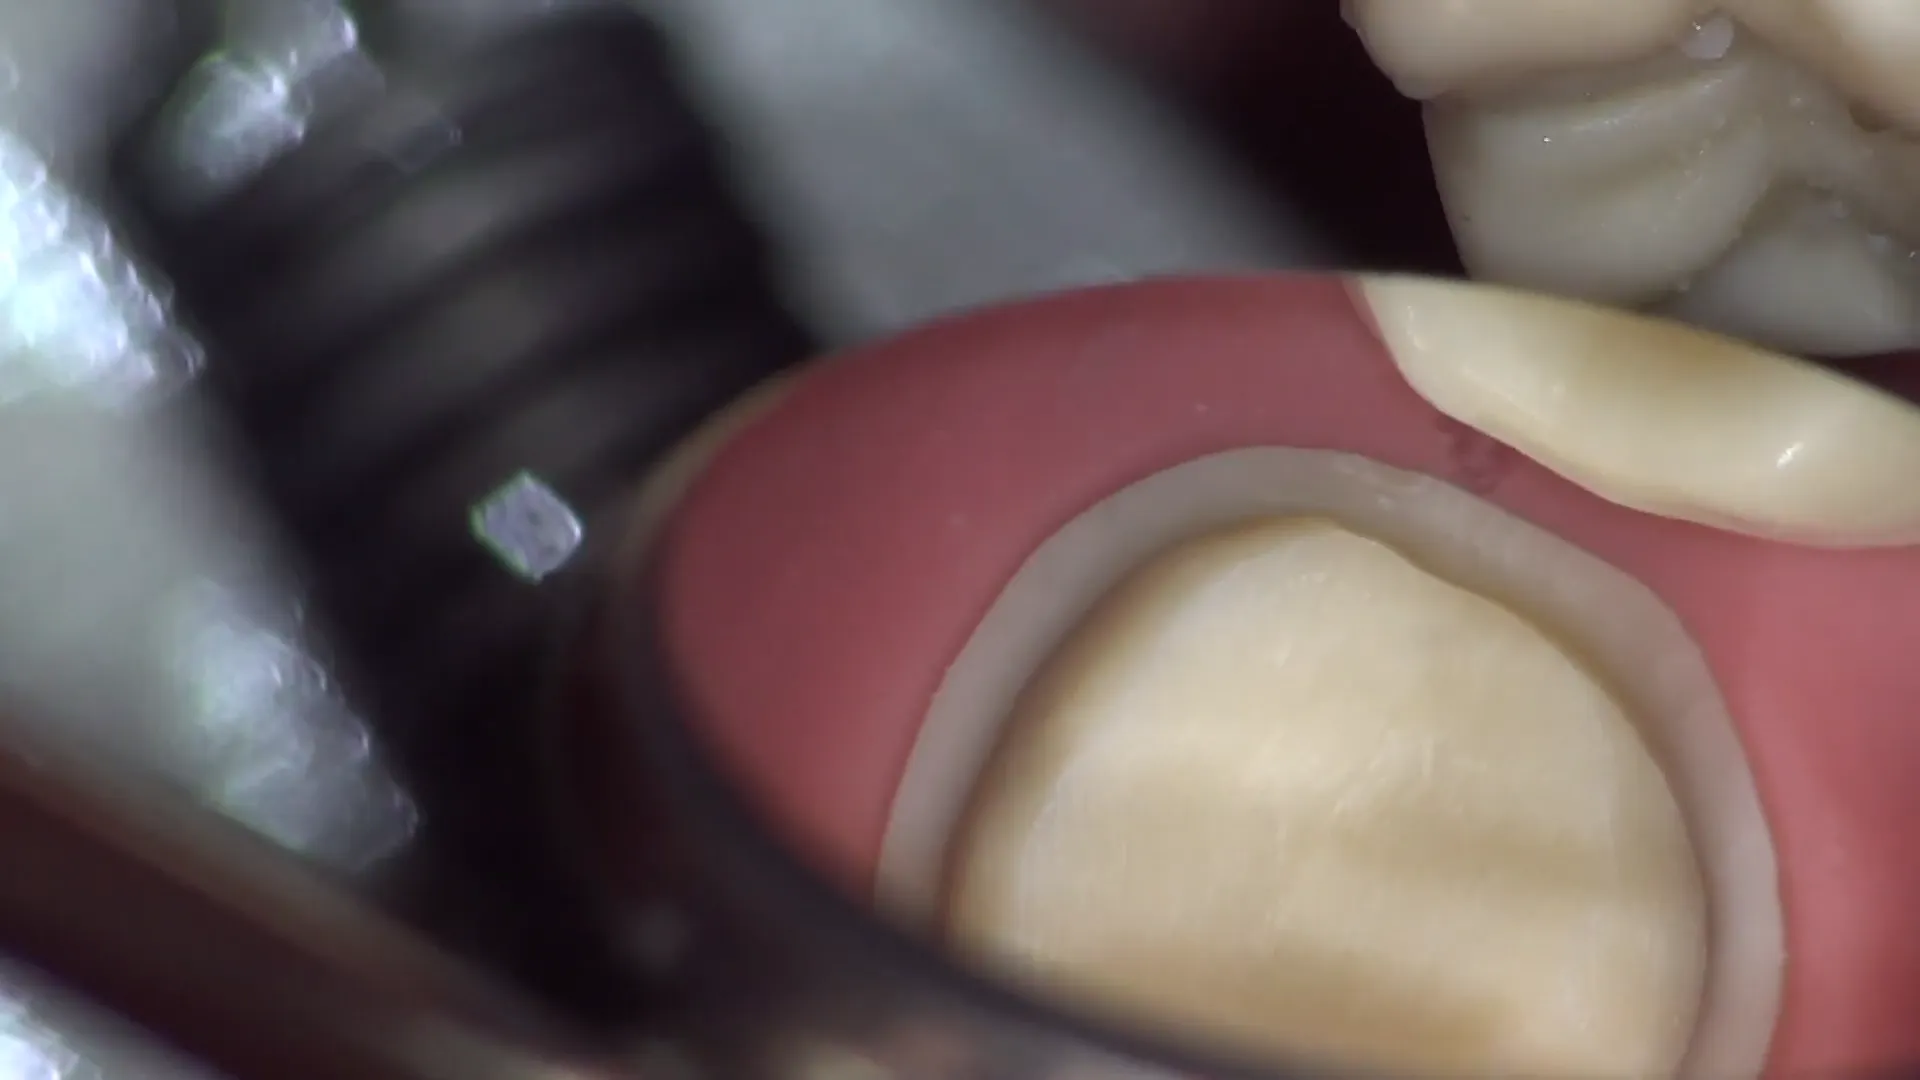 to ensure a smooth transition.
- Marginal Ridges: Ensure the mesial and distal marginal ridges are rounded.
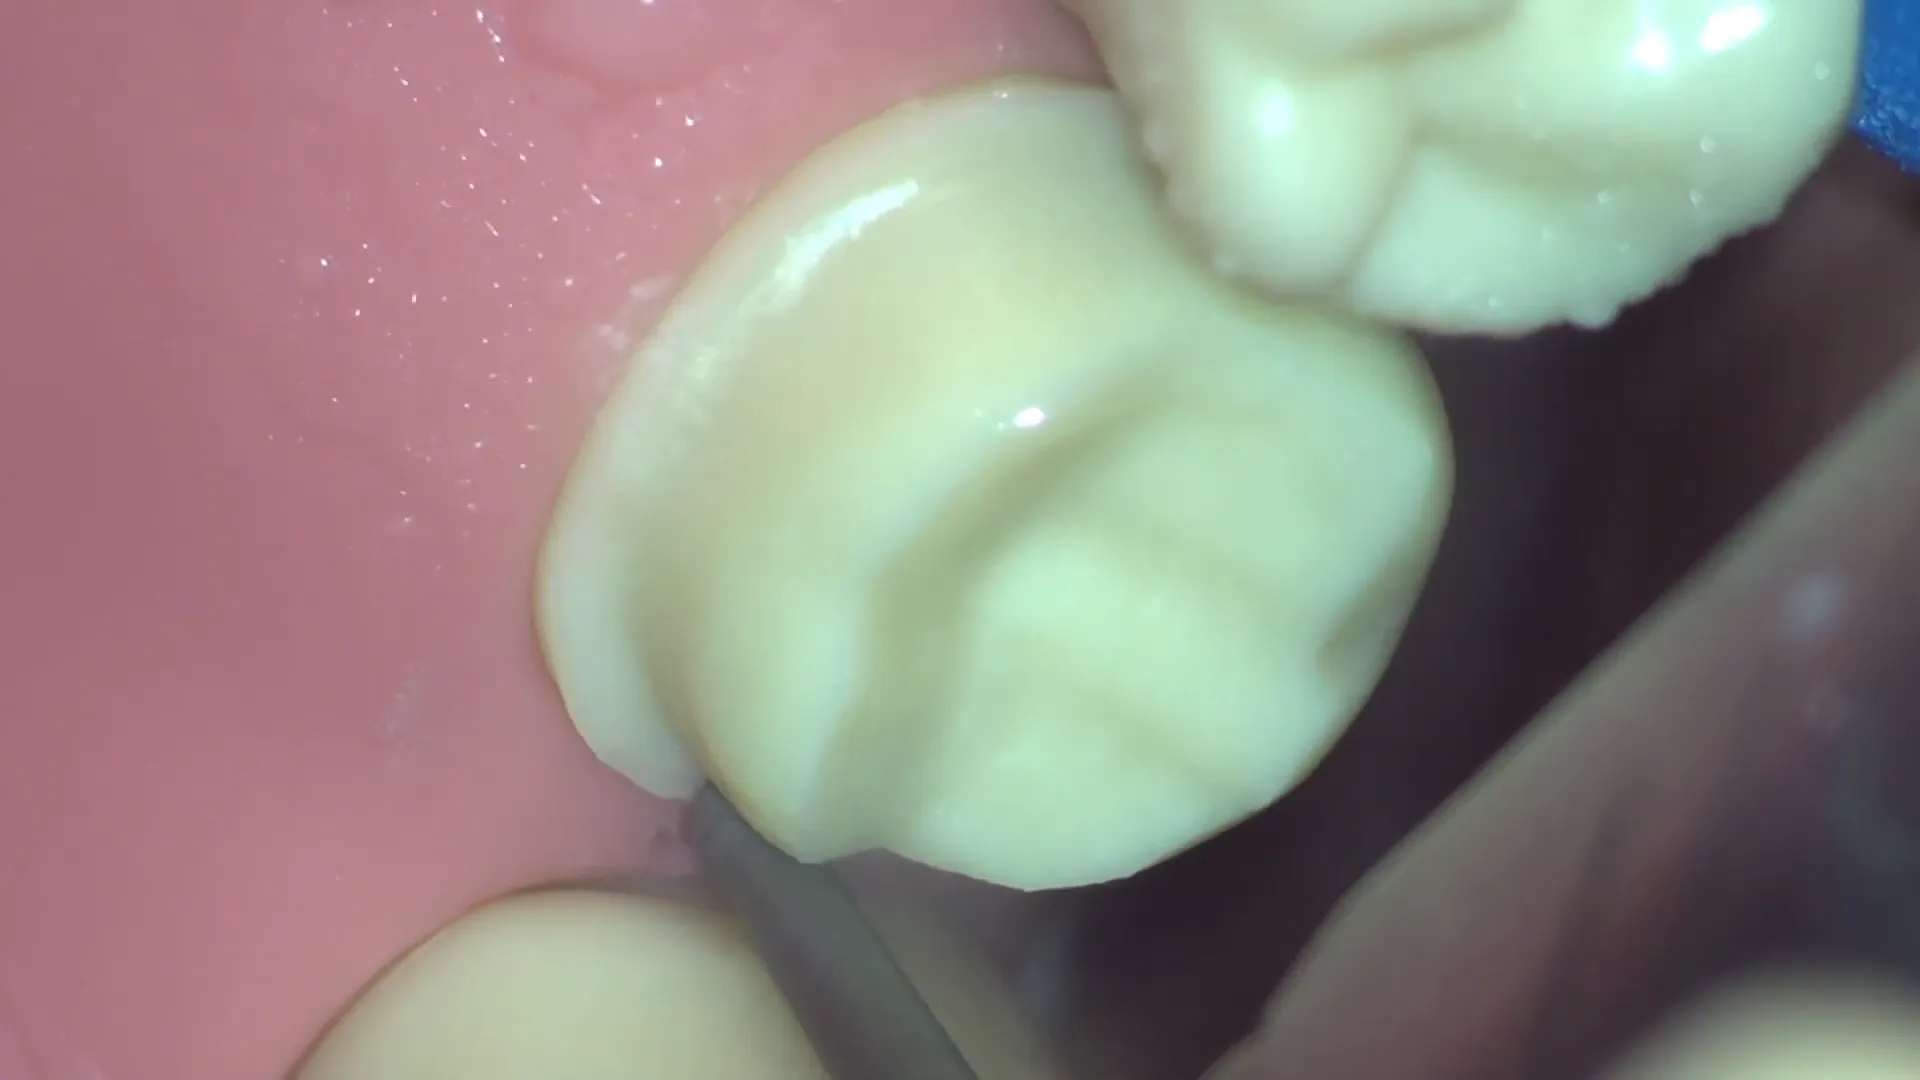
- Structural Integrity: All sharp angles must be rounded. Sharp areas act as “crack initiation points” for ceramic and can lead to crown failure or thickness issues due to milling compensation.
6. Final Evaluation
Before finishing, verify the preparation from the occlusal view to ensure:
- Uniform Finish Line: Consistent width around the entire circumference.

- Adequate Clearance: Confirmed 2.0 mm reduction at the buccal, lingual, and central grooves
, as well as the mesial aspect. 3. Smoothness: A polished surface free of irregularities to facilitate an accurate impression and a durable restoration.