PFM Premolar Using T-PREP Technique - Acadental Tooth #4
PFM Preparation for Premolars: The “T-Prep” Technique
Introduction
This document outlines a specialized method for Porcelain-Fused-to-Metal (PFM) crown preparation on a maxillary first premolar (Tooth #4). Developed by Dr. Richard Stevenson of Stevenson Dental Solutions, the T-Prep Technique borrows from carpentry principles. It utilizes a “tenon”—a small, central strip of unprepared tooth structure—to serve as a built-in reference point for measuring reduction depth without relying solely on external guides.
The T-Prep Concept
The “T” in T-Prep stands for tenon
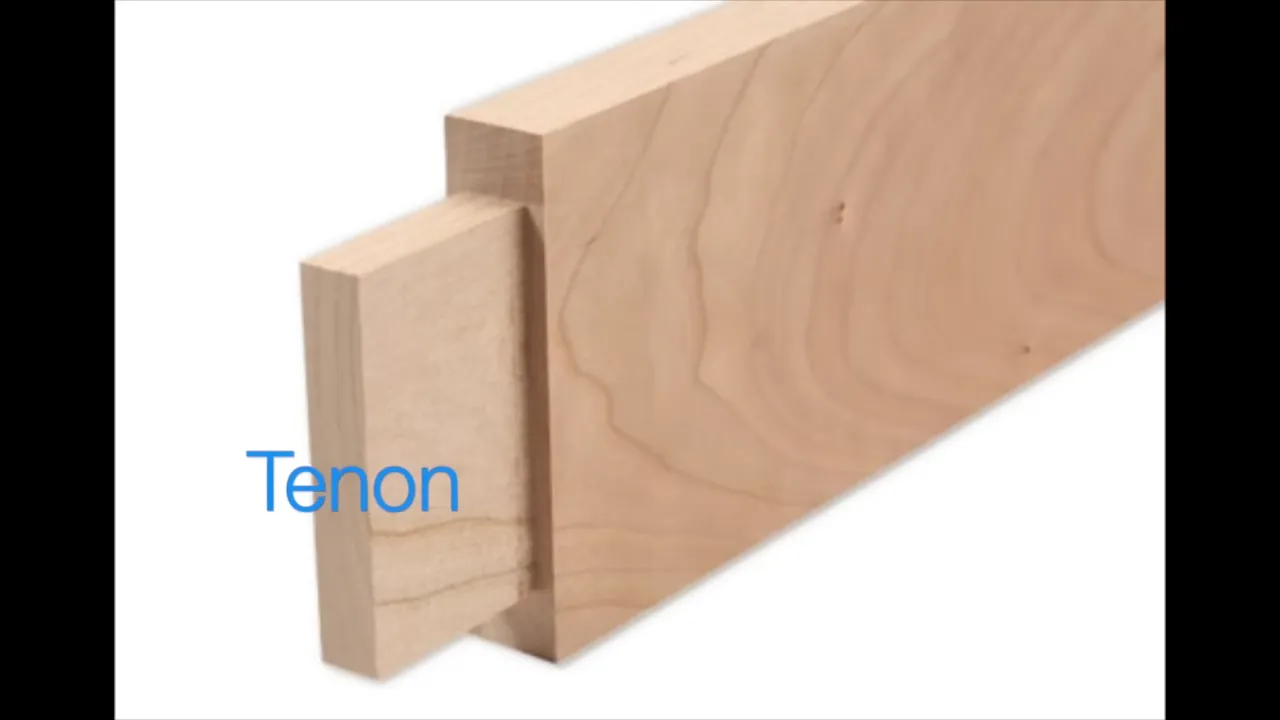 . By leaving a vertical strip of tooth structure untouched in the center of the facial and occlusal surfaces during the initial reduction, the clinician can:
- Accurately measure the depth of tooth structure removed.
- Visualize the angulation of the bur relative to the original tooth anatomy.
- Identify areas of under-reduction (A, B, and C planes)
 more effectively than with traditional depth cuts.
Step-by-Step Preparation Procedure
1. Occlusal Reduction (C-Plane)
- Instrument: 847KR-016 (Coarse, Tapered Flat-End Cylinder)
 .
.
- Technique: Hold the bur parallel to the triangular ridge. Perform plane reduction while leaving a central “tenon” strip
.
- Measurement: Aim for a reduction range of 1.5 mm to 2.0 mm. Use the RGS4 (1.5 mm) gauge to verify depth against the tenon
 .
.
2. Functional Cusp Bevel (A-Plane)
- Technique: Maintain the A-plane parallel to the C-plane
.
- Benefit: The tenon provides a sagittal reference similar to a preoperative putty guide, making it easy to see exactly how much structure has been removed
 .
.
3. Facial Reduction (B-Plane)
- Technique: Angle the bur to align with the cusp tips of adjacent unprepared teeth
.
- Gingival Extension: Extend the T-prep technique down to the gingival margin
.
- Bur Angulation: Hold the bur more vertically near the gingival margin and angle it more toward the occlusal as you move upward
 .
.
4. Lingual Axial Reduction
- Instrument: 878K-012 (Tapered Chamfer)
 .
.
- Rationale: A smaller diamond is used here to accommodate a metal collar (typically 1–3 mm). This bur is excellent for creating the necessary taper
.
5. Proximal Breakthrough and Blending
- Instrument: 878K-012 or 859-010 (Needle bur).
- Technique: Break through the proximal contacts and blend the axial walls
. Ensure the handpiece follows the long axis of the preparation to avoid undercuts
.
Finishing and Refinement
Evaluation of the Tenon
Before removing the tenon, use it to visualize the intersection of the prepared surfaces. This is the ideal time to identify under-reduced areas, particularly at the transition between the A, B, and C planes
 .
.
Final Reduction Measurements
| Tool | Dimension | Target Area |
|---|---|---|
| RGS4 | 1.5 mm | Occlusal/Facial clearance |
| RGS3 | 1.0 mm | Facial shoulder width |


Tenon Removal and Smoothing
- Removal: Use a KS0F or similar fine diamond to remove the remaining tenon
once reduction is verified.
- Lingual Refinement: Use an 887-7009 (Fine Chamfer) to create a smooth, finesse gold finish line
.
- Facial Refinement: Use an 8847KR-016 (30-micron fine grit) to smooth the facial shoulder
.
- Hand Instruments: A sharp hatchet or bin-angle chisel can be used to remove minor irregularities from the facial shoulder
.
Clinical Tips
- Avoid Coarse Burs at the End: Once the tenon is removed, switch exclusively to fine diamonds (30-micron) to avoid over-reduction or scarring the margins.
- Shoulder Extension: The facial shoulder should extend from the mesial line angle to the distal line angle. While “wings” may remain, it is often preferable to smooth them for a continuous outline.
- Versatility: The T-prep technique is applicable to both anterior and posterior teeth and is particularly useful in examination settings where closing the typodont to check occlusion may be restricted.