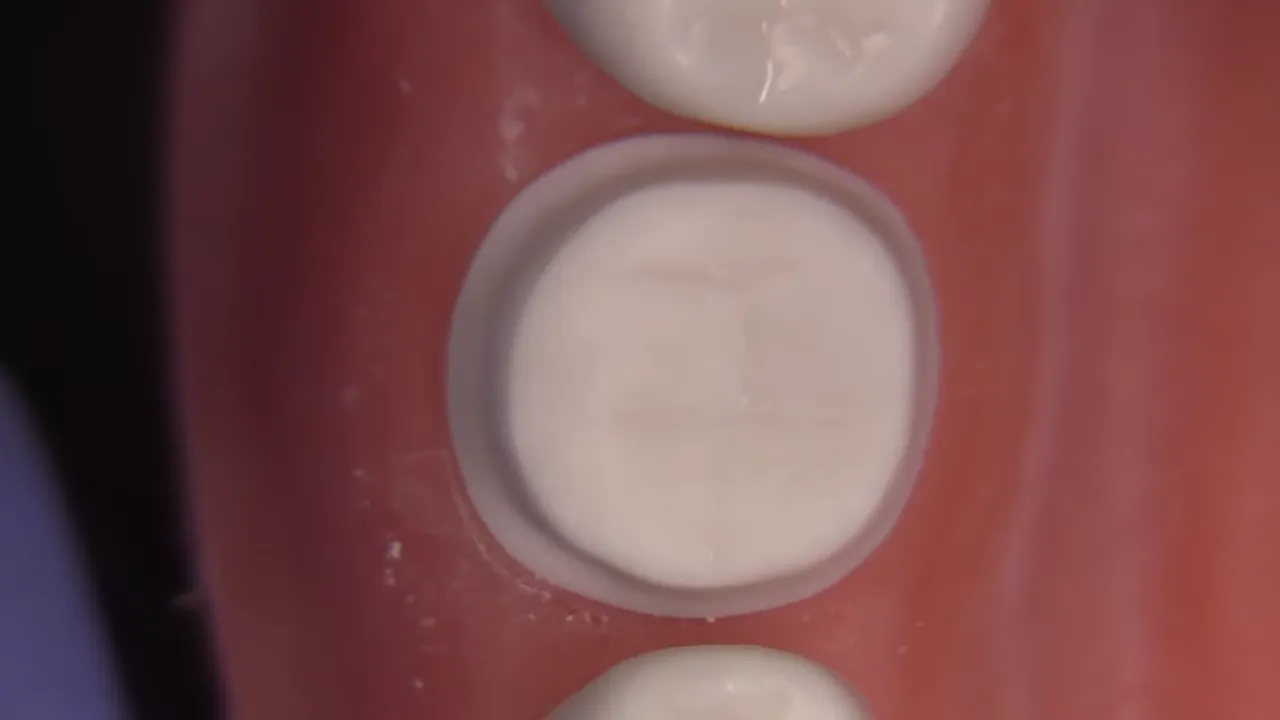
PFM Preparation - Acadental Tooth #30 | Dr. Richard Stevenson
Clinical Protocol: PFM Preparation on Tooth #30
This document outlines the systematic approach for a Porcelain-Fused-to-Metal (PFM) crown preparation on a mandibular first molar (Tooth #30)
 , as demonstrated by Dr. Richard Stevenson at Stevenson Dental Solutions.
1. Occlusal Reduction
The primary goal is to achieve 2.0 mm of total occlusal clearance to accommodate both the metal coping and the porcelain overlay.
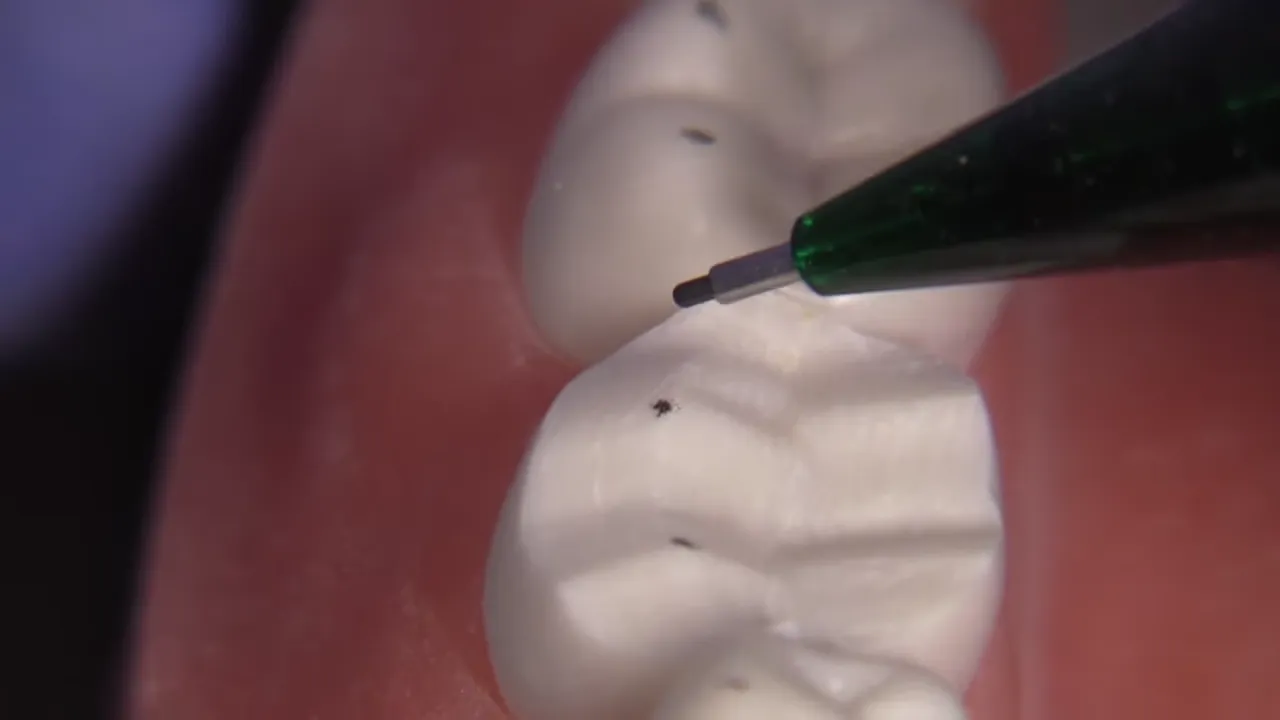
Step 1: Depth Planes
- Instrumentation: 856.016 or 847KR016 diamond bur (1.6 mm at the widest point; 1.1 mm at the tip).
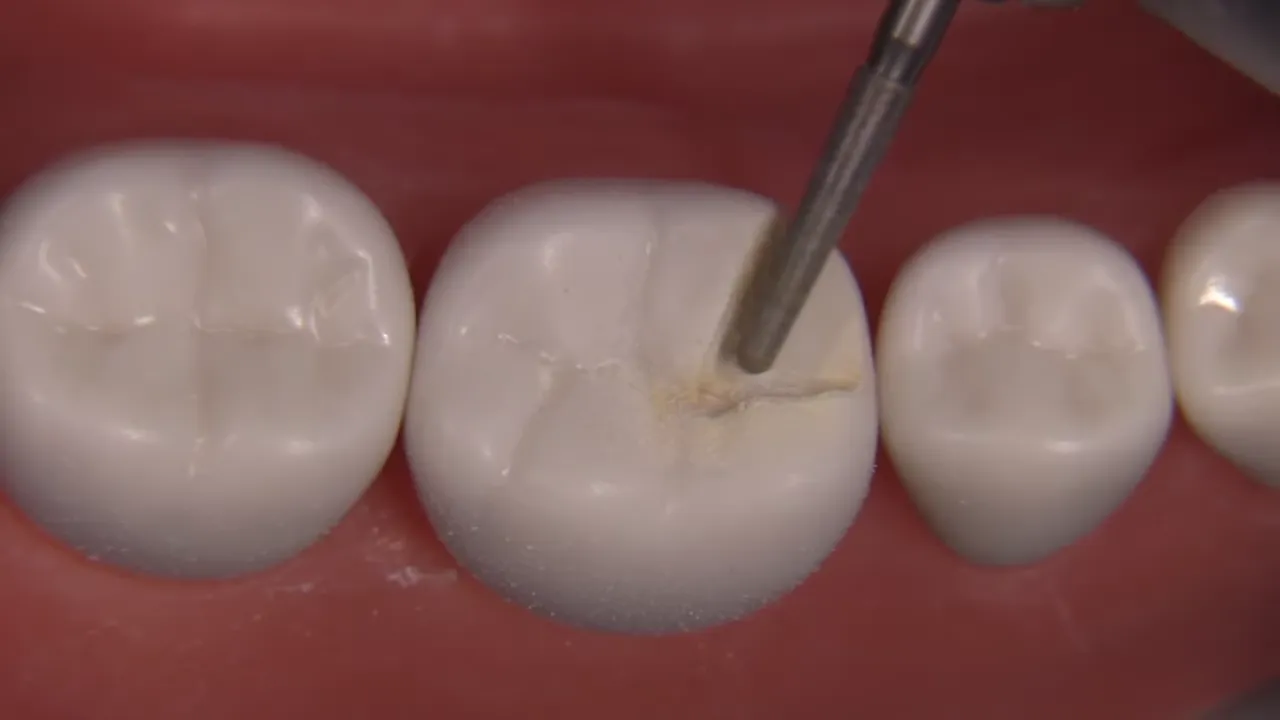
- Technique: Create 1.5 mm depth planes (rather than simple depth cuts) across the occlusal surface.
- Verification: Use an RGS4 instrument (1.5 mm wide) to verify clearance. While putties or wax can be used, a calibrated instrument provides a reliable known measurement.
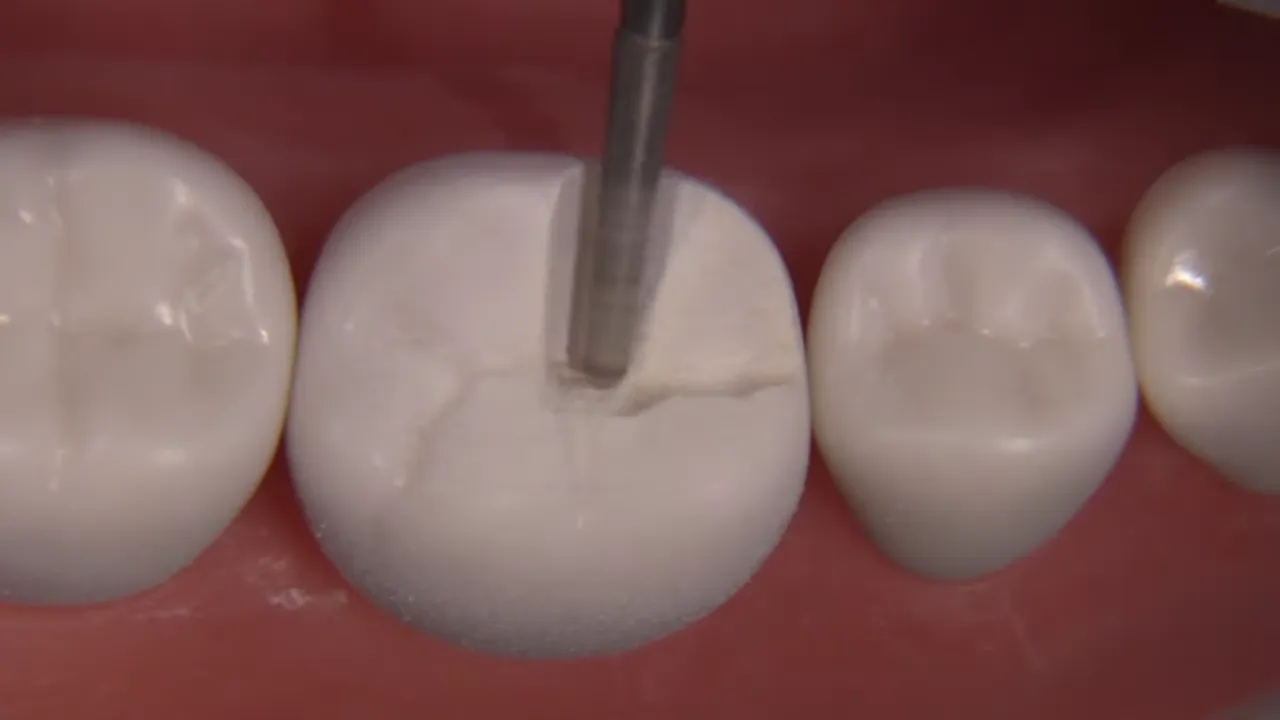
Step 2: C, A, and B Planes
- C Plane (Non-functional cusp): Reduce the lingual cusps while mimicking the natural triangular ridges.
- A Plane (Functional cusp): Angle the diamond to parallel the C plane, following the rise and fall of the cusp morphology to match the opposing dentition.
- B Plane: Complete the reduction by following the triangular ridges, including the distal cusp.
- Final Check: Ensure the buccal cusp tips line up with the adjacent unprepared teeth to verify proper orientation.
2. Initial Axial Reduction and Finish Line
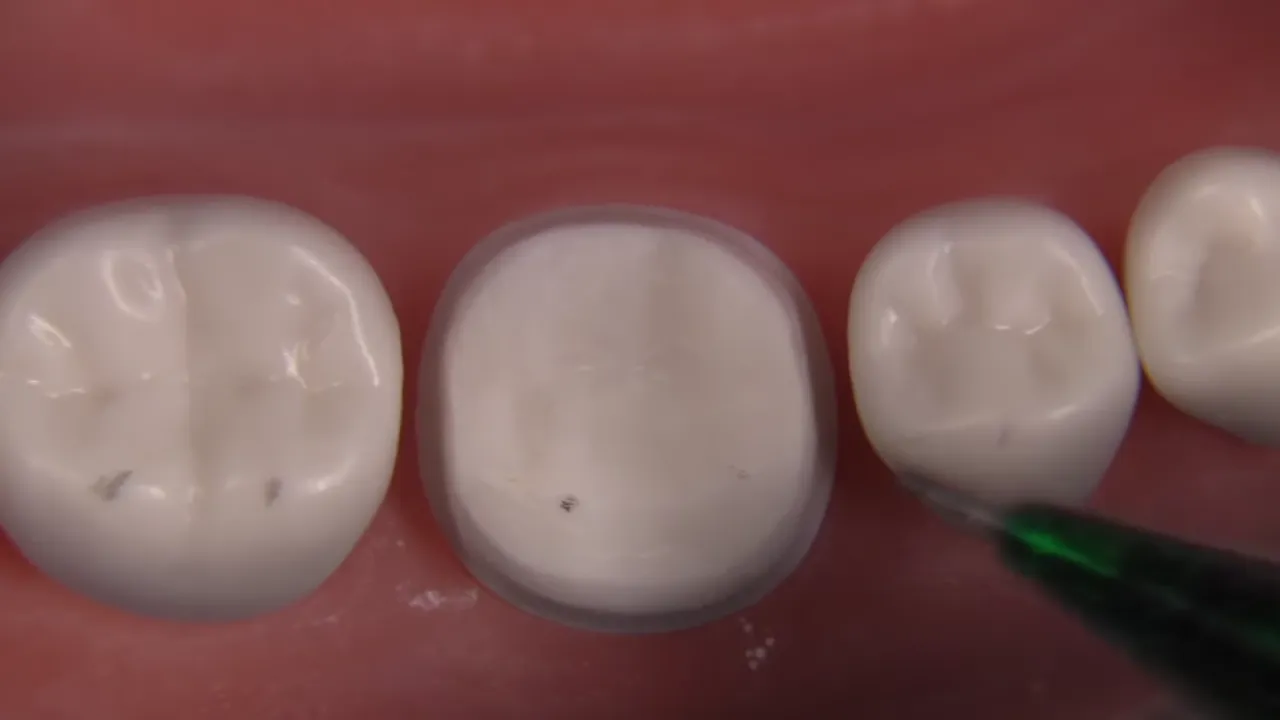
The initial goal is to establish the axial walls and the location of the finish line.
- Instrumentation: 878K012 (tapered diamond).
- Finish Line Location: Initially set the finish line 0.5 mm above the gingival tissue.
This provides a margin of safety to avoid going subgingival prematurely.
- Chamfer Depth: Aim for a narrow chamfer (0.5 mm to 0.7 mm) with a 45-degree downward declination toward the tissue.
3. Interproximal Clearance
Breaking contact is essential for scanning and impression accuracy.
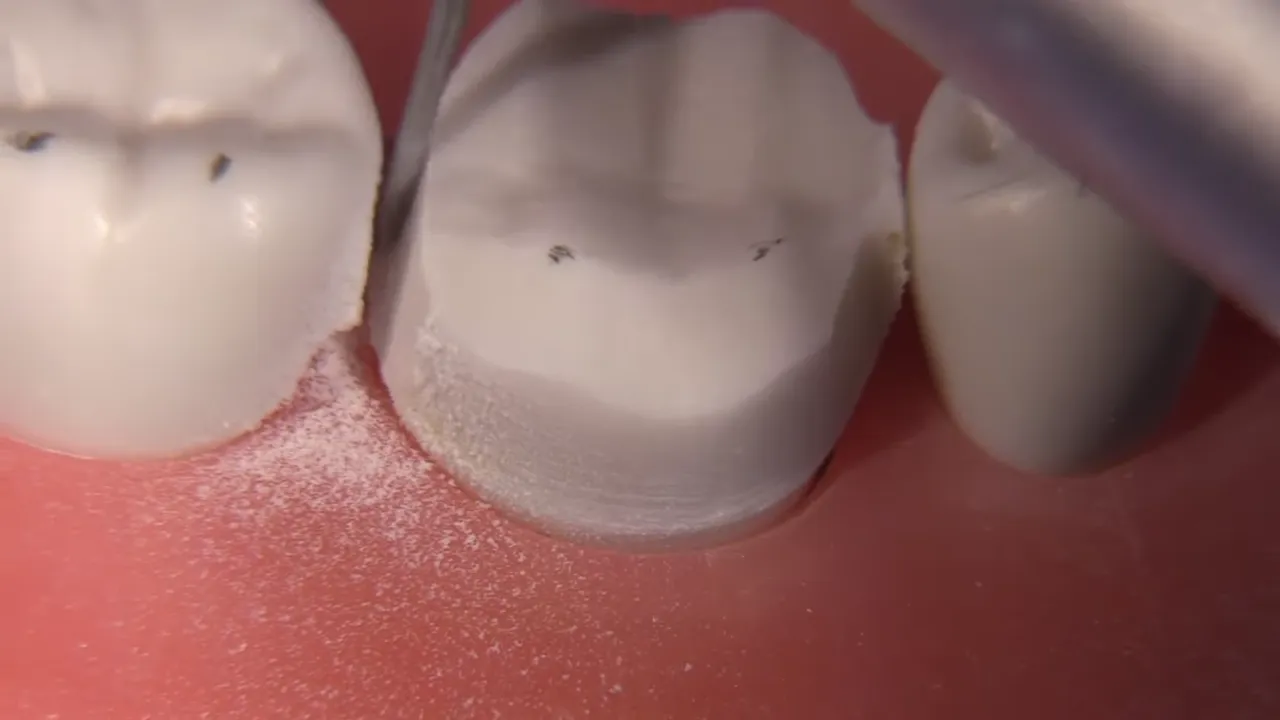
- Instrumentation: 859.010 (needle diamond) or 850.012.
- Key Objectives:
- Avoid excessive axial depth.
- Prevent over-tapering.
- Protect adjacent teeth (leave a thin “sliver” of enamel to be removed last).
- Clearance: Ensure at least 0.5 mm of space between the finish line and the adjacent tooth to facilitate retraction cord placement and optical scanning.
4. Refinement and Secondary Planes
Once the tooth is cleared, the preparation must be smoothed and the taper equalized.
- Taper Equalization: Use the 878K012 to correct under-tapered or over-tapered areas and smooth transitions between surfaces.
- Secondary Facial Plane: Prepare a second plane on the facial surface. This is critical for proper ceramic thickness and anatomical contour; a single-plane facial reduction is insufficient for a PFM.
- Chamfer Refinement: Use the 8877.009 (“Chamfer Fixer”) to create a 60-degree declination. This ensures a “slip joint” effect for a superior metal seal.
5. Shoulder Creation and Transition
To accommodate the porcelain on the facial aspect, the chamfer is converted into a shoulder.
Shoulder Dimensions
| Feature | Measurement | Notes |
|---|---|---|
| Target Depth | 1.1 mm – 1.2 mm | Ideal for lab aesthetics; 1.5 mm is considered over-prepared. |
| Mesial Extension | To facial aspect of contact | Ensures no metal shows when the patient smiles. |
| Distal Extension | To the distofacial line angle | Avoids aggressive reduction in non-aesthetic areas. |
Technique
- Instrumentation: 8847KR.016 (flat-ended diamond, 1.1 mm tip).
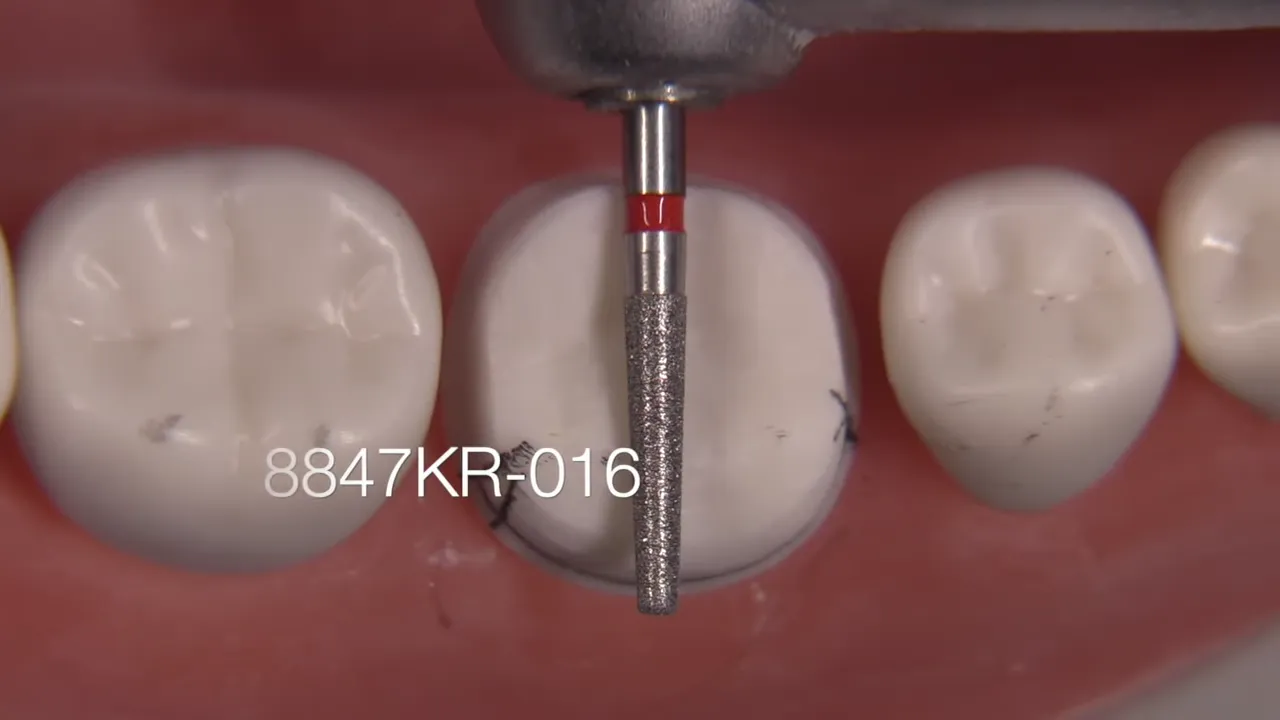
- Transitioning: Use a KS0F bur (1.0 mm wide, round-ended) to blend the facial shoulder into the lingual chamfer. This eliminates “wings” or sharp steps at the transition zone.
6. Final Finishing
- Beveling: Use a 7404 or 7102 carbide bur to remove sharp edges between the occlusal and axial walls. Sharp internal angles can lead to poorly fitting metal copings.
- Hand Instrumentation: Off-angle chisels may be used to refine the finish line, remove loose enamel rods, and eliminate “ski jumps” (marginal lips).
- Final Verification:
- Confirm 1.5 mm+ clearance in all excursive movements using the RGS4.
- Verify 1.1 mm shoulder depth using the RGS3.
- Ensure the preparation has a clean “draw” with no undercuts.