Maxillary First Molar PFM Preparation Guide
This document outlines the clinical protocol for preparing a Porcelain-Fused-to-Metal (PFM) crown on a maxillary first molar (Tooth #3). The technique emphasizes proper occlusal reduction, axial wall management, and the transition from a full gold crown (FGC) design to a PFM shoulder.
1. Recommended Instrumentation
The following burs are utilized for specific stages
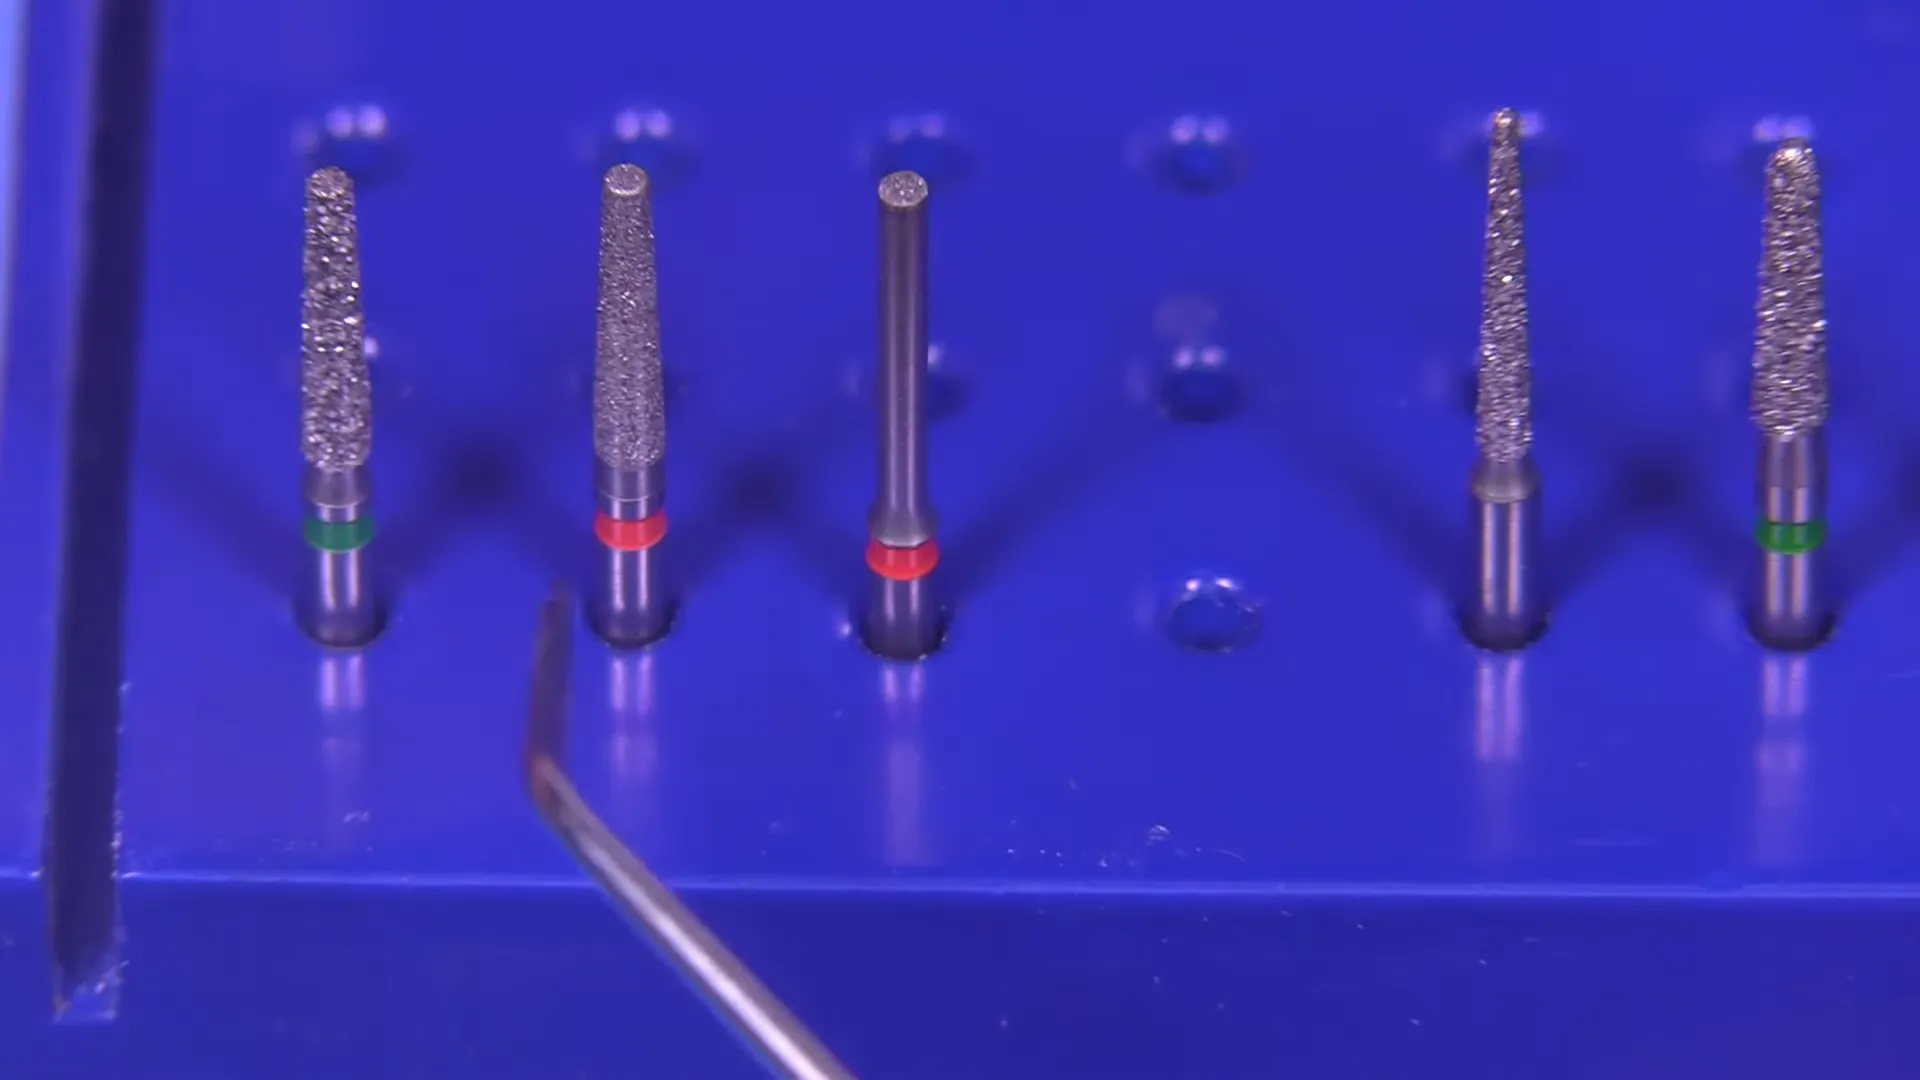 of the preparation to ensure precision and efficiency:
| Bur Type | Reference Number | Clinical Application |
|---|---|---|
| Coarse Diamond | 684-7016 | Initial reduction; 1.1mm tip / 1.6mm base |
| Fine Diamond | 884-7016 | Refinement and smoothing of reduction planes |
| End Cutting Bur | 883-9012 | Optional; used for refining finish lines |
| Interproximal Bur | 85012 (or 859010) | Breaking proximal contacts (“Needle” bur) |
| Chamfer Burs | 6878K / 8878K | Creating the lingual and proximal finish lines |
| Football Diamonds | 6379 / 8379 | Lingual fossa reduction |
| Carbide Bur | 330 | Creating vertical pilot holes (1.6mm length) |
| Finishing Carbides | 7102 / 7901 | Blending planes and removing sharp edges |
2. Occlusal Reduction Strategy
Under-reduction is a common clinical error that leads to thin temporary crowns and perforated or translucent final restorations. To prevent this, a systematic depth-cut approach is used.
Depth Cut Technique
- Pilot Holes: Use a 330 carbide bur to create vertical pilot holes
. While often cited as 1.5mm, the bur is actually 1.6mm long, providing a reliable fiduciary landmark.
- Placement: Place three depth cuts in the center, followed by cuts on the non-functional and functional cusps
.
- Reduction Planes:
- C-Plane: Follow a “sail” shape on the distal and mesial aspects
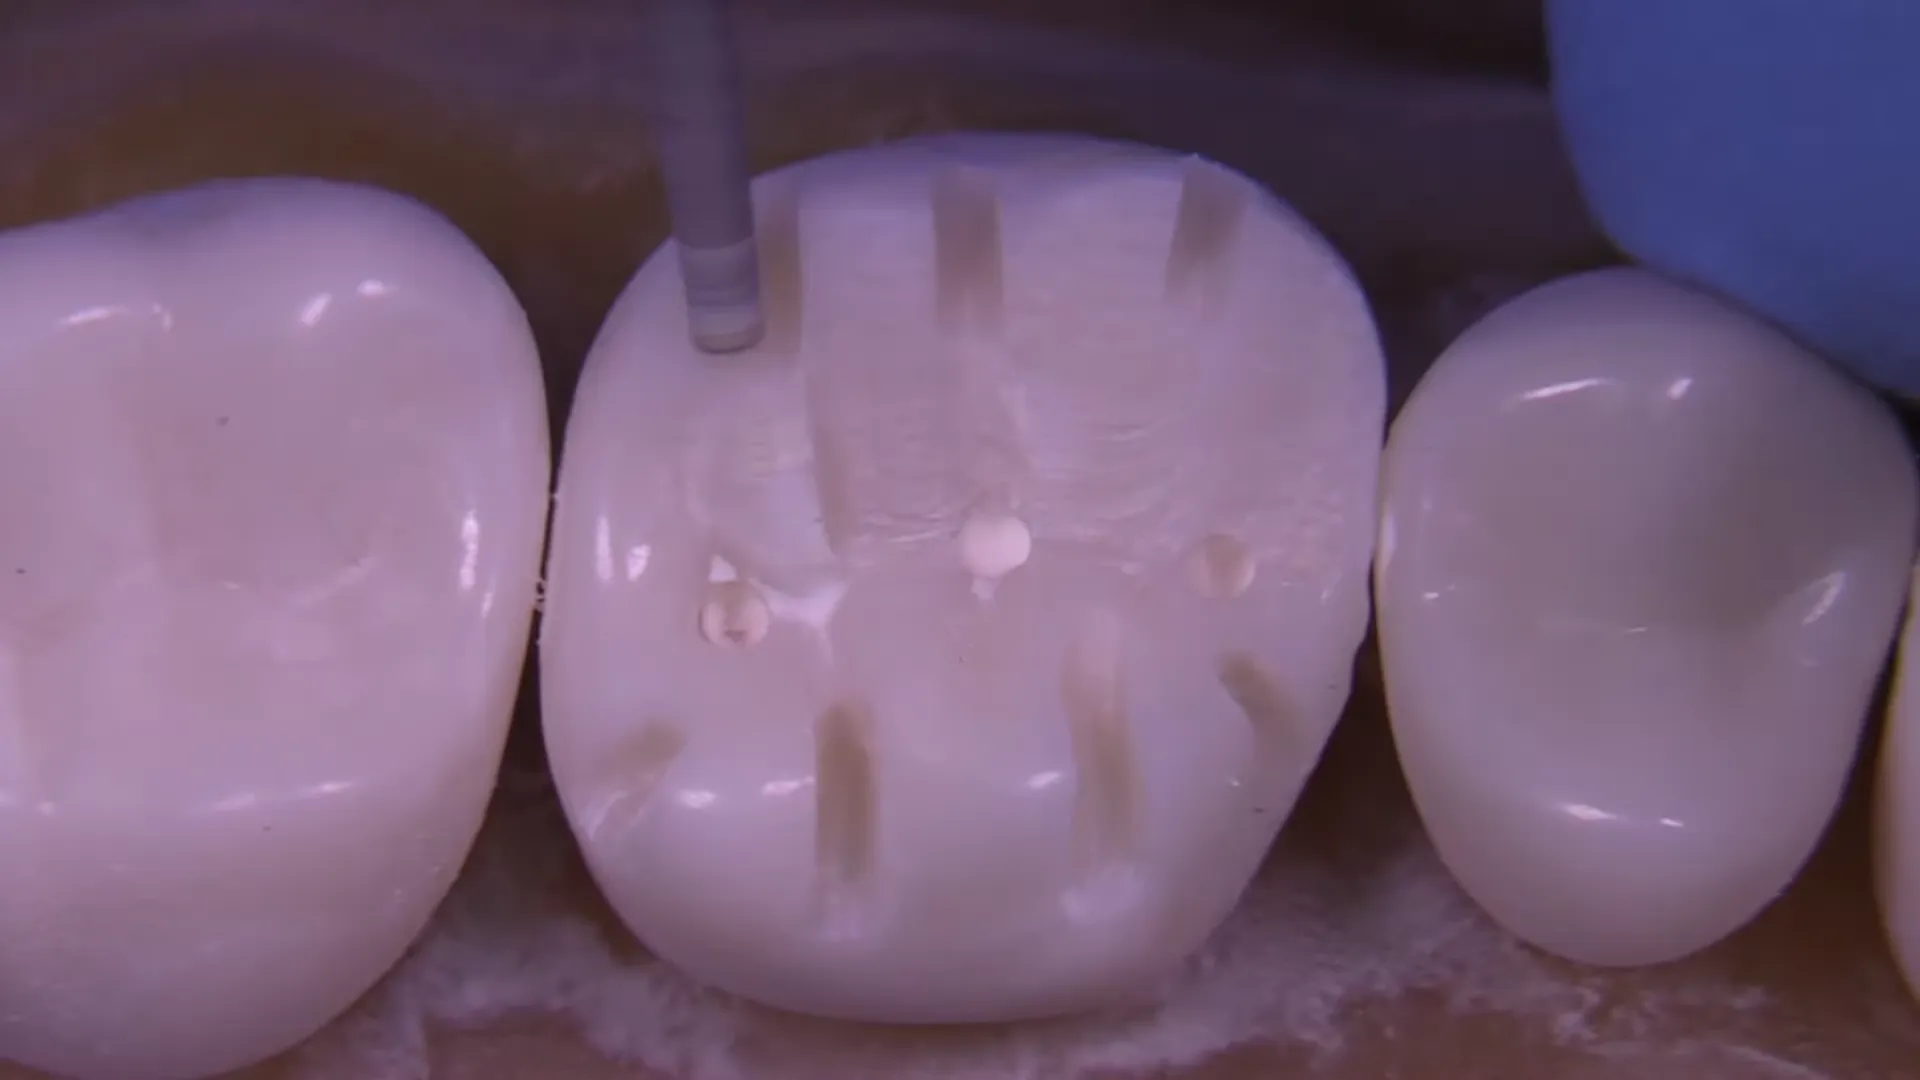 , with an “open book” appearance in the center
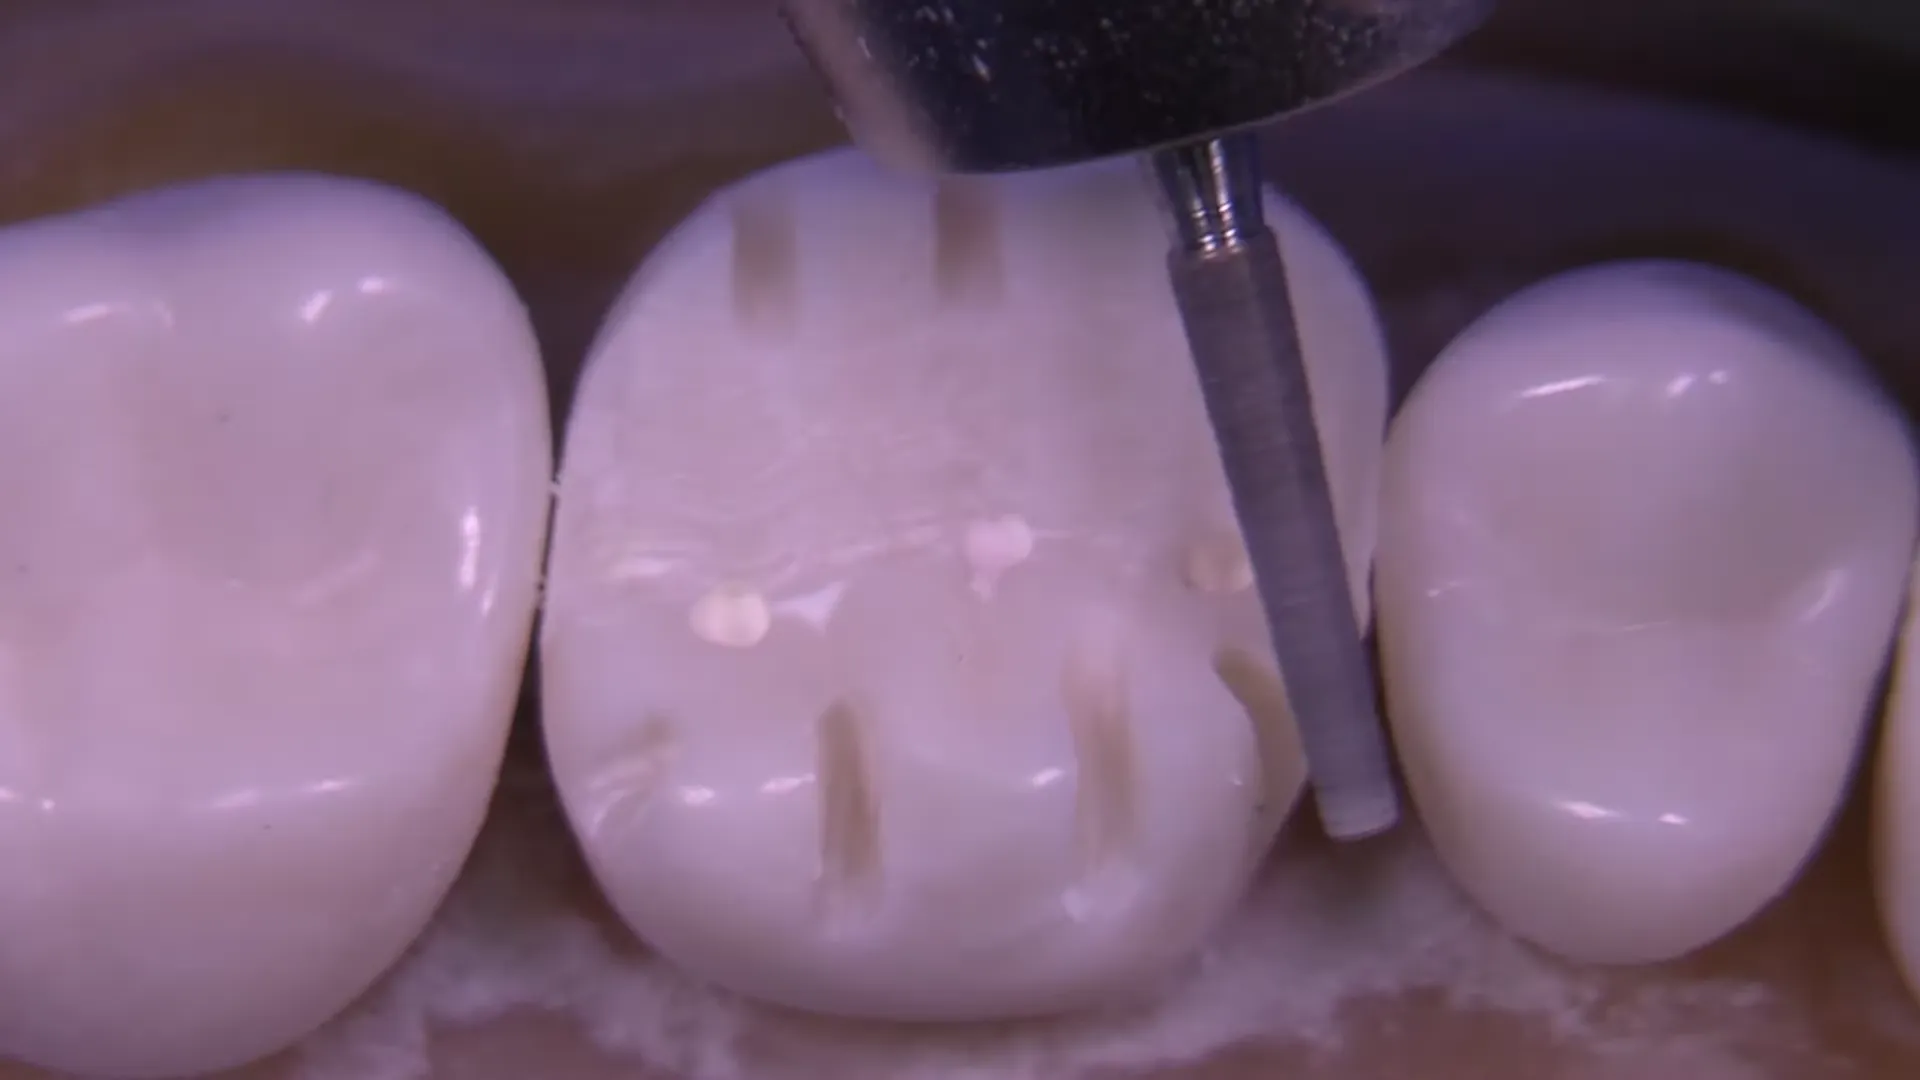 .
* A & B Planes: Maintain consistent inclination. If the handpiece head interferes with the C-plane while cutting the A-plane, invert the bur for better access
.
* A & B Planes: Maintain consistent inclination. If the handpiece head interferes with the C-plane while cutting the A-plane, invert the bur for better access
.
3. Axial Reduction and Taper
Proper axial reduction balances the need for restoration thickness with the requirement for crown retention.
- Retention Zone: Located in the gingival 1/3 of the axial wall (approx. 2–3mm of height). Aim for a 3-degree taper per side (6 degrees of total occlusal convergence)
 .
.
- Contour Zone: Located in the middle and occlusal 1/3. This area is angled to follow the natural contours of adjacent teeth without compromising the retention zone at the finish line.
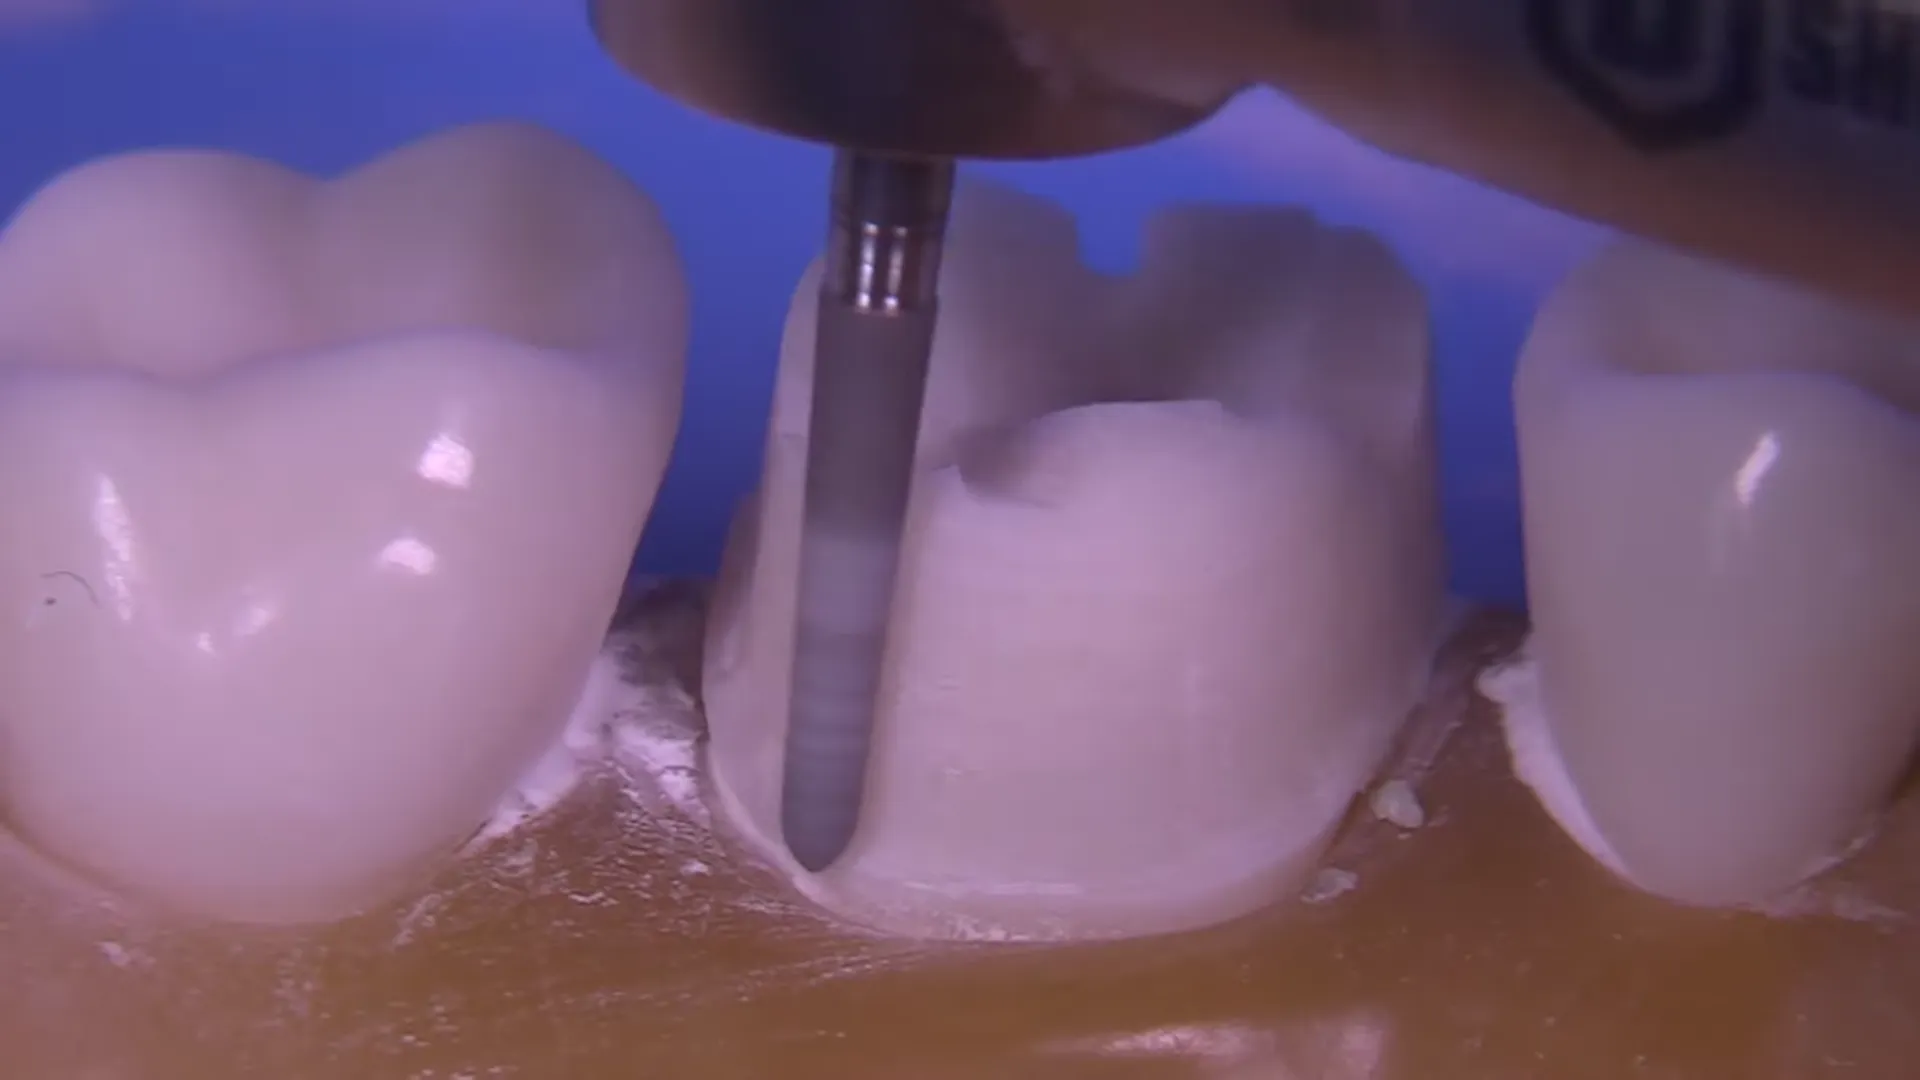
- Functional Cusp Bevel: This is a distinct plane from the lingual secondary (contour) plane and is essential for structural durability
 .
.
4. Proximal and Lingual Management
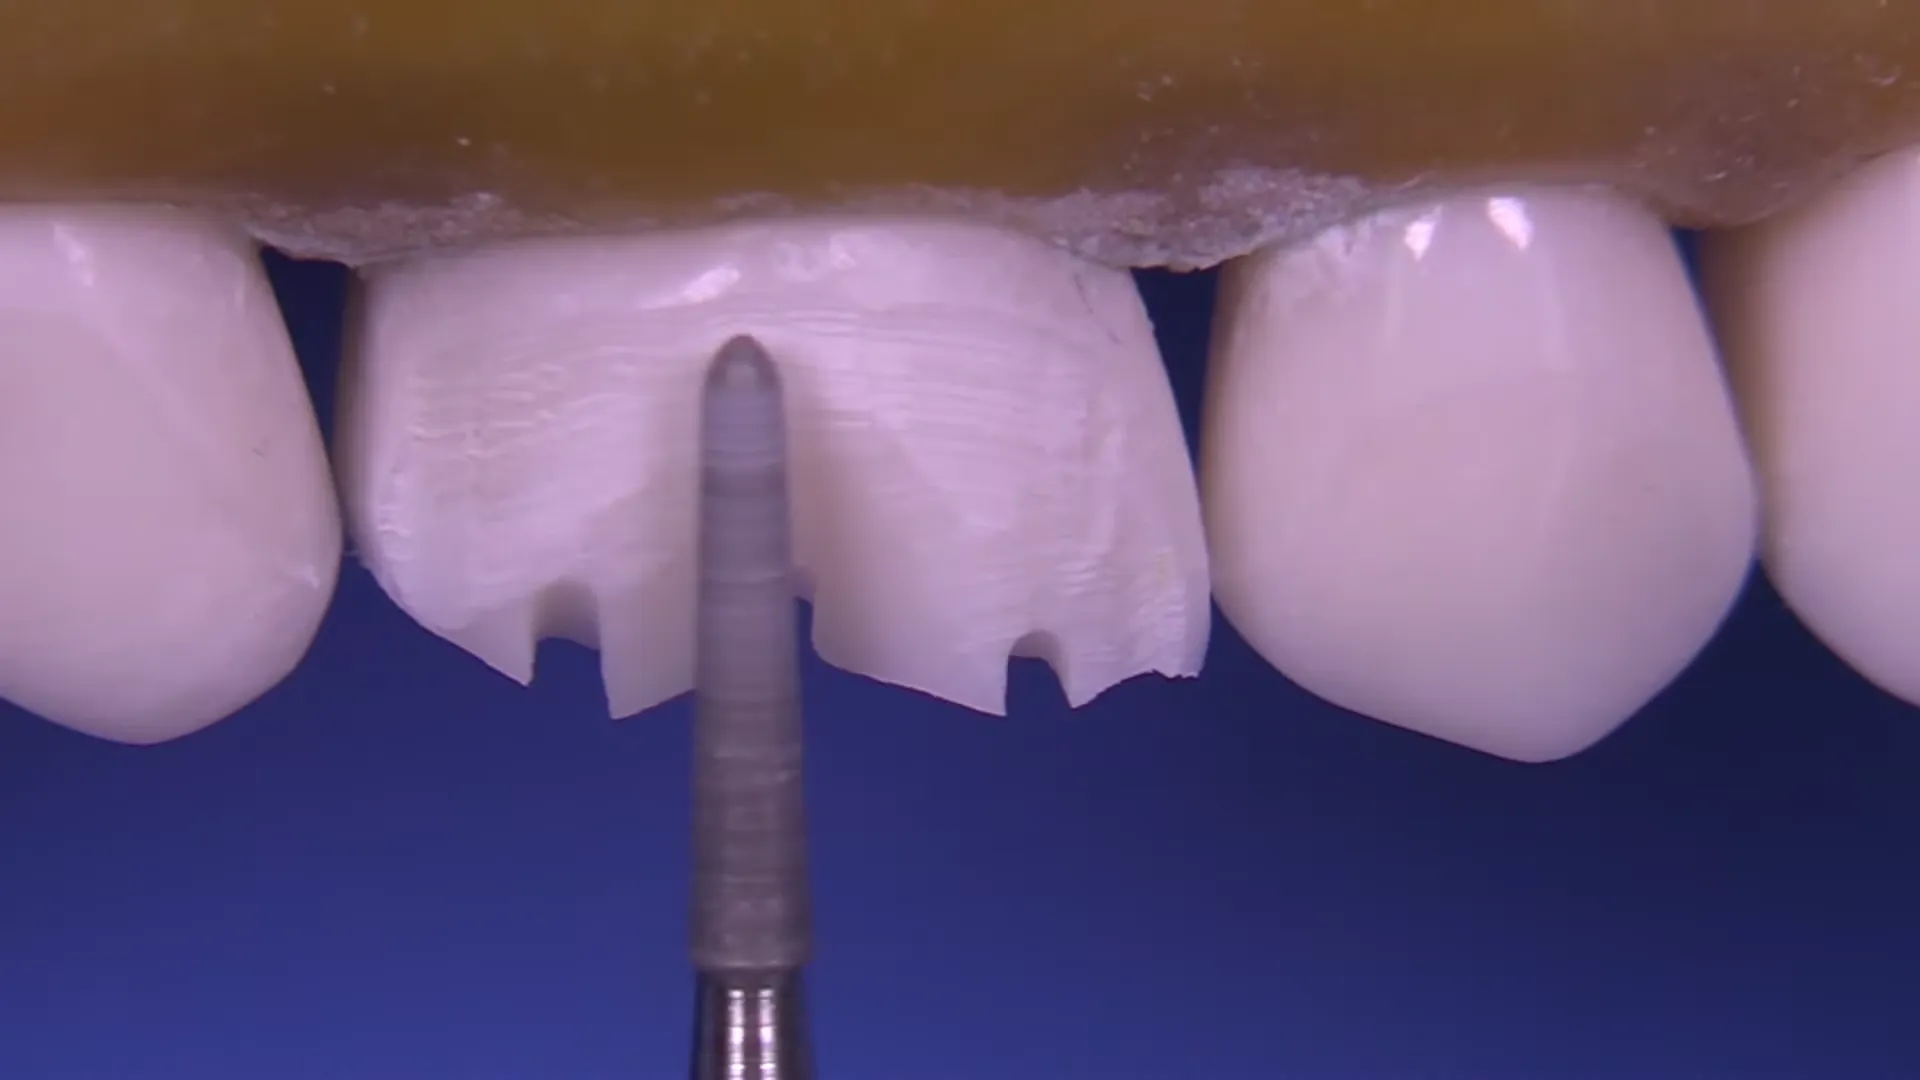
- Interproximal Reduction: Use a needle-shaped bur (85012). Start at the tip and use an “uphill” stroking motion (like walking up stairs)
to paint through the contact.
- Chamfer Margin: Use the 6878K bur to establish a chamfer on the lingual and proximal surfaces. This is appropriate for the metal collar portion of the PFM
 .
.
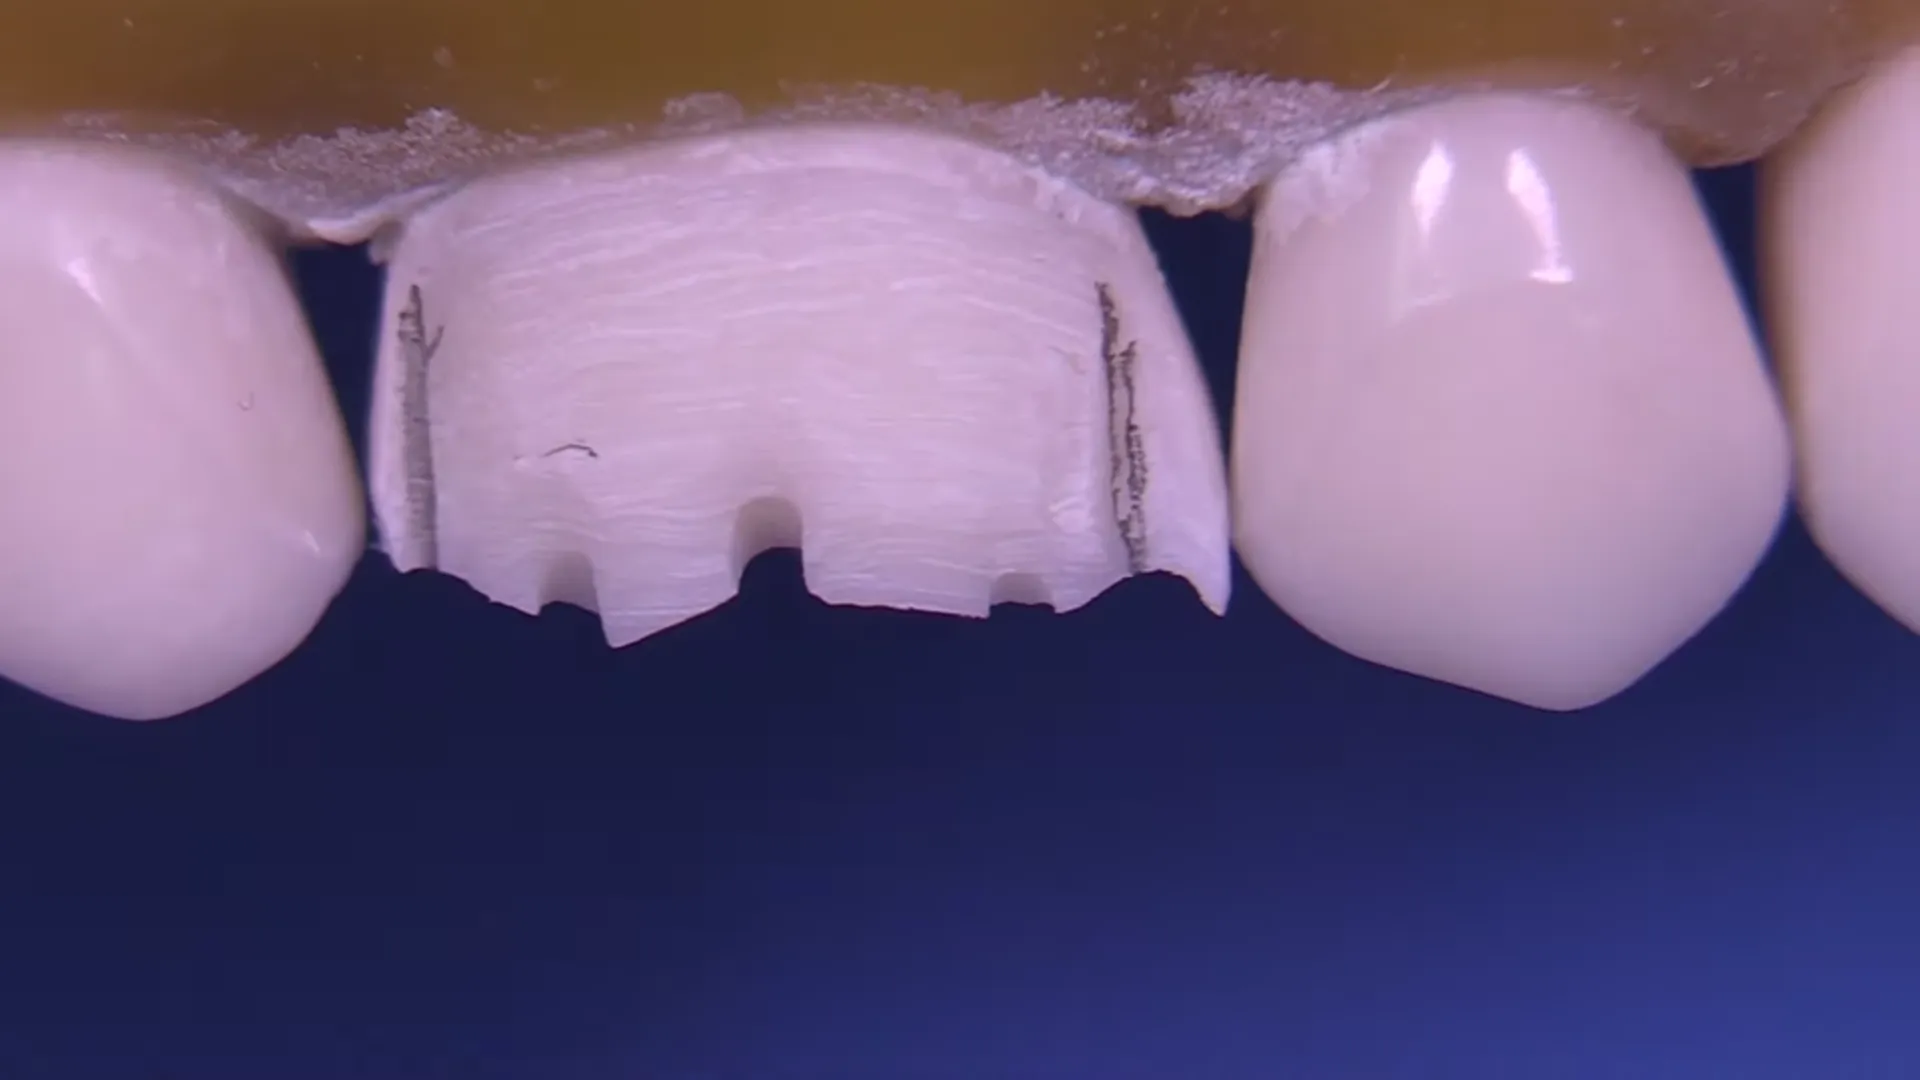
- Visualization: A pencil can be run along the internal line angle to help visualize and verify the taper
 .
.
5. PFM Shoulder Creation
The transition from a standard chamfer to a PFM shoulder is critical for esthetics on the facial aspect.
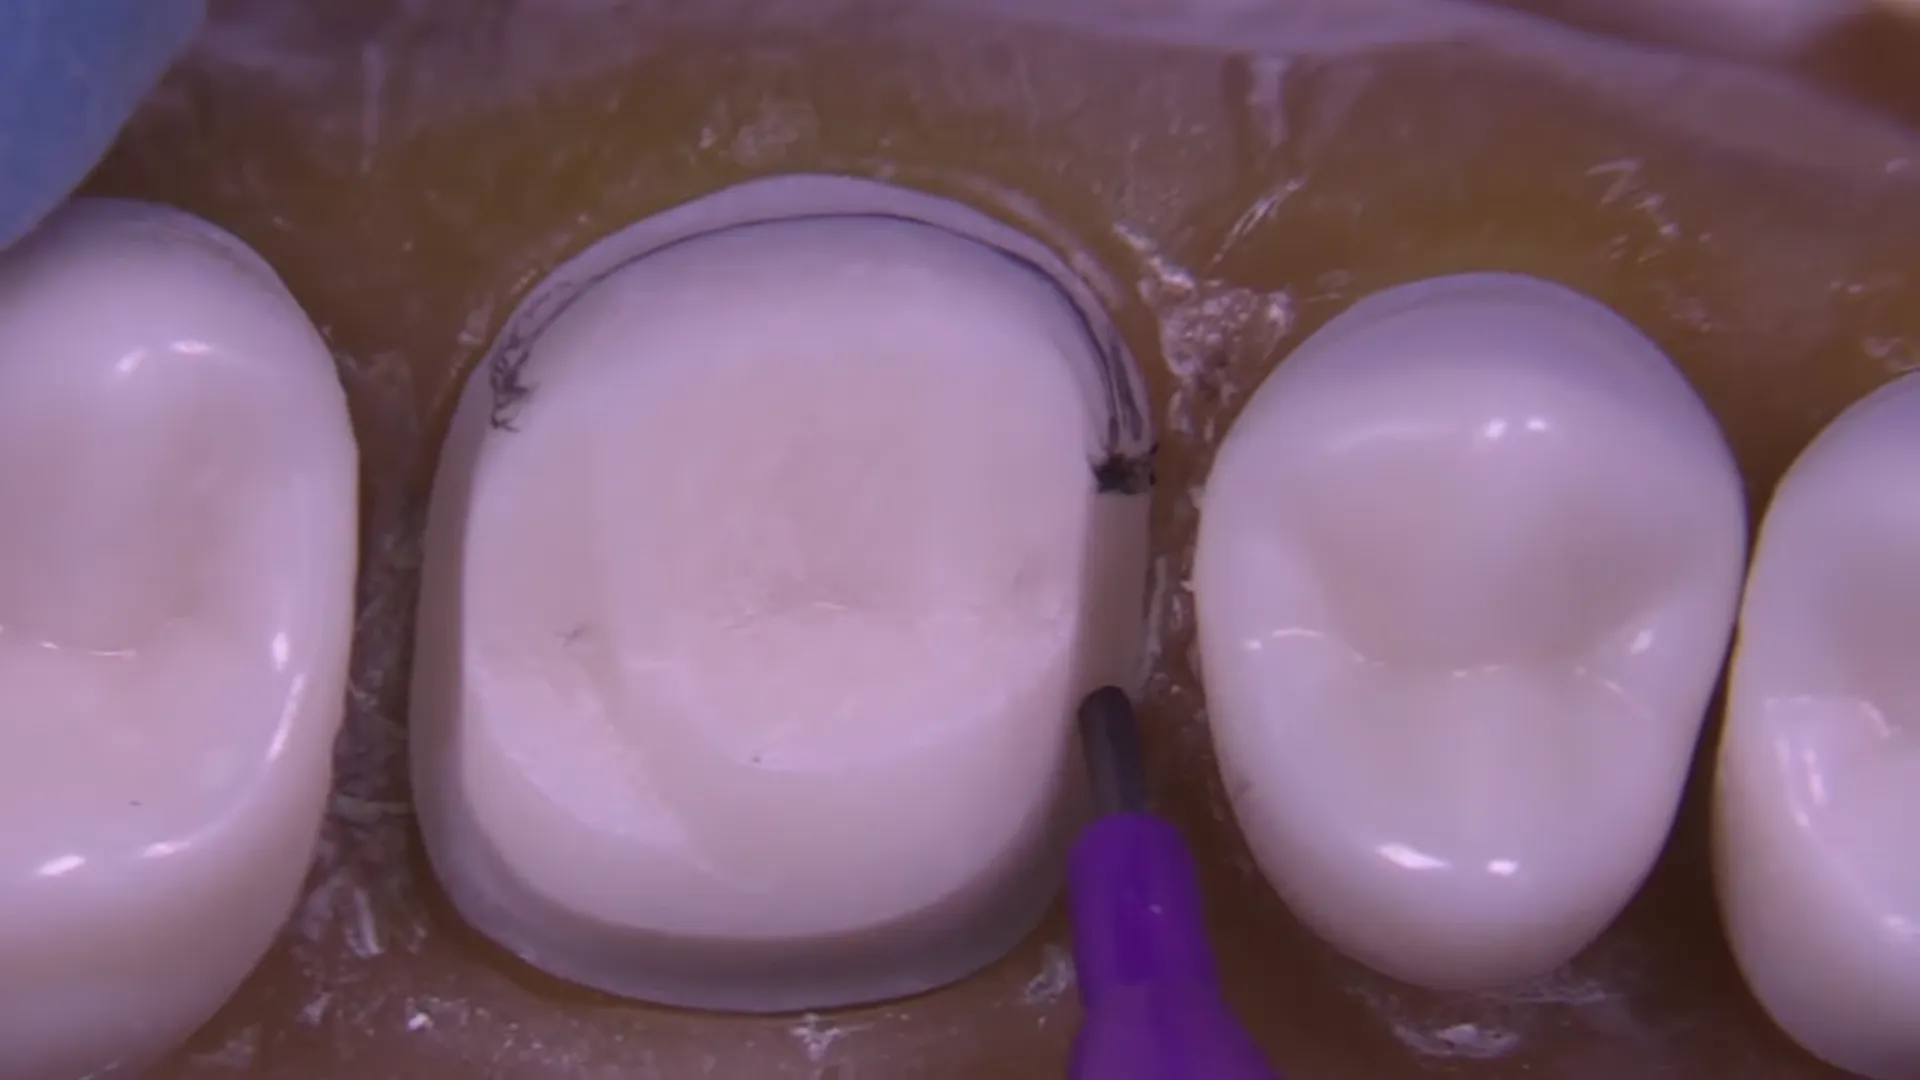
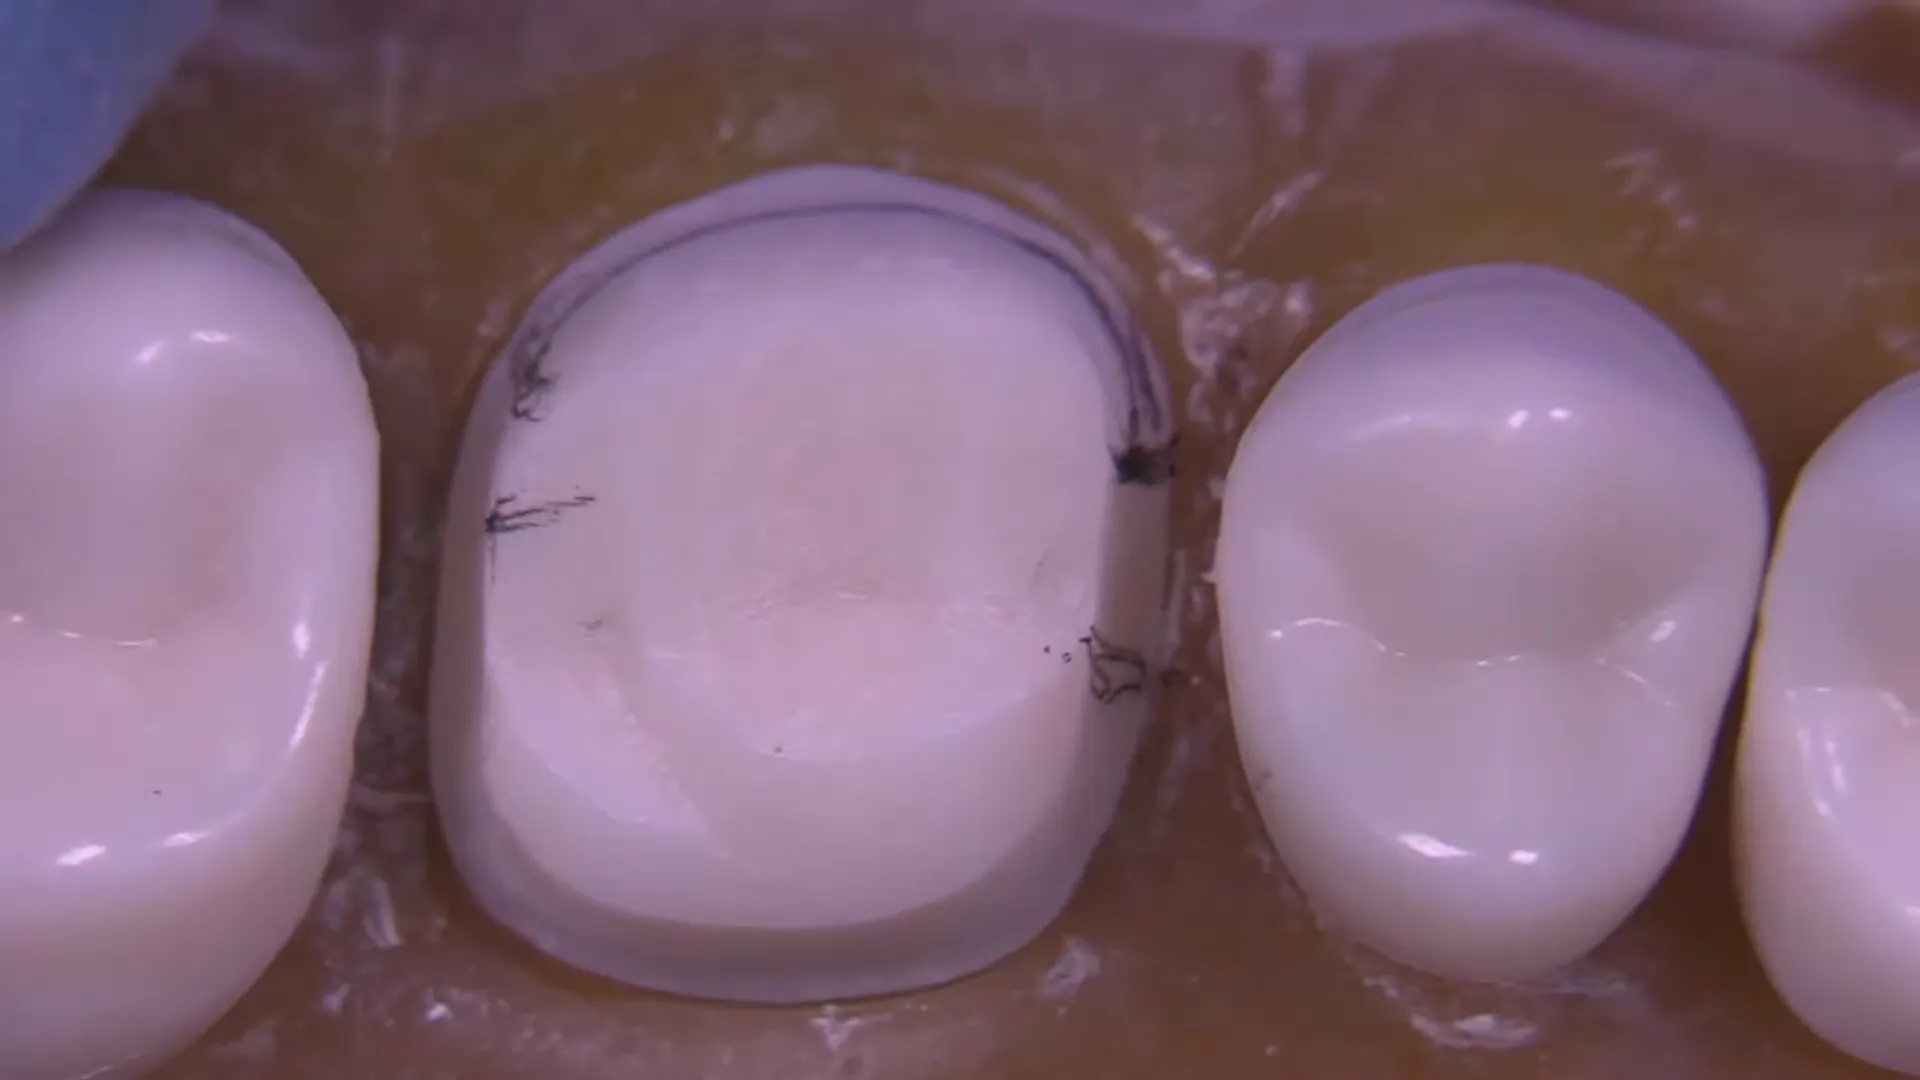
- Dimensions: The shoulder should be 1.0mm to 1.2mm deep. Avoid exceeding 1.5mm to preserve tooth structure.
- Extent: The shoulder should extend from the mesial “aesthetic zone” to the distobuccal line angle
 .
.
- Transition Zone: A 2.0mm to 2.5mm area facilitates the blend between the facial shoulder and the lingual chamfer
 .
.
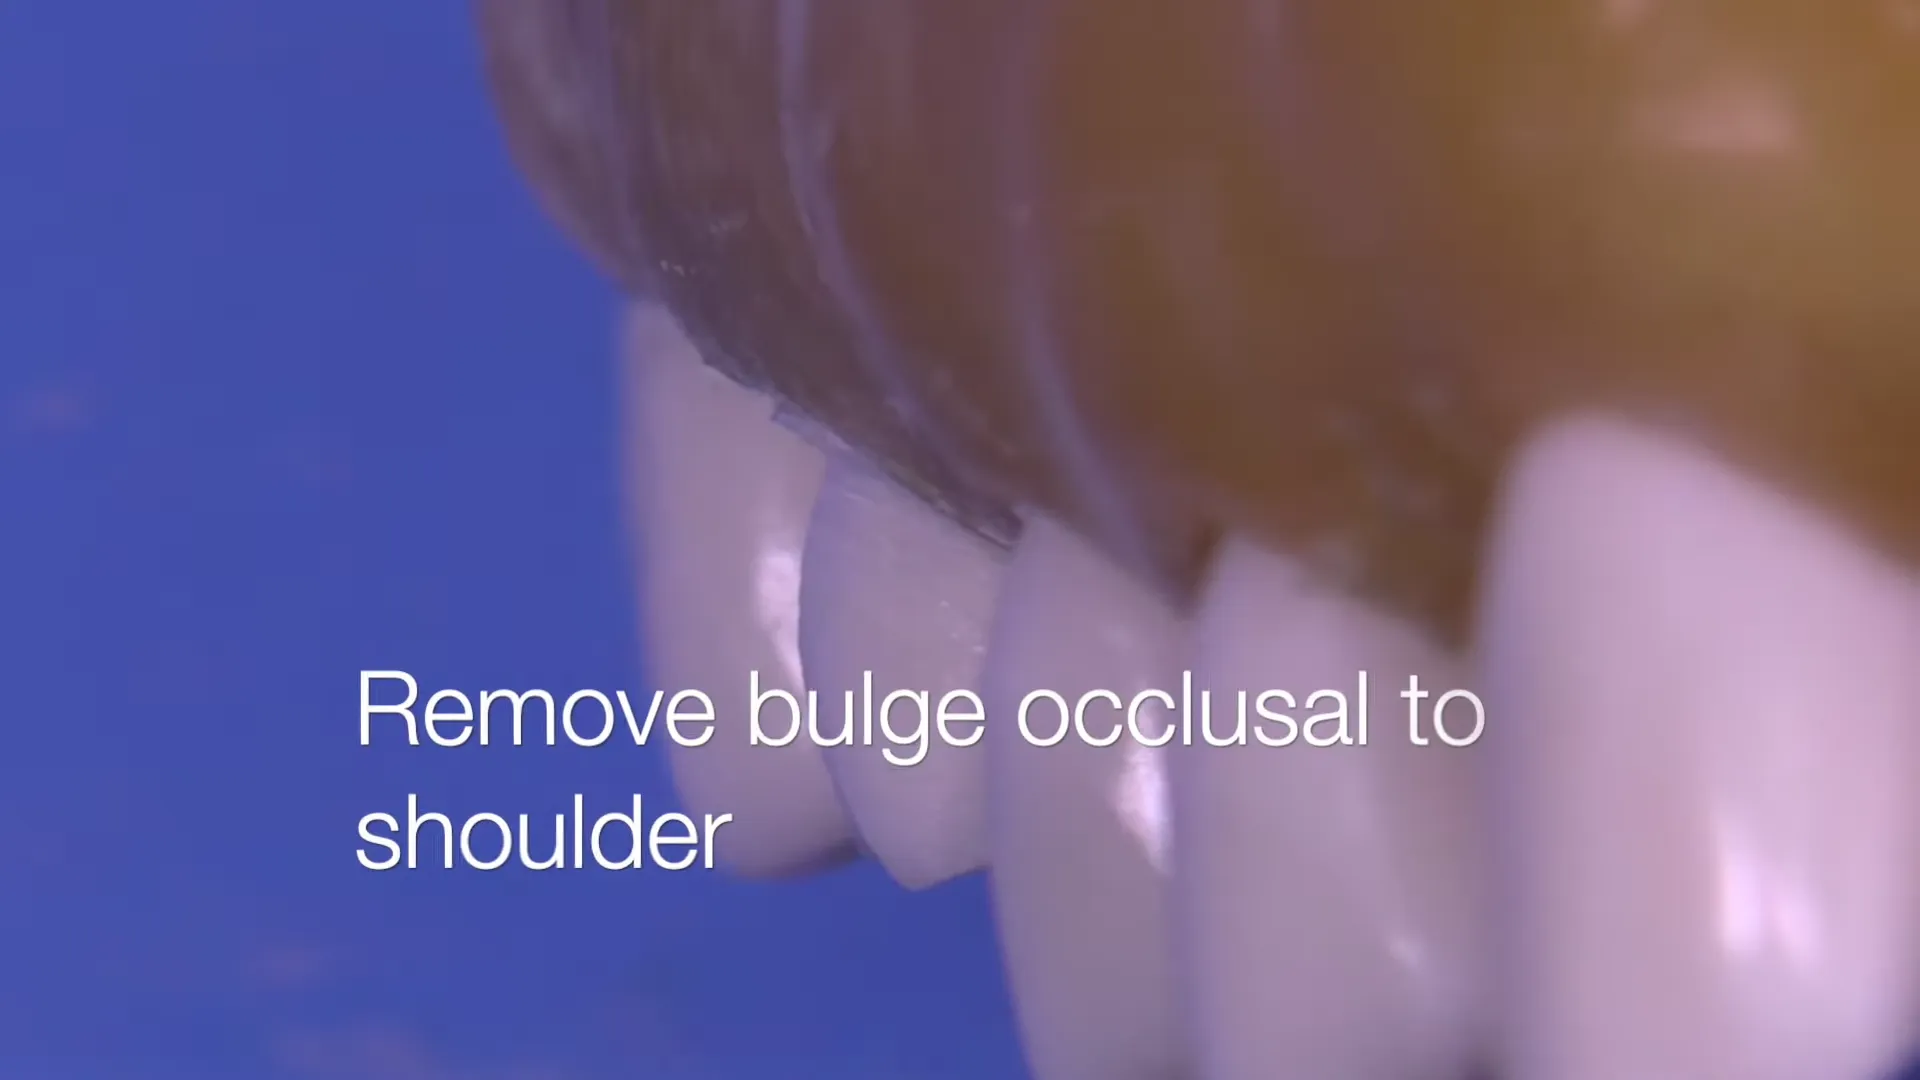
- Managing Undercuts: Creating a 90-degree shoulder often results in a facial bulge (undercut). This is a normal part of the process; simply go back and remove the bulge above the shoulder to ensure a path of insertion
.
6. Refinement and Finishing
Finalizing the preparation ensures laboratory success and patient comfort.
- Finish Line Position: Ideally 0.2mm to 0.5mm supragingival. Use an RGS3 instrument (1mm wide) to verify shoulder depth
 .
.
- Smoothing: Use a fine diamond (884-7016) with a “brush stroke” technique and partial foot pedal pressure to avoid over-reduction
.
- Blending: Use finishing carbides (7102 or 7901) to round off sharp internal line angles. This prevents stress concentrations and prevents the stone model from chipping during lab fabrication
.
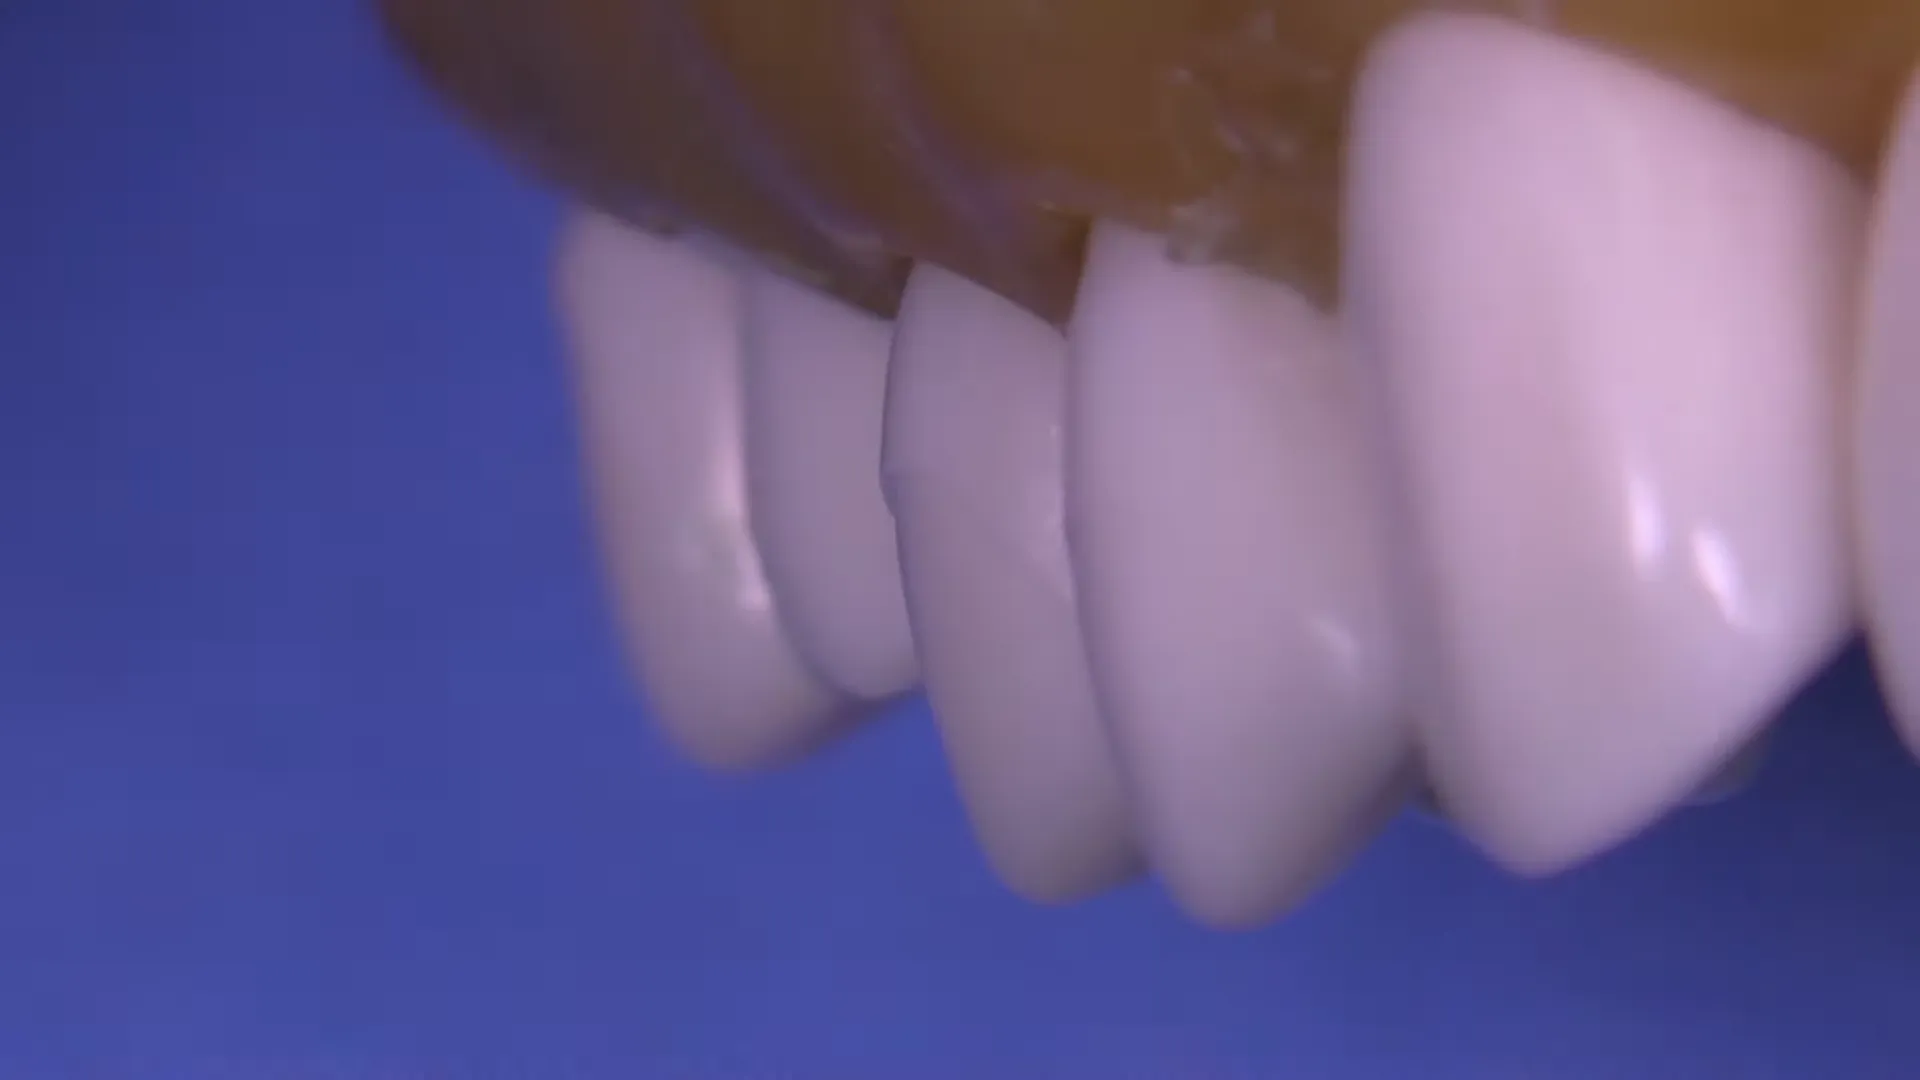
- Polishing (Optional): A Jiffy Green Polisher can be used to create a smooth surface for optimal impression detail and fit
 .
.