Finishing and Polishing in Restorative Dentistry
Front Matter1234
We are learning on Noongar land
The University of Western Australia
Copyright Notice
The University of Western Australia
Material used in this recording may have been reproduced and communicated to you by or on behalf of The University of Western Australia in accordance with section 113P of the Copyright Act 1968.
Unless stated otherwise, all teaching and learning materials provided to you by the University are protected under the Copyright Act and is for your personal use only. This material must not be shared or distributed without the permission of the University and the copyright owner/s.
Introduction and Rationale
Importance of Surface Smoothness56789
Rough surfaces are more likely to:
-
Retain plaque
-
Cause surface breakdown and corrosion
-
Fracture
-
Cause wear of adjacent tooth or restoration
-
Produce stress concentration points
-
Compromise esthetics
-
Develop stained margins or lines
-
Produce pressure points and areas of increased stress Post Ortho (2014)
-
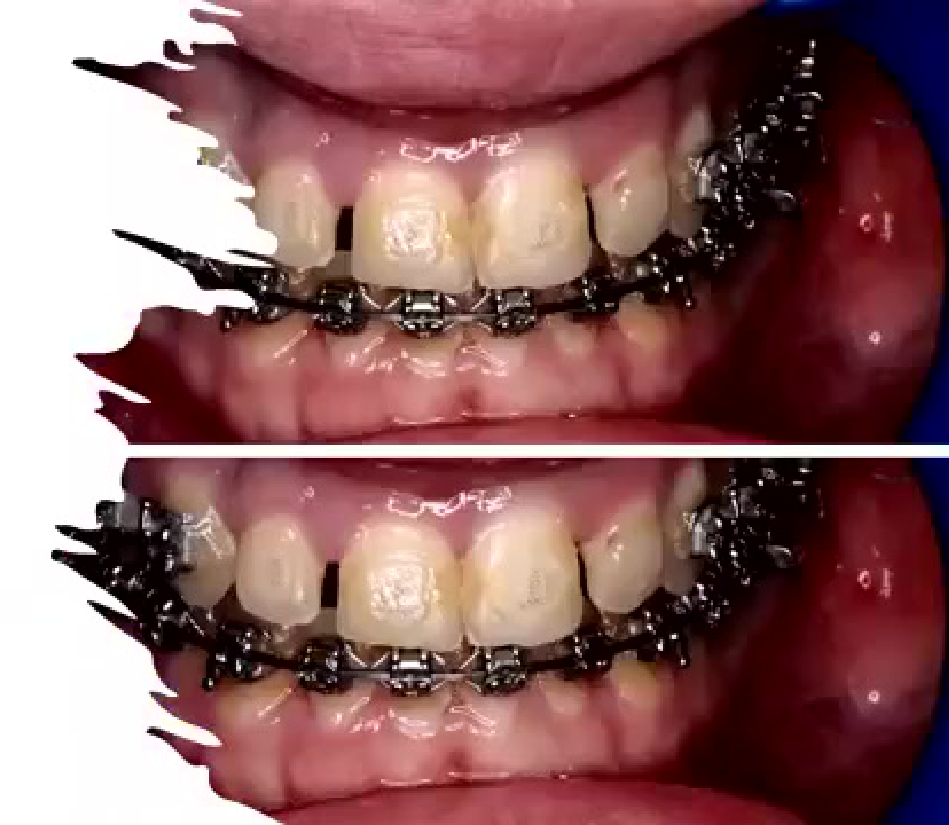
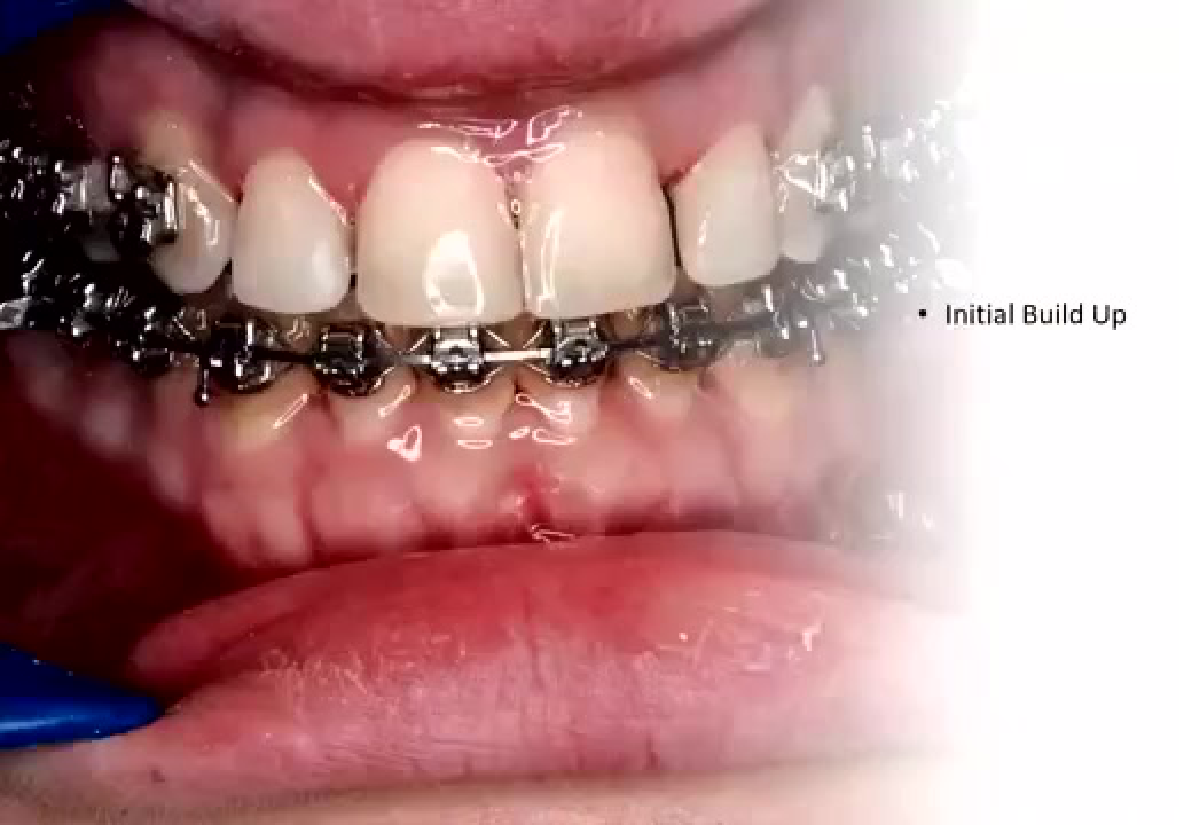
Initial Build Up
Lecturer — Material Comparisons
Finishing and polishing concepts also apply to the margins of zirconia crowns, IPS e.max crowns, inlays, and onlays. Resin cements and resin-modified cements were described as essentially watered-down composites.
- Polished zirconia is very effective, whereas rough zirconia can wear the opposing tooth.
- IPS e.max behaves more similarly to natural enamel, while gold has wearability closest to normal enamel.
- Young enamel and adult enamel differ because adult enamel is worn and has more secondary dentine.
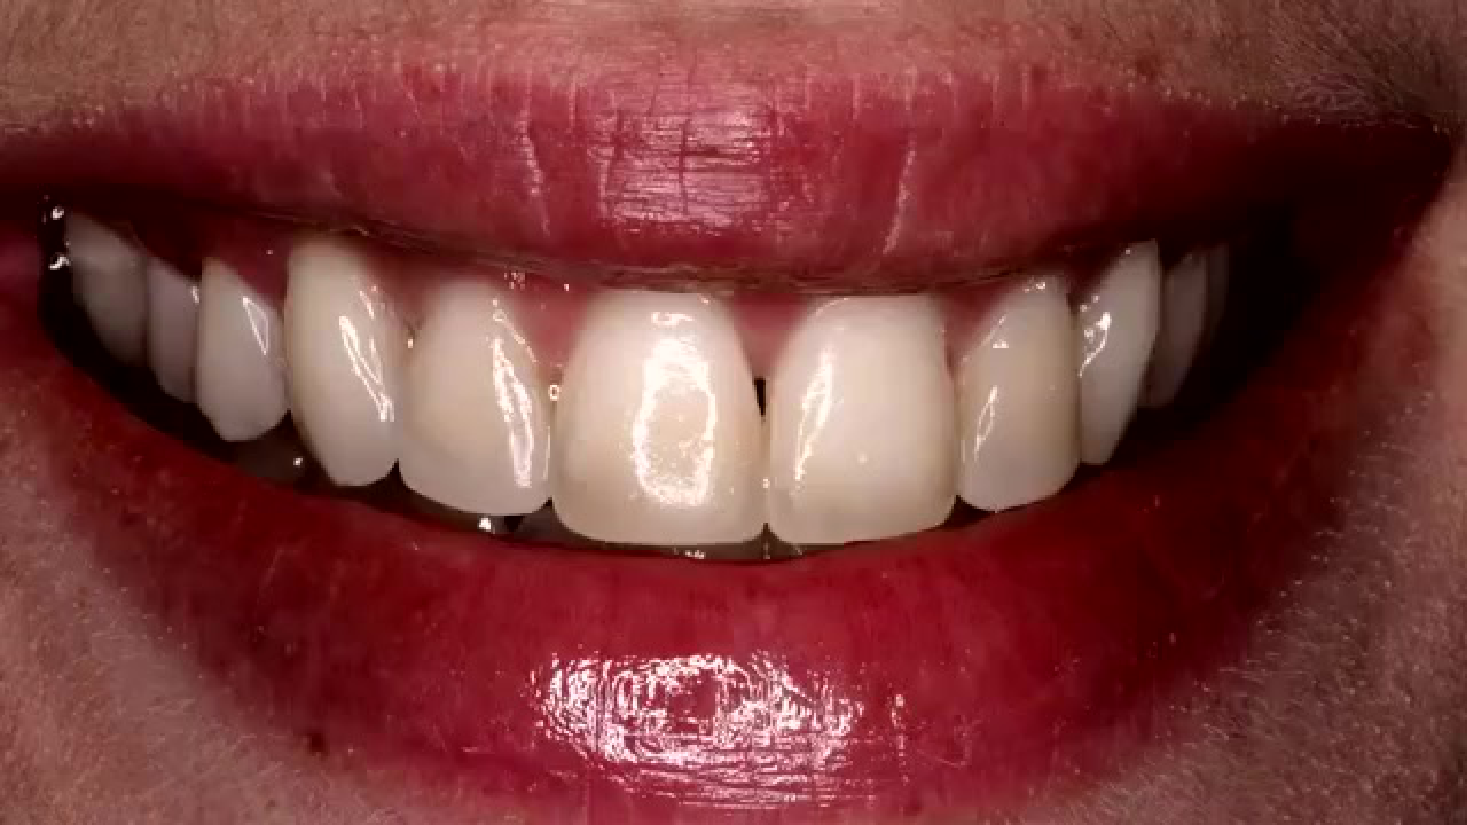
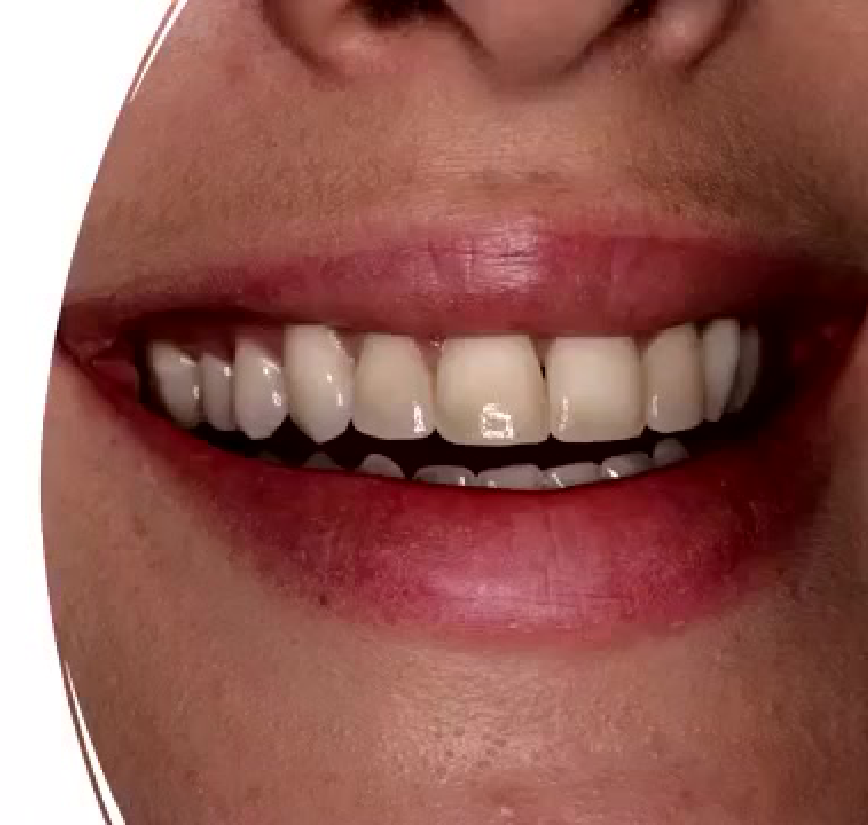
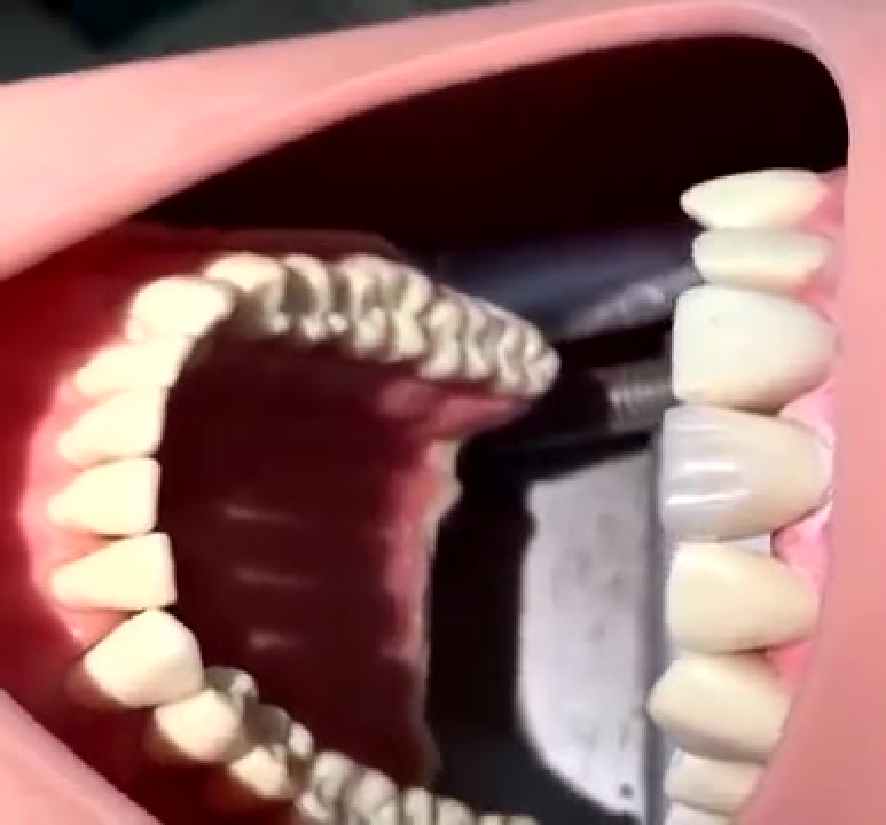
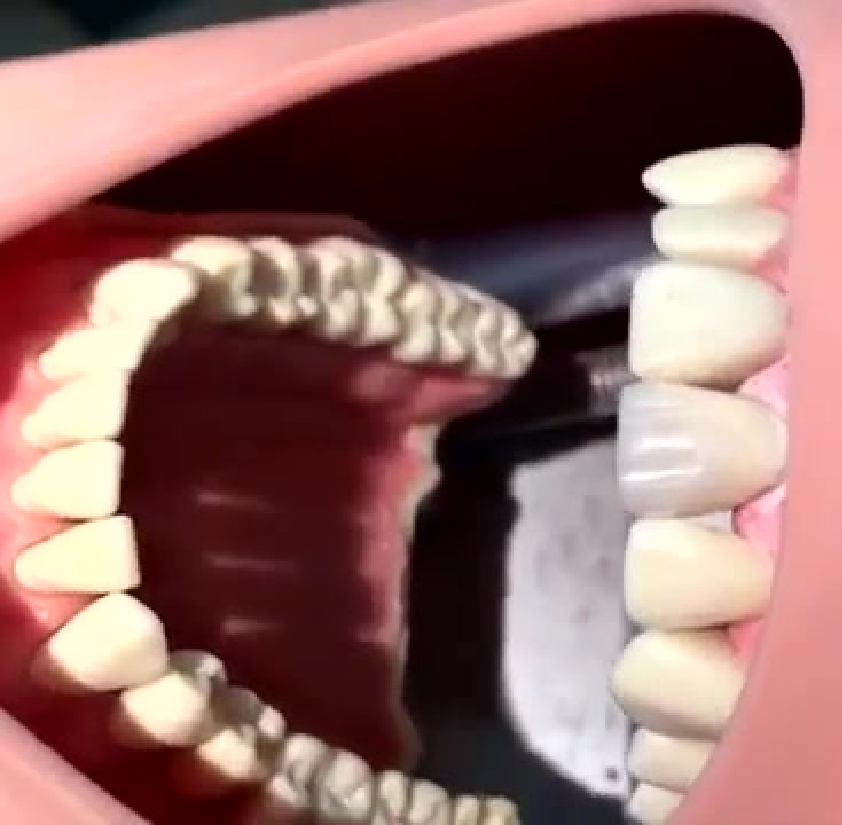
Figure annotations: “7 years later”, “2021” — the image (mouth) refers to a temporal event (“7 years later”); text and image treated as a single figure.

Surface Roughness Thresholds10
In vivo studies showed that the mean surface roughness threshold for bacterial plaque retention is above 0.2 µm. Furthermore, it is reported that patients can detect with the tip of their tongue a surface roughness of 0.3 µm.
Therefore, it is widely reported that a surface roughness value below 0.2 µm is considered the acceptable threshold for dental restoratives.
Lecturer — Clinical Thresholds
The lecture compared the surface-roughness threshold with crown-margin adaptation, describing a gap below 40 micrometres as acceptable and a gap above 40 micrometres as unacceptable.
- A new sickle probe tip was presented as an approximate clinical reference for 40 micrometres.
- If a new sickle-probe tip can enter the crown margin, the margin may be considered unacceptable; this comparison does not apply to worn, chipped, or damaged probe tips.
- The evidence does not establish universal agreement about the exact surface-roughness threshold required for excellent surface gloss.
Thus, the finishing and polishing protocol is considered a critical step to achieve a favourable aesthetic outcome and increase the longevity of the restoration.
A.F. Reis et al. Effects of various finishing systems on the surface roughness and staining susceptibility of packable composite resins Dent. Mater. (2003)
 |  |
 |
Overview of Finishing and Polishing11
Jefferies SR. Abrasive finishing and polishing in restorative dentistry: a state-of-the-art review. Dental Clinics of North America 2007;51:379–97.
Finishing and polishing in restorative dentistry refers to the following steps:
- Gross contouring of the restoration to obtain the desired anatomy.
- Reduction and smoothing of surface roughness and scratches created by finishing instruments in the process of gross reduction and initial polishing.
- Process of producing a highly smooth, light-reflective, enamel-like surface through final polishing.
Lecturer — Finishing Sequence
Finishing removes gross excess material and establishes the shape, while polishing produces smoothness and shine. Jumping directly to a fine or super-fine polishing disc may create a shine without eliminating the deeper roughness produced during gross contouring.
- Initially, follow the sequence designed by the manufacturer, progressing from coarse or medium instruments through finer instruments.
- With experience, clinicians may combine systems and instruments, but beginners were advised to use one system from start to finish.
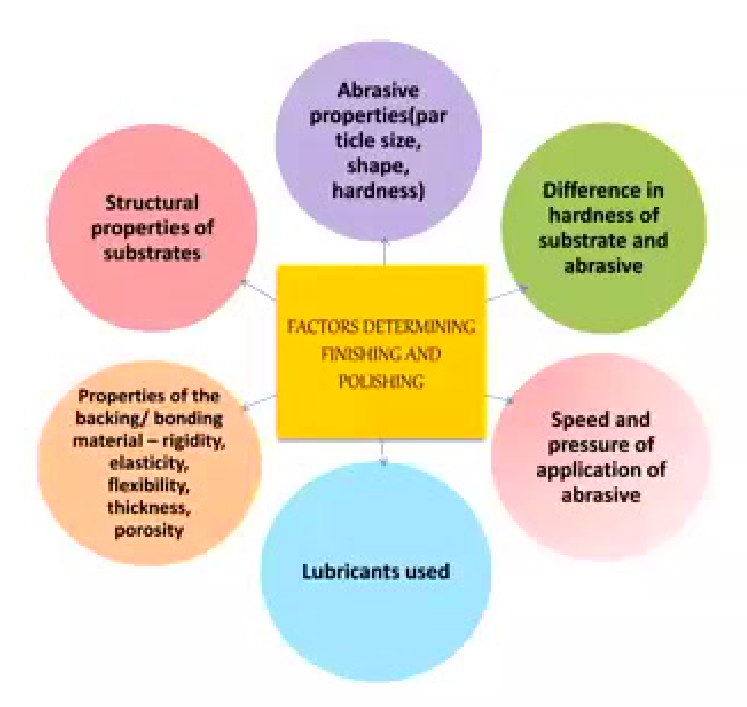
Factors Determining Finishing and Polishing12
-
Structural properties of substrates
-
Properties of the backing/bonding material — rigidity, elasticity, flexibility, thickness, porosity
-
Lubricants used
-
Speed and pressure of application of abrasive
-
Difference in hardness of substrate and abrasive
-
Abrasive properties (particle size, shape, hardness)
-
Type of composite, including nano, hybrid, or microfilled composite
-
Thickness and location of the composite
-
Whether the restoration is anterior or posterior
-
The bonding system used
-
The specific polishing system and sequence
-
Polishing may be performed wet or dry depending on the lubricant and technique
-
Pressure control requires developing an individual sense of how much pressure to apply, comparable to operating a manual-car clutch
-
Anterior composites generally require more attention to surface anatomy and gloss, whereas posterior composites may not require prolonged polishing in less visible areas
-
Microfilled composites can produce an excellent polish but wear more quickly, while hybrid composites may require more polishing work
-
Single-bottle bonding systems may require additional polishing attention because of their tendency to stain over time
Dental Burs and ISO Classification
Understanding Bur Components1314
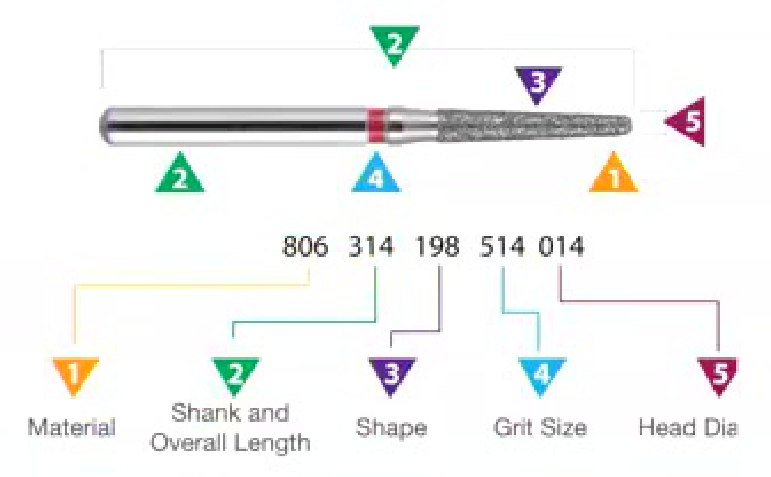
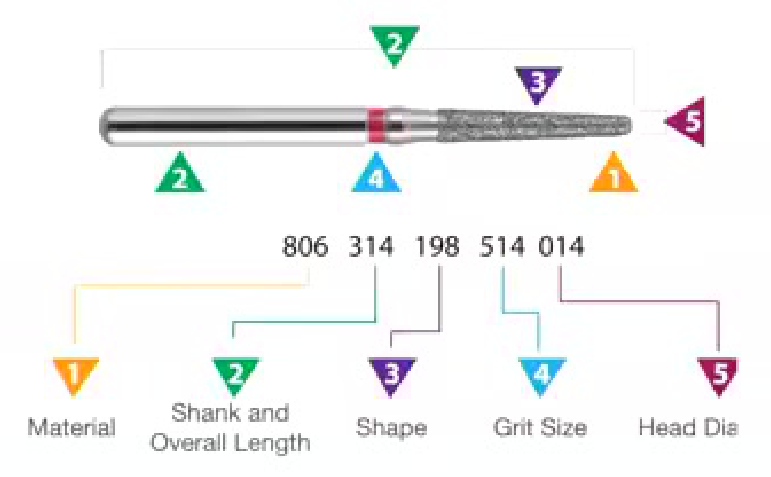
A good way to understand all about dental burs is to start by considering the 5 aspects which the ISO classification takes into account.
- By type of material
- By shank
- By shape
- By grit size
- By head diameter
The five labeled bur components correspond to example codes 806, 314, 198, 514, and 014:
- Material
- Shank and Overall Length
- Shape
- Grit Size
- Head Dia
 |  |
 |  |
Grit Color Coding and Bur Labeling
Color Coding of Grits15
- Super Fine: 8 μm (White)
- Extra Fine (EF): 20–30 μm (Yellow)
- Fine (F): 53–63 μm (Red)
- Standard (S): 106–125 μm (Blue)
- Coarse (C): 125–150 μm (Green)
- Super Coarse: 181 μm (Black)
Lecturer — Clinical Grit Selection
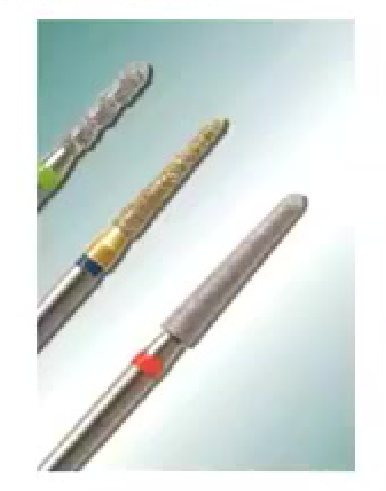
Most burs used in the clinic were described as blue-band burs, representing a standard medium grit.
- A bur without a visible band is generally treated as a blue, or medium-grit, bur.
- Coarse green burs may be useful for very hard, sclerotic dentine in older patients; a finer red bur can follow the initial preparation.
- White burs are used infrequently because they are very fine and require considerable time.
- A dual-band bur may have blue over most of its length and red at the cutting end. This can help during crown preparation when cervical enamel is thin or a patient has a non-carious cervical lesion: the finer end reduces the risk of cutting into the root surface while the rest assists with removing undercuts.
Dental Bur Labeling
- ISO No.: ISO 173/014
- Order No.: TF-11
- Shape: TF Series
Lecturer — Bur Code Example
An example such as “806314” was used to illustrate the ISO system. A designation such as “PF” refers to a tapered fissure, while a number such as “11” identifies the head diameter or size.
The five aspects of a bur, each with an example numeric code:
- Material — 806
- Shank and Overall Length — 314
- Shape — 198
- Grit Size — 514
- Head Dia — 014
In summary, the ISO classification considers:
- By type of material
- By shank
- By shape
- By grit size
- By head diameter
Lecturer — ISO Code Structure
The ISO bur code was described as providing information about five features.
- The first three digits identify the material, followed by digits for the shank and overall length, shape, grit size, and head diameter.
- The classification is an international standard, so the same system applies across manufacturers and countries.
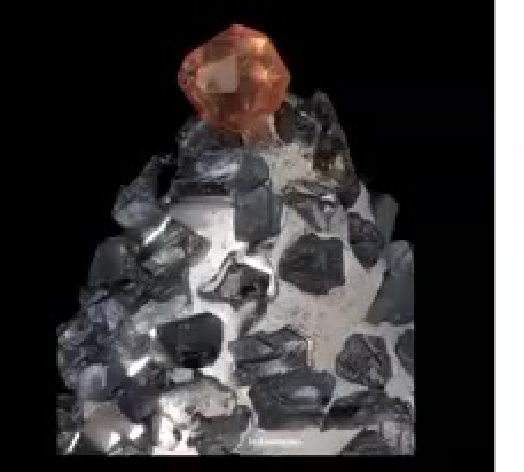
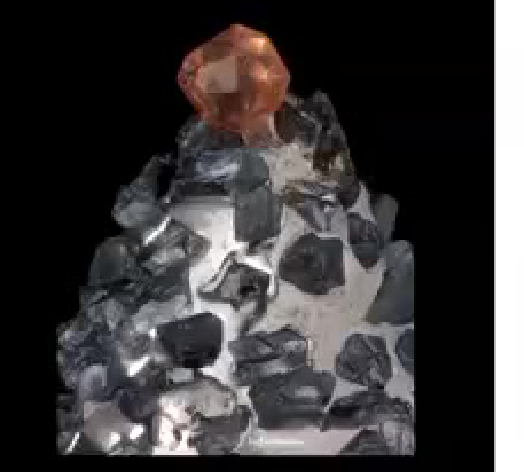
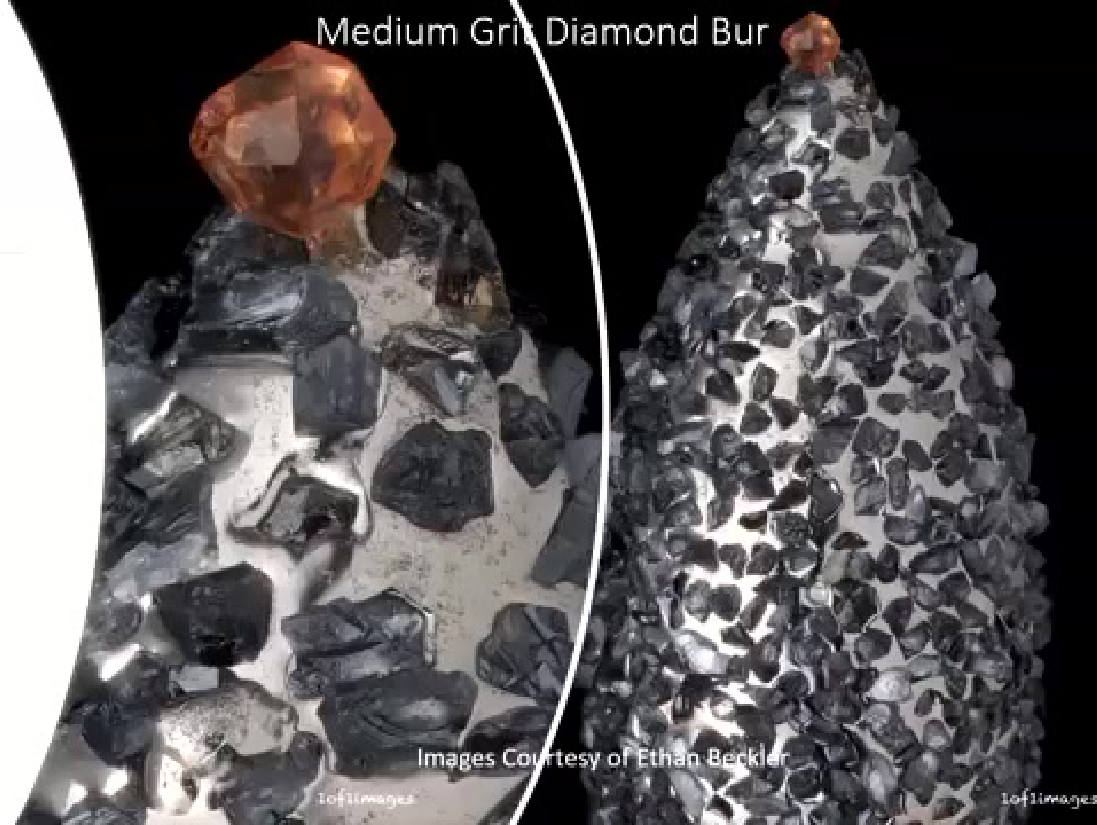
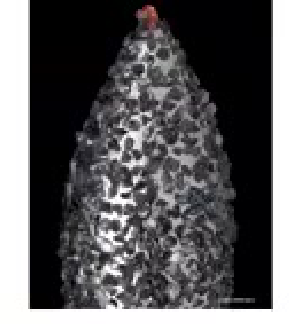
- A magnified image showed diamond particles attached to the bur base; microscopically, they were compared with a silica or glass particle to demonstrate their small size.
Abrasive Grit Particle Sizes16
Dental abrasive grits based on particle size are:
- Coarse
- Medium coarse
- Medium
- Fine
- Superfine
Lecturer — Abrasive Particle Sizes
A standard diamond bur was described as having particles approximately 106–125 micrometres in size and corresponding to the blue band.
- Diamond abrasives greater than 100 micrometres were associated with gross reduction.
- Finishing abrasives were described as being approximately 30–100 micrometres.
Finishing Instruments Diamond and Carbide Burs1718192021222324
Nihan Gonulol, Fikret Yilmaz; Journal of Dentistry 2012. The effects of finishing and polishing techniques on surface roughness and color stability of nanocomposites.
| Item | Description |
|---|---|
| Finishing diamonds | Best suited for gross removal and contouring due to their high cutting efficiency of composite surfaces. |
| Carbide finishing burs | Best suited for smoothing and finishing, as a result of their low cutting efficiency. |
Lecturer — Finishing Sequence
Finishing diamonds are used first to establish the gross shape, while carbide burs refine and begin smoothing the surface.
- The lecturer also described diamonds as useful for creating primary anatomy and reducing large areas of composite efficiently.
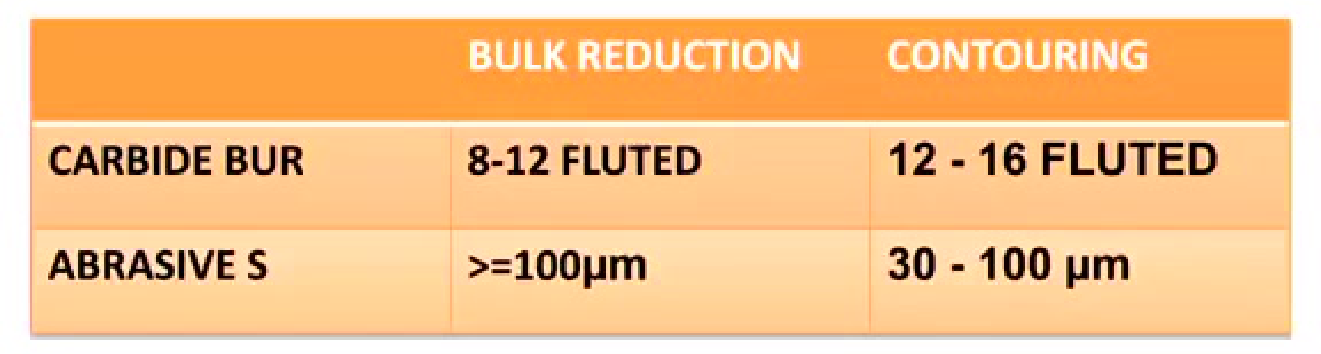
- Burs with fewer flutes have larger angles between flutes and remove larger pieces, making them more suitable for bulk reduction.
- More closely spaced flutes remove smaller amounts and are more suitable for finishing; flute design determines whether a bur is suited to cutting or finishing.
Medium Grit Diamond Burs25
Standard Diamond Bur26
- 106–125 microns
- Blue Band
Images courtesy of Ethan Beckler
| Bulk Reduction | Contouring | |
|---|---|---|
| Carbide bur | 8–12 fluted | 12–16 fluted |
| Abrasives | ≥100 μm | 30–100 μm |
- 106–125 microns
- Blue Band
Images courtesy of Ethan Beckler
Finishing Diamond Burs for Tertiary Anatomy27282930
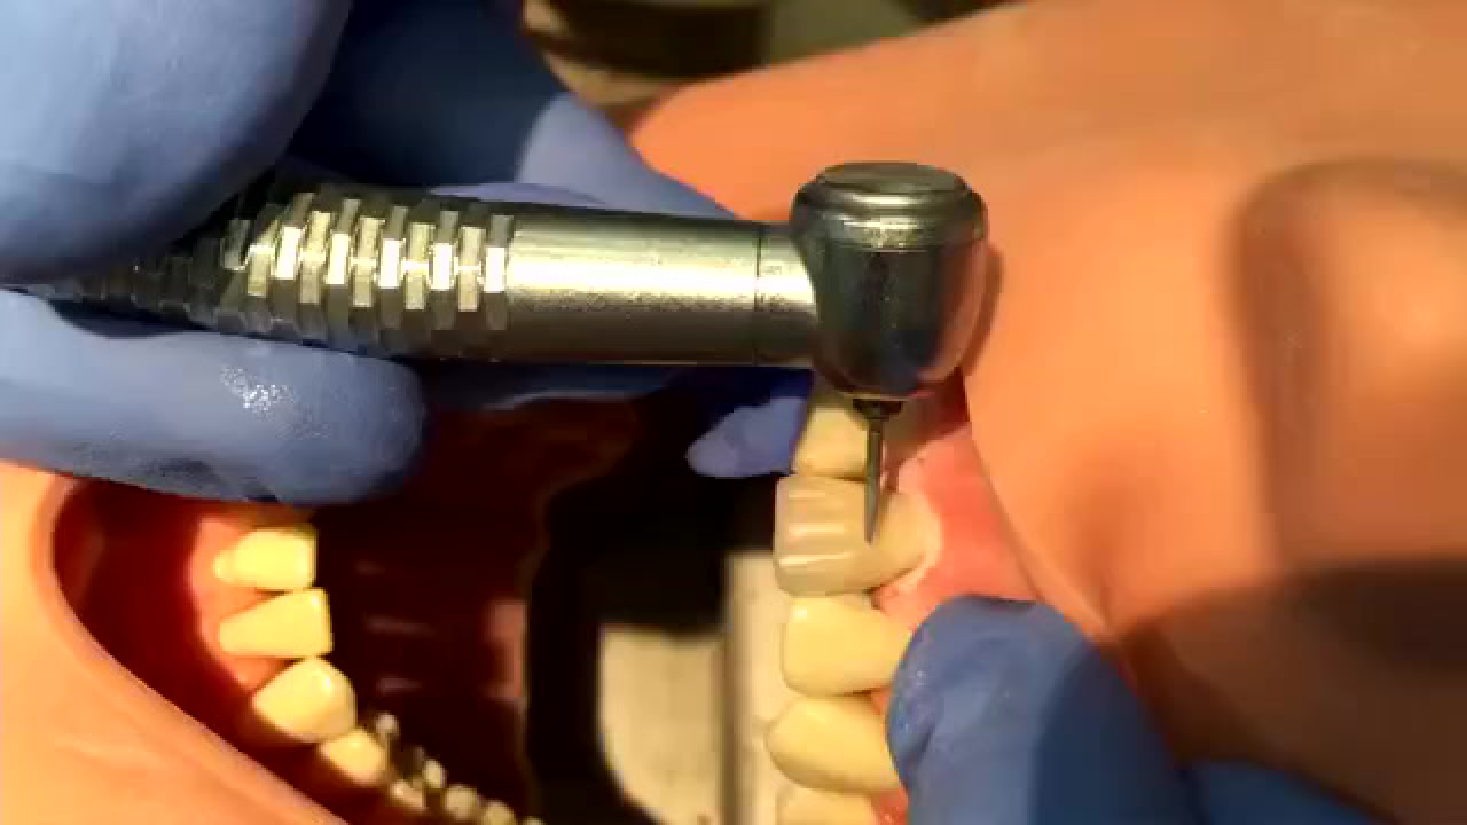
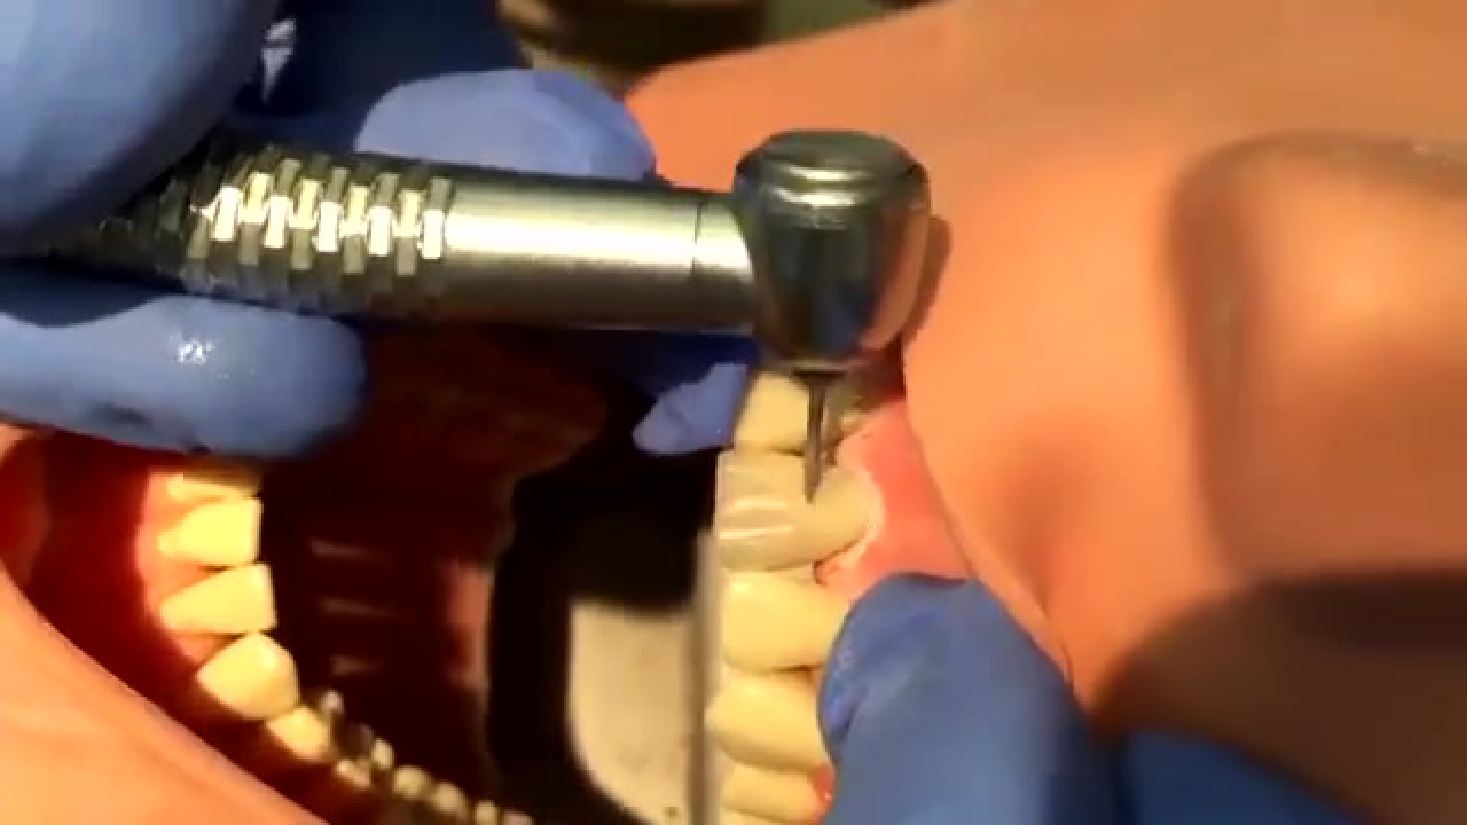
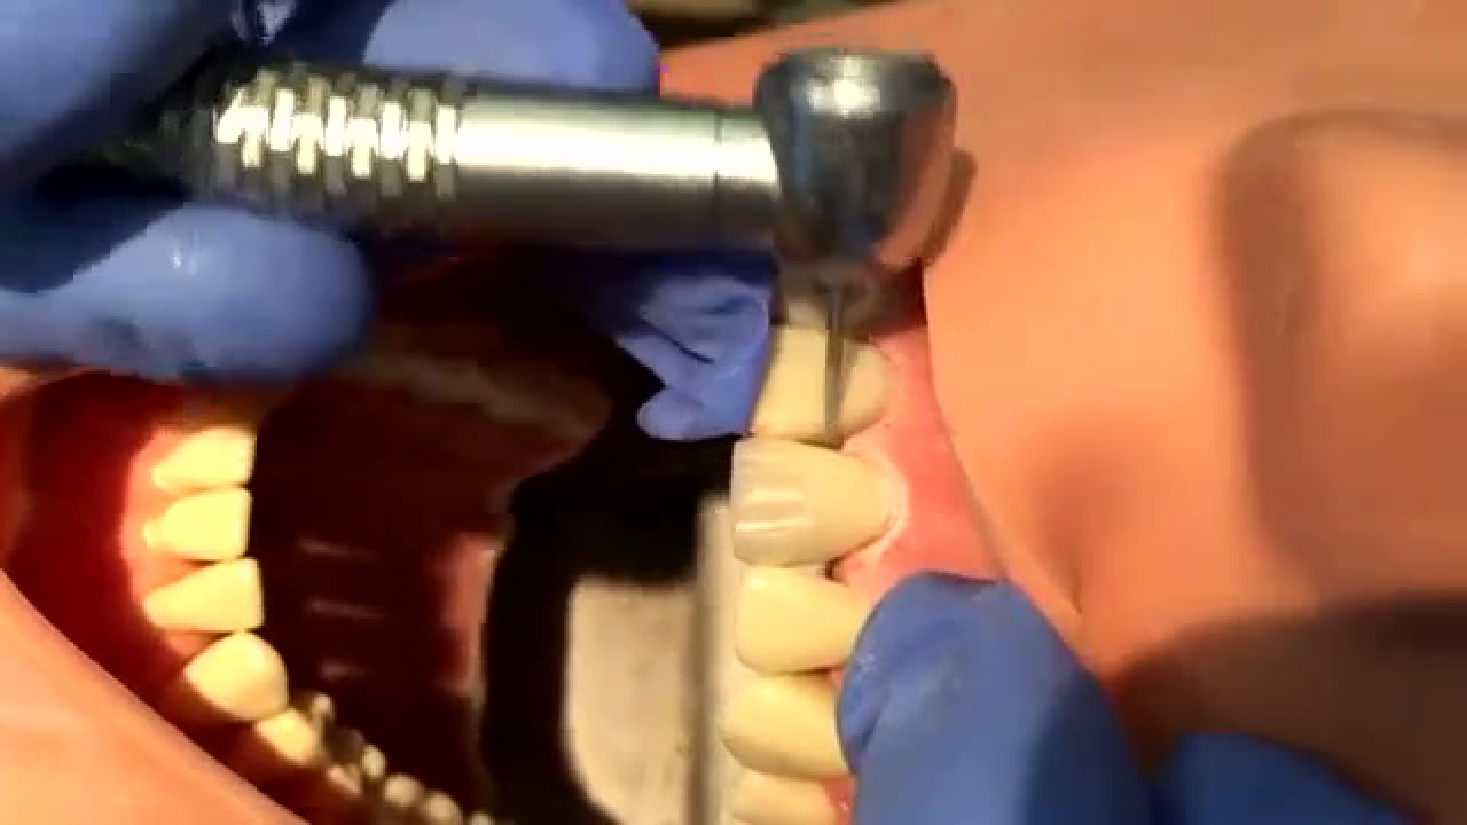
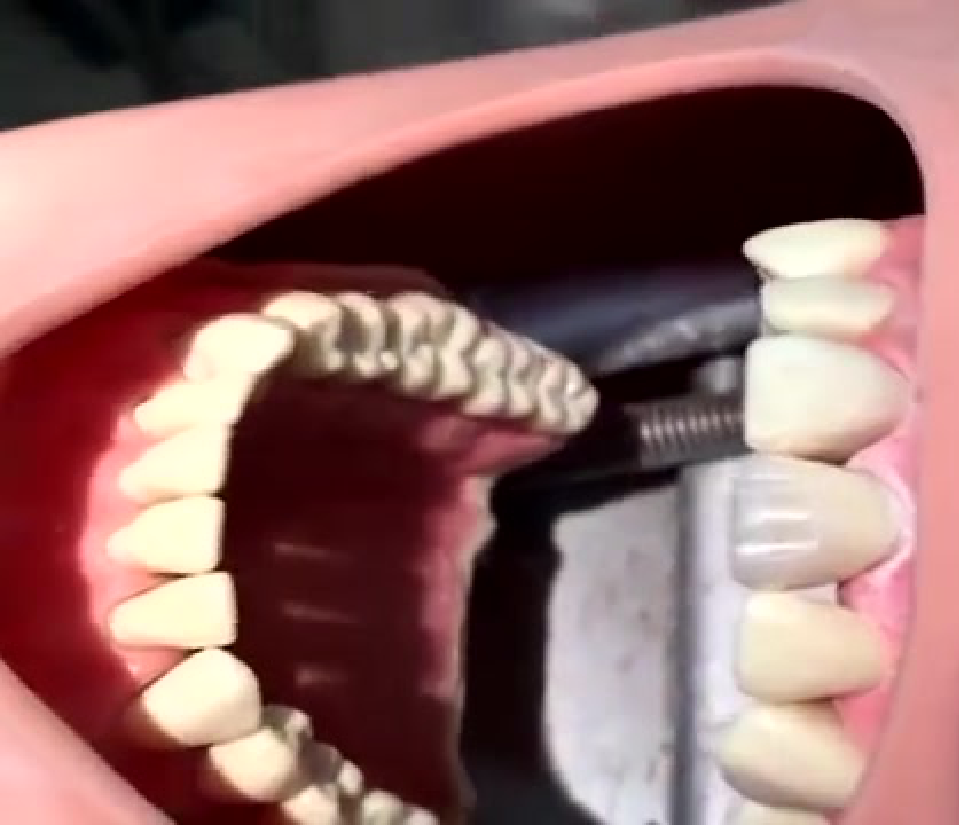
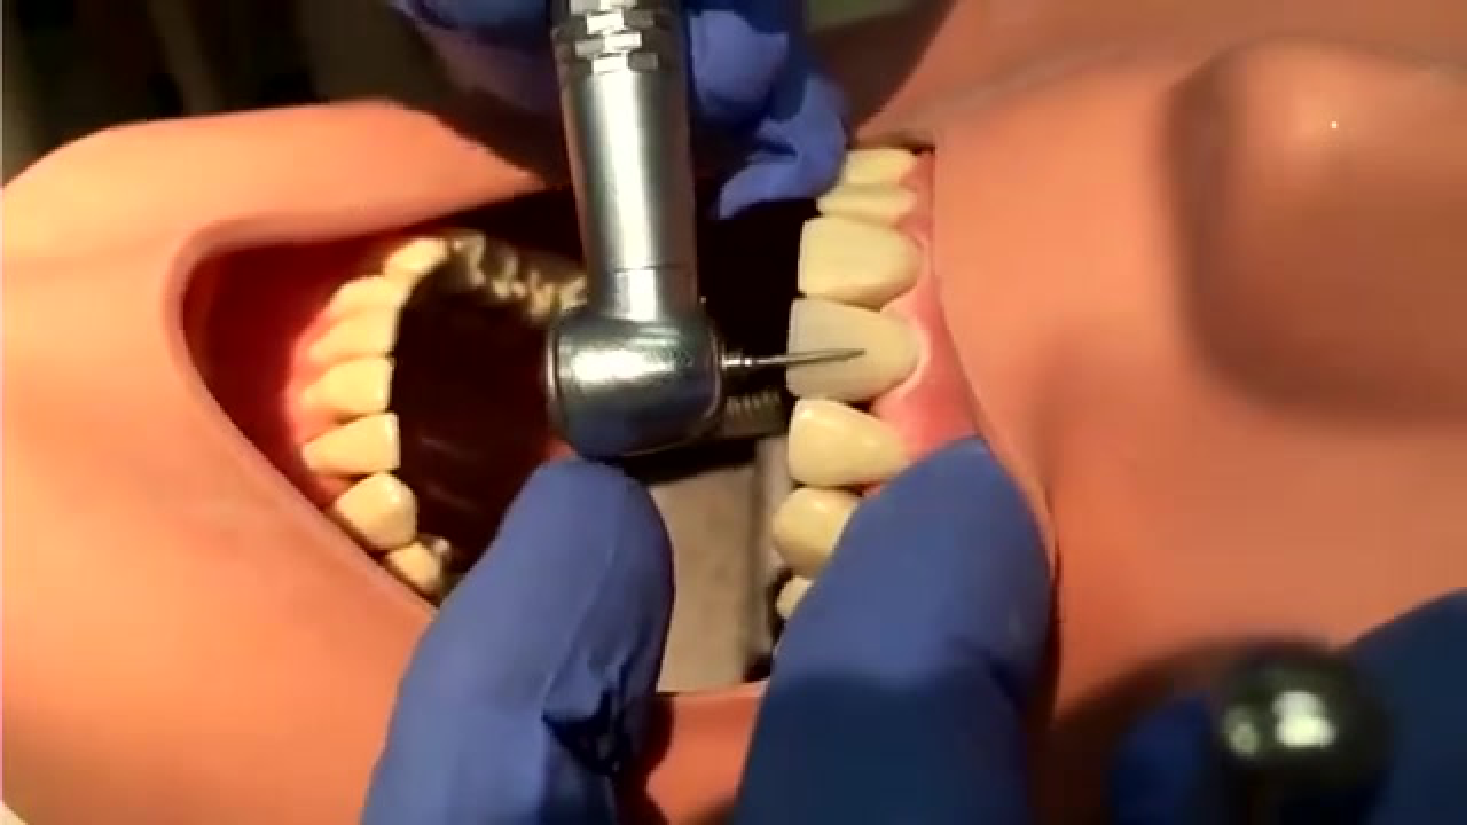
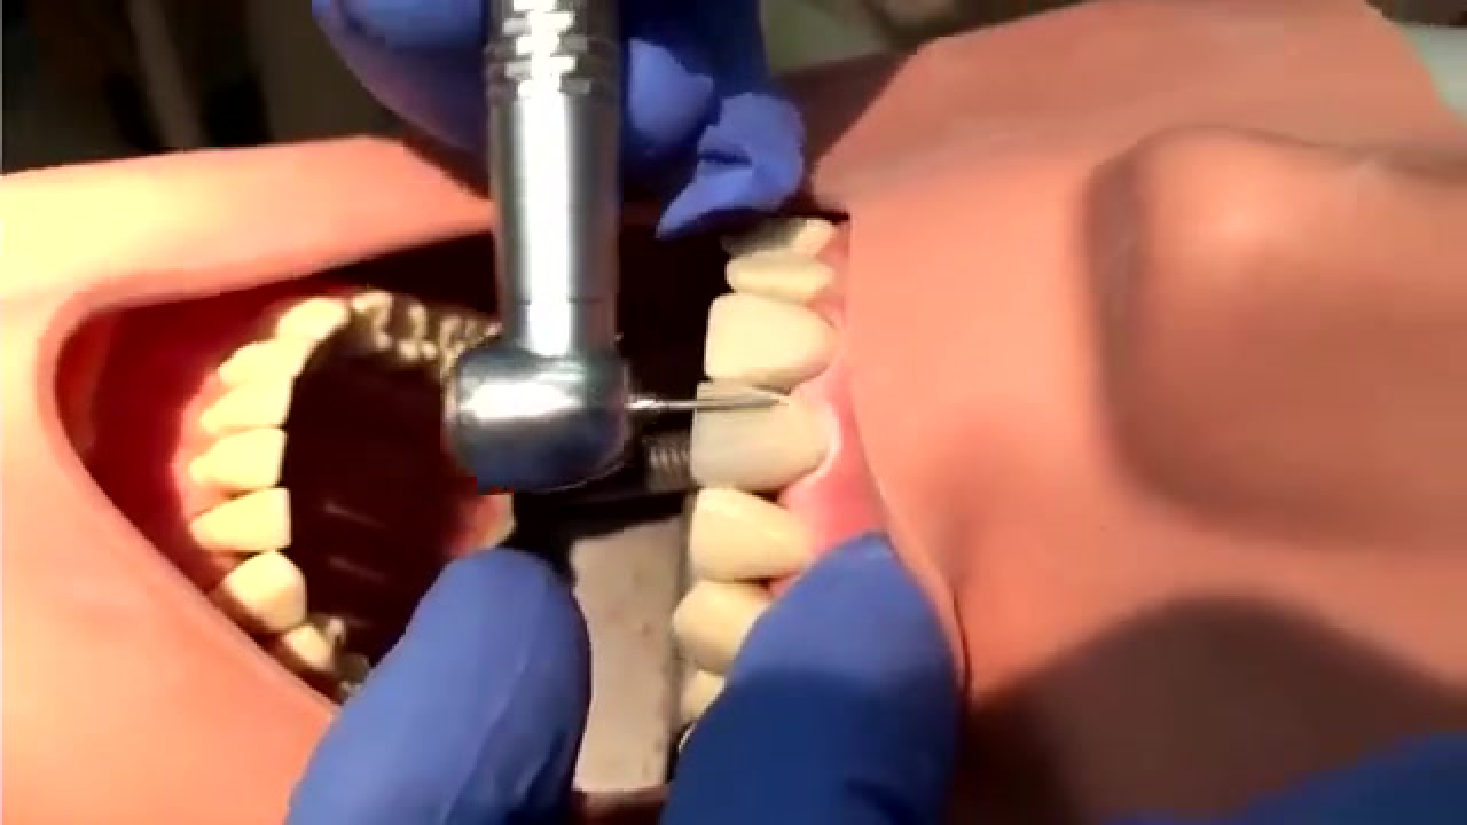
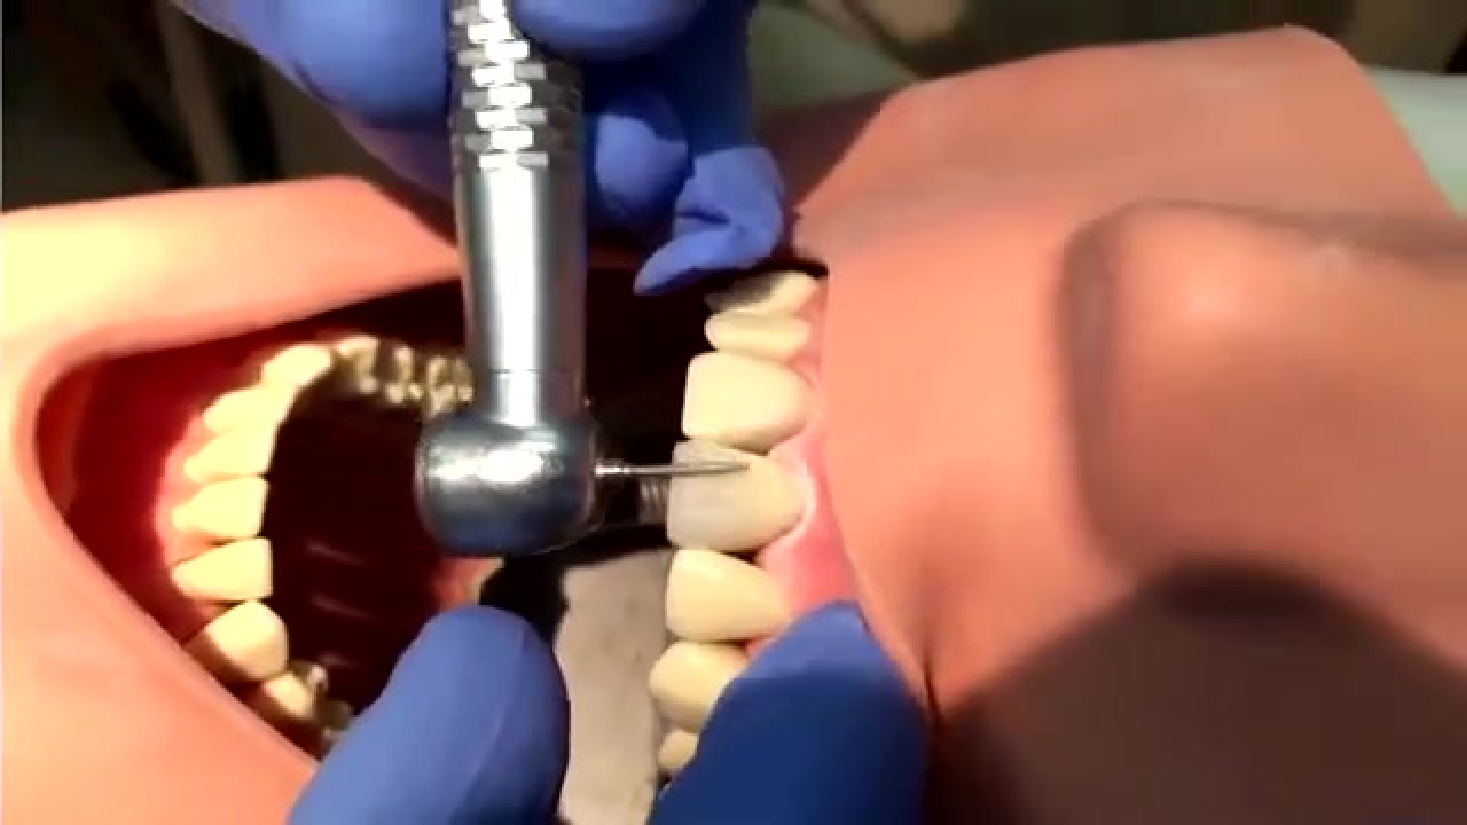
Finishing diamond burs can also be used to add tertiary anatomy and texture:
Lecturer — Surface Anatomy
Gross contouring must be completed before adding surface texture, because the overall shape should be correct first.
- The lecturer described reproducing secondary and tertiary anatomy, including ridges, line angles, and cervical surface texture.
- A finished composite should not look like a “boiled potato”; natural surface structures influence light reflection.
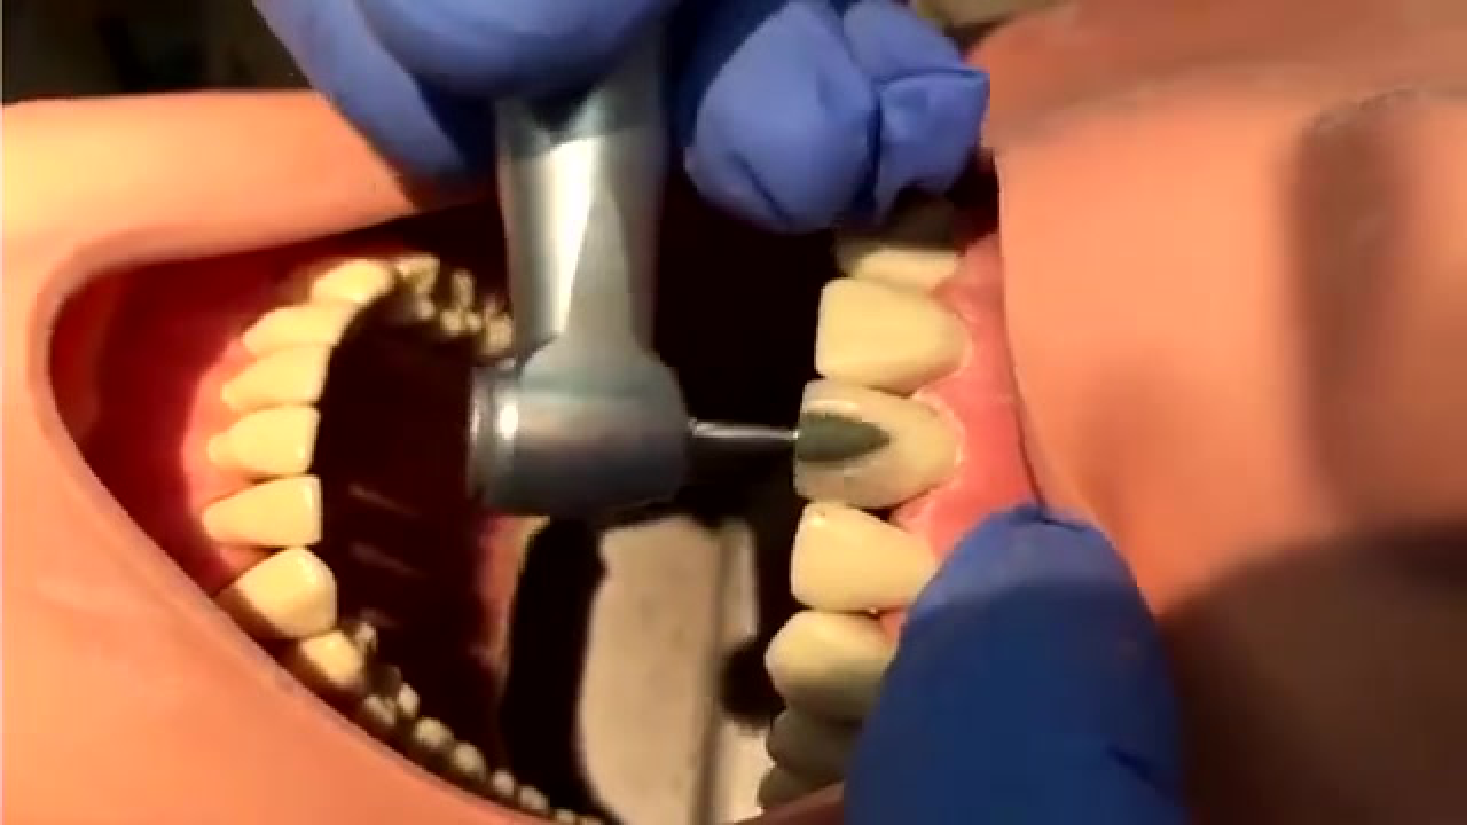
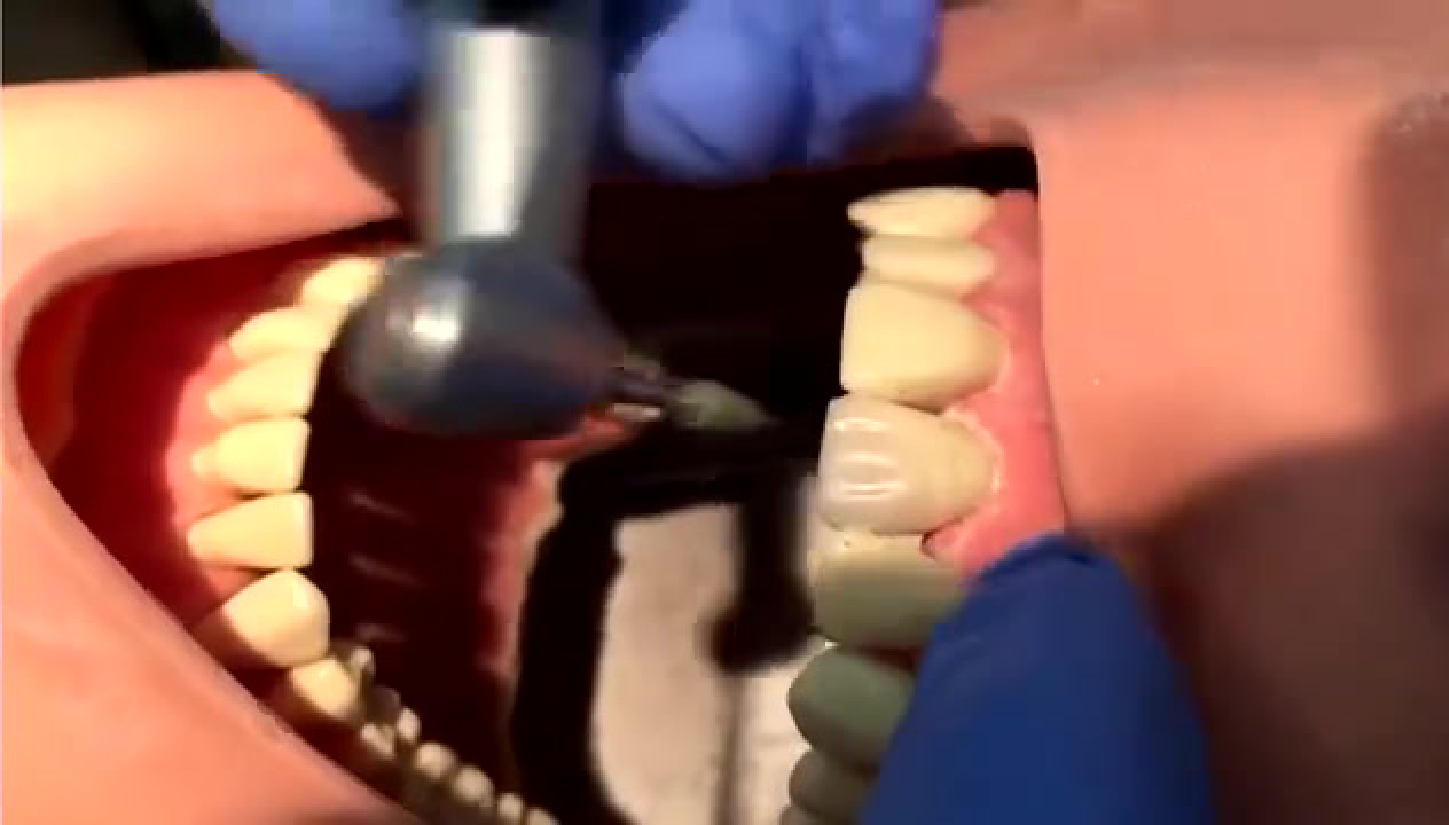
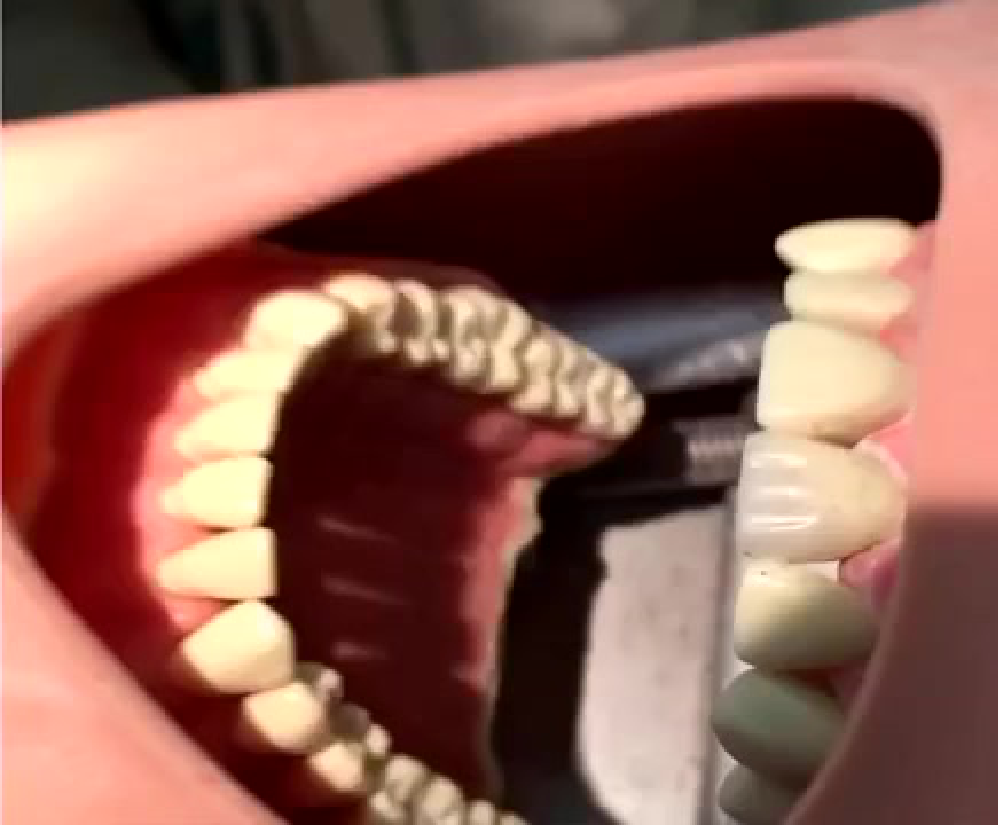
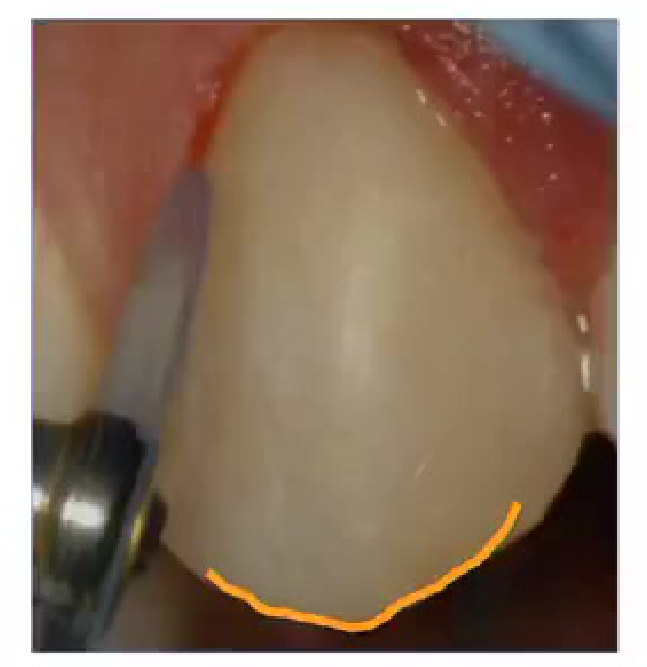
- The tip of a red-band bur was demonstrated for creating tertiary anatomy cervically.
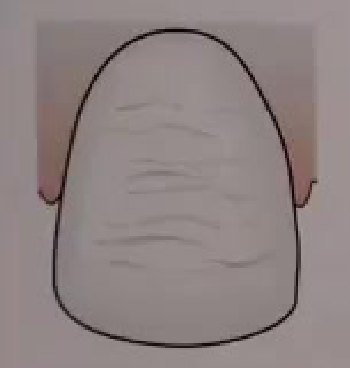
- (a) Horizontal grooves
- (b) Vertical furrows
IN-TRAINING PERIODONTAL TREATMENT
- Removing Calculus from root surfaces to stops furcation problems in furcation affected teeth.
- Always removing a small amount from contact points and sliding aways dentinal grooves or voids.
- If the operator is affected by Rule there are documents established to remove (or avoid removal) in this position.

Classification of Abrasives31323334
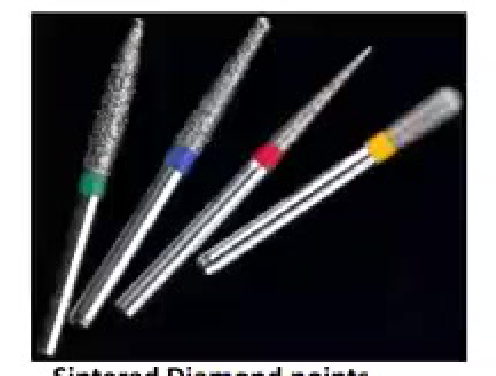
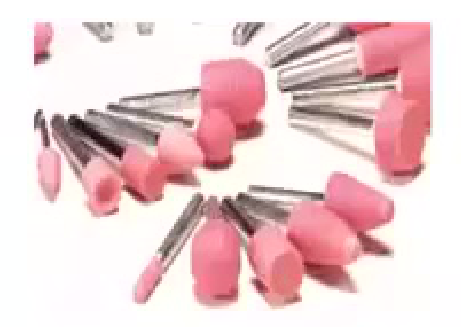
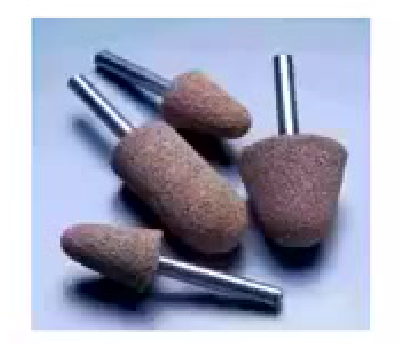

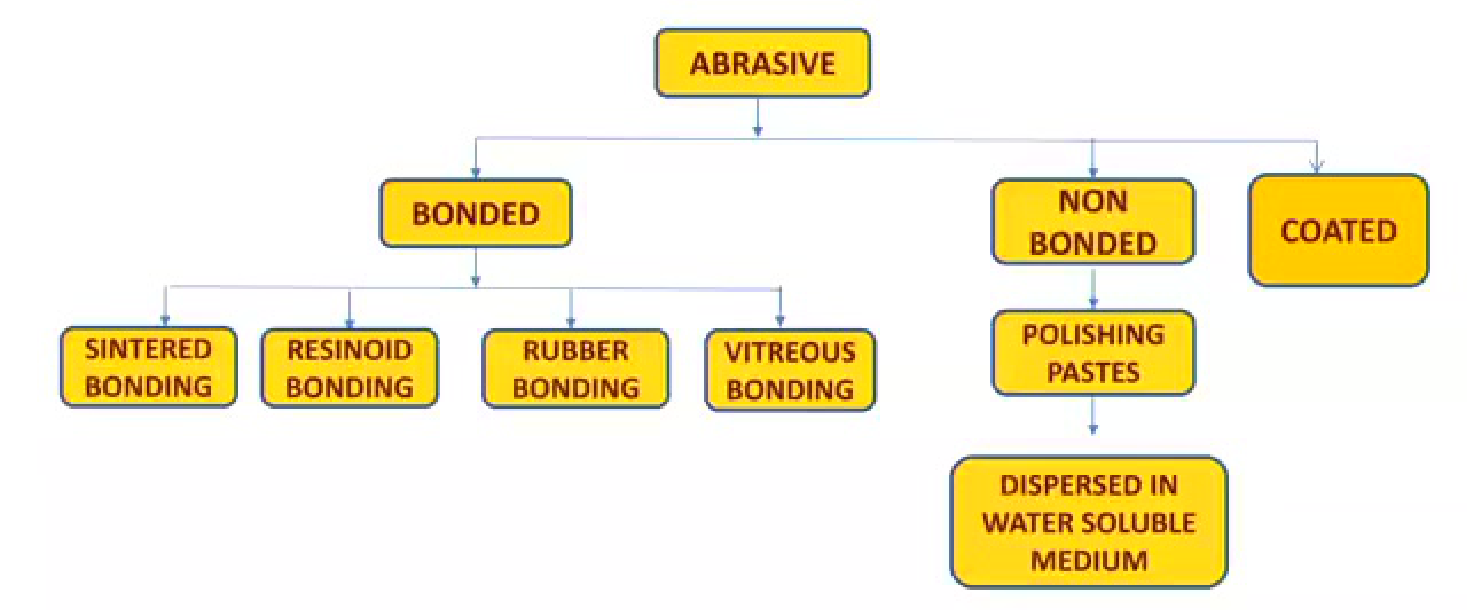
Bonded Abrasives35
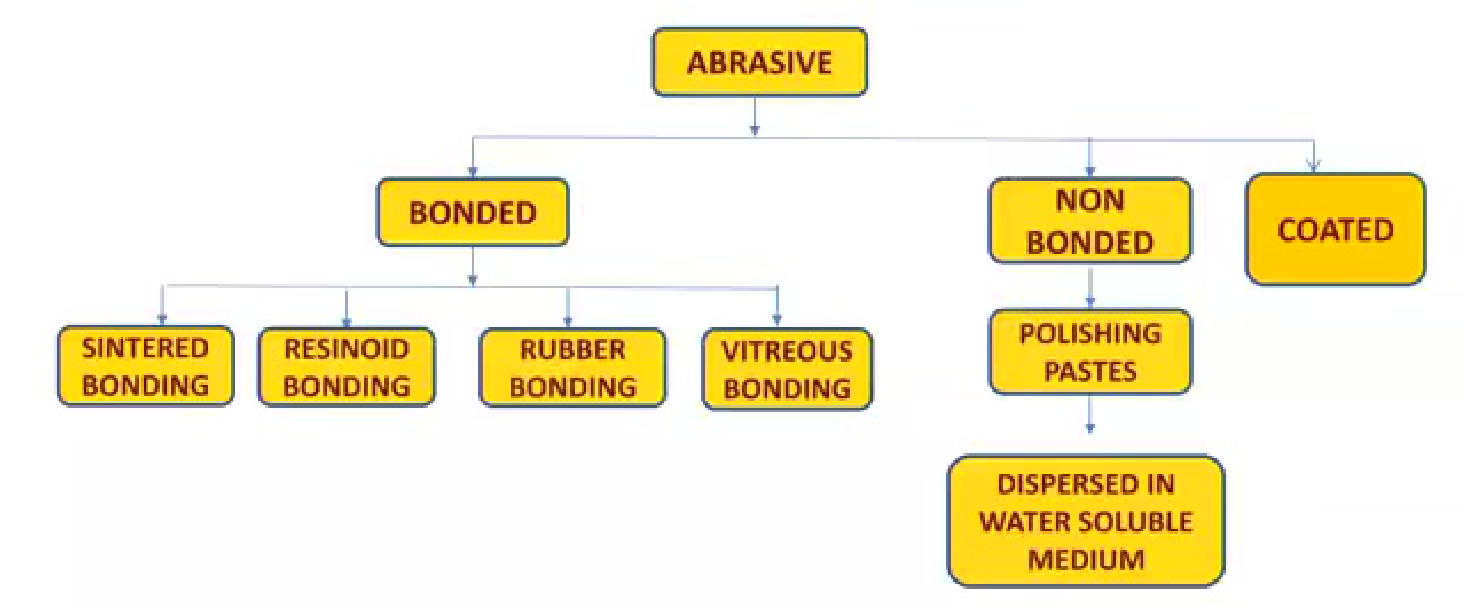
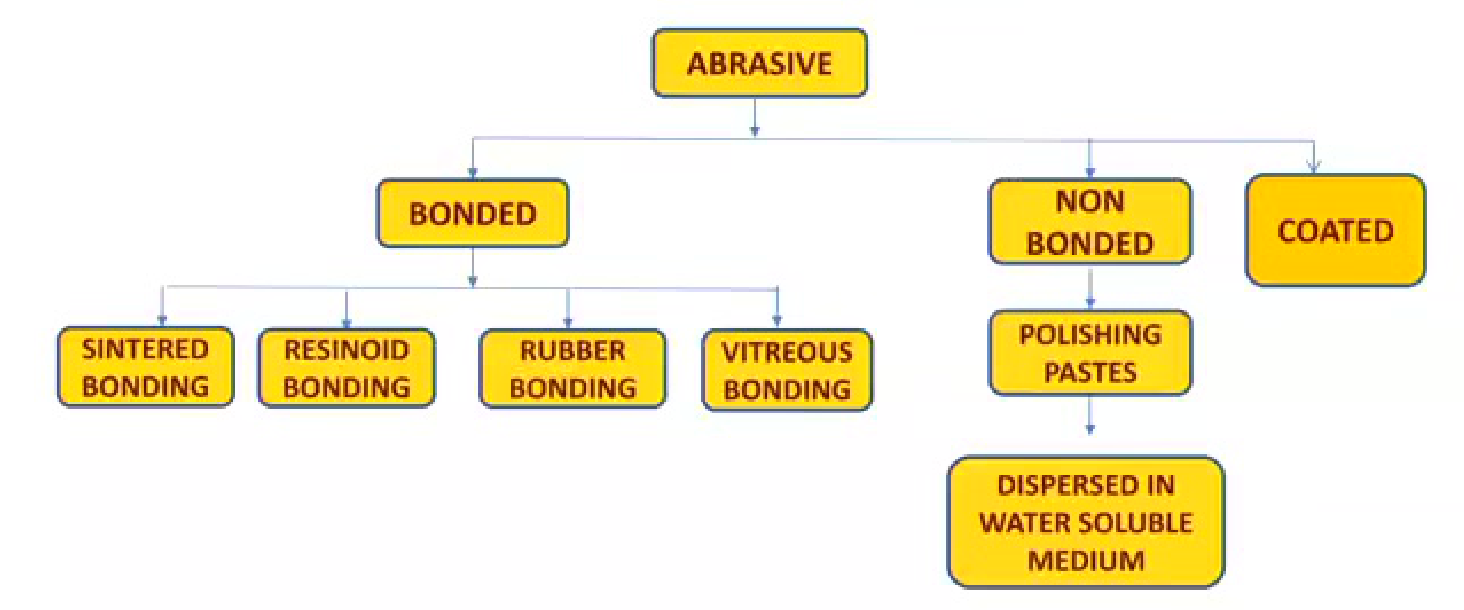
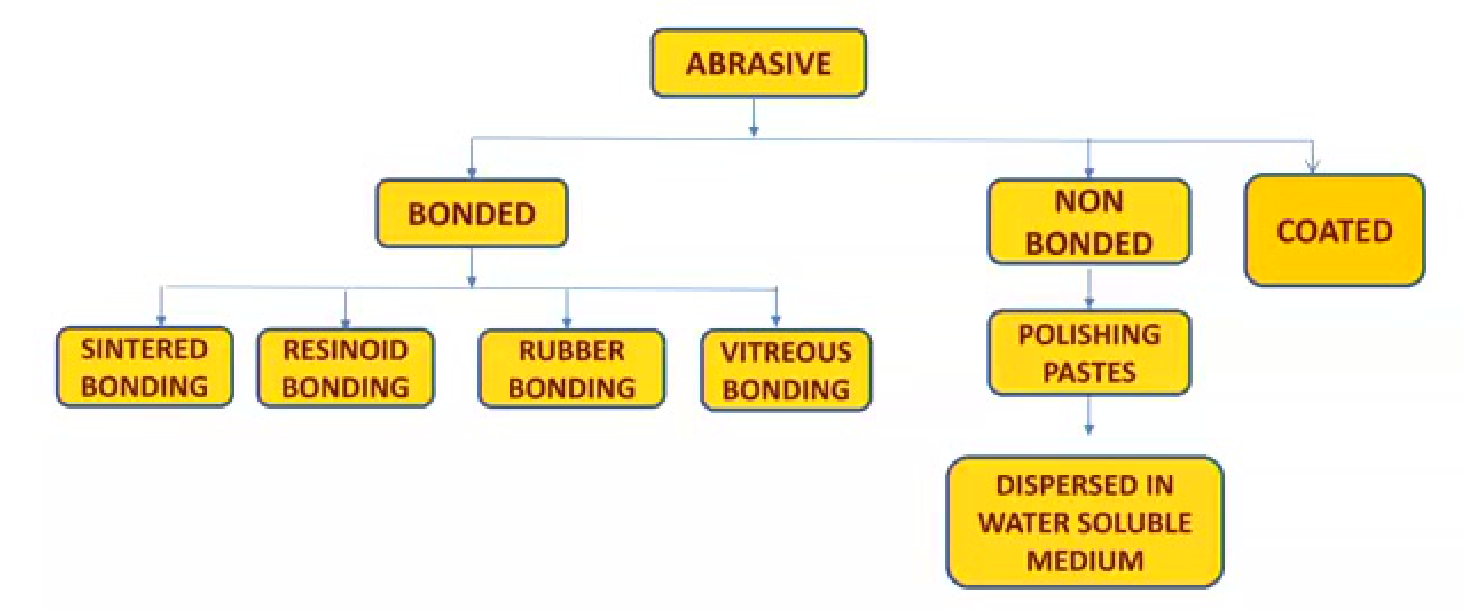
the ABRASIVE category branches into bonded, non-bonded, and coated types.
 |  |
 |  |
Bonded36
-
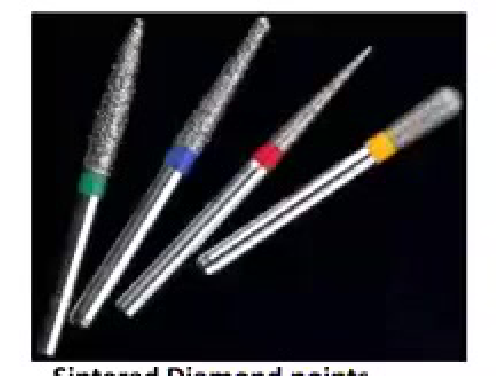
Sintered bonding
-
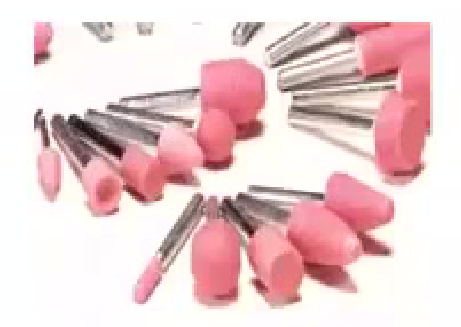
Resinoid bonding
-
Rubber bonding
-
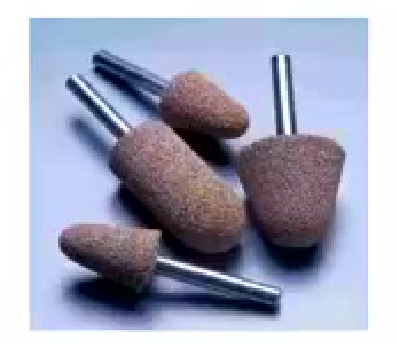
Vitreous bonding
-
Resinoid-bonded burs included red-bonded burs used for denture adjustment.
-
Silicone-bonded abrasives were also identified.
Non-Bonded
-
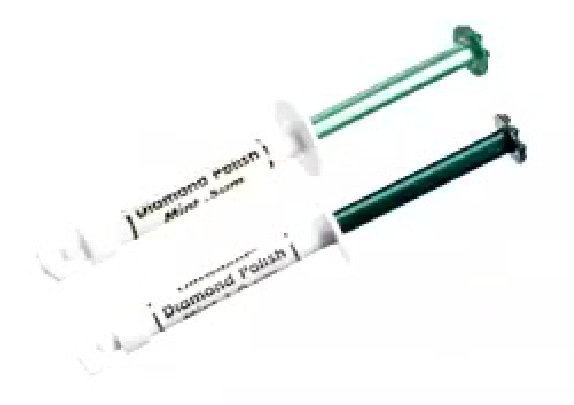
Polishing pastes
- Dispersed in water soluble medium
-
Diamond polishing paste is an example of a non-bonded abrasive.
Coated
-
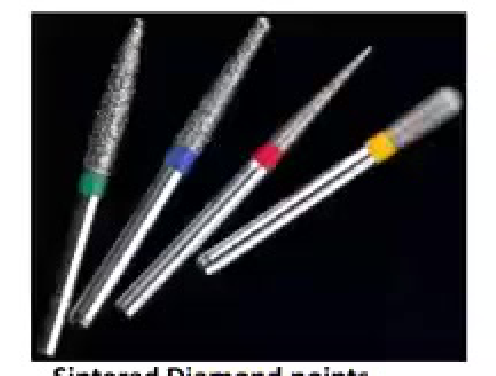
Sintered diamond points
-
Vitreous bonded abrasives
-
Coated abrasives include abrasive materials attached to a backing, such as coated aluminium oxide discs.
-
Sintered diamond points were described as diamond particles sintered onto the instrument. flowchart showing ABRASIVE branching into BONDED, NON BONDED, and COATED.
-
BONDED splits into:
- Sintered bonding
- Resinoid bonding
- Rubber bonding
- Vitreous bonding
-
NON BONDED leads to:
- Polishing pastes → dispersed in water soluble medium
-
COATED — no further branches.
-
ABRASIVE
- BONDED
- Sintered boning
- Resinoid boning
- Rubber boning
- Vitreous boning
- NON BONDED
- Polishing pastes
- Dispersed in water soluble medium
- Polishing pastes
- COATED
- BONDED
Rubber Abrasives for Composite Polishing3738
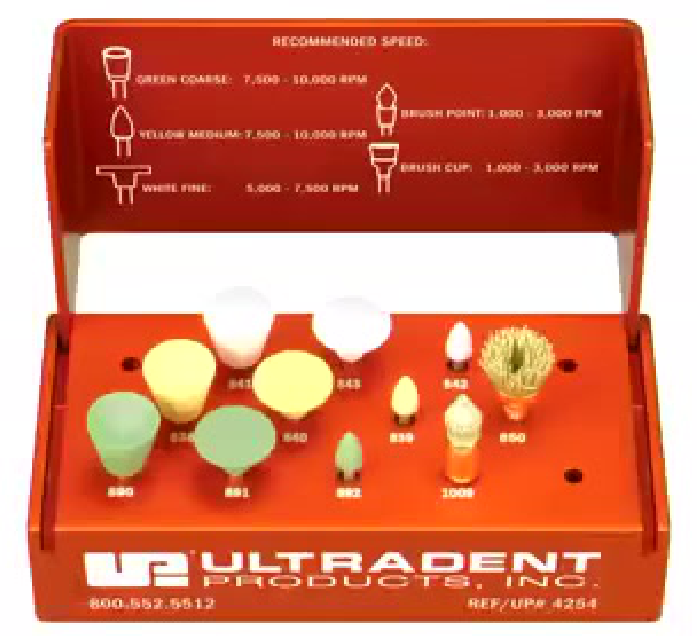
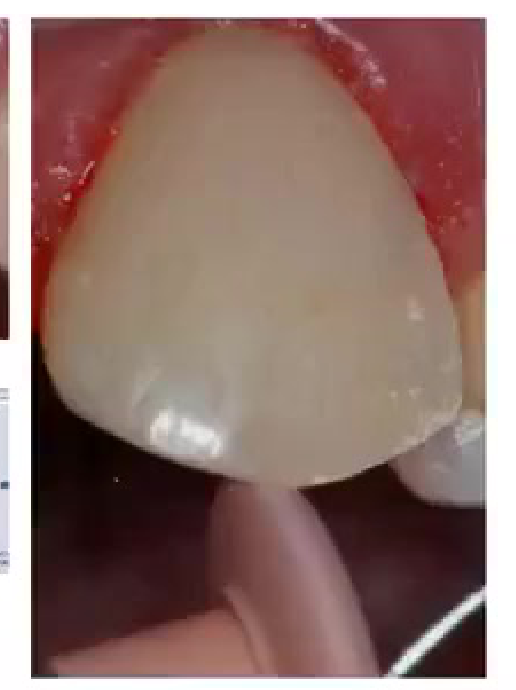
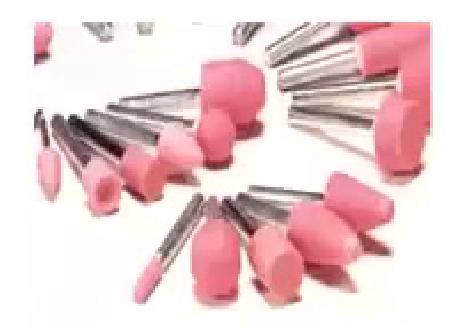
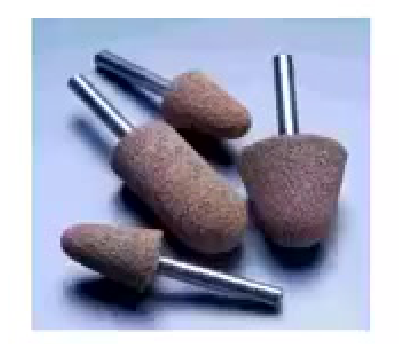
e.g., silicon-impregnated rubber abrasives
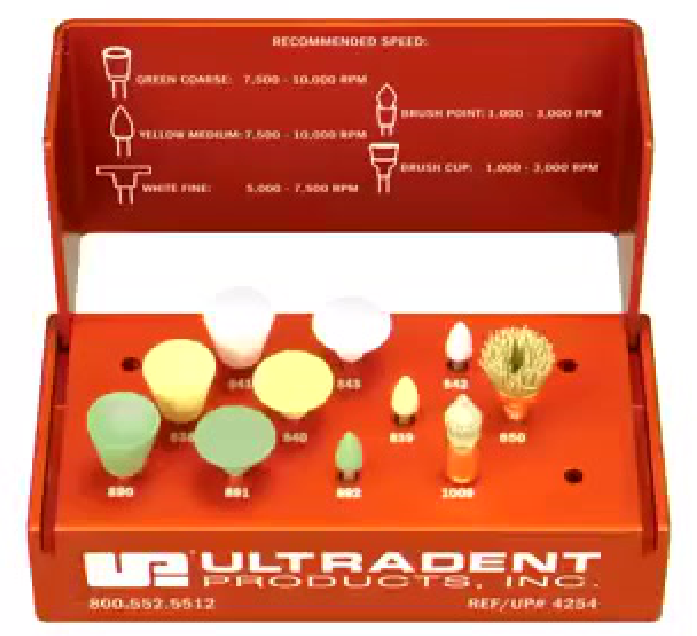
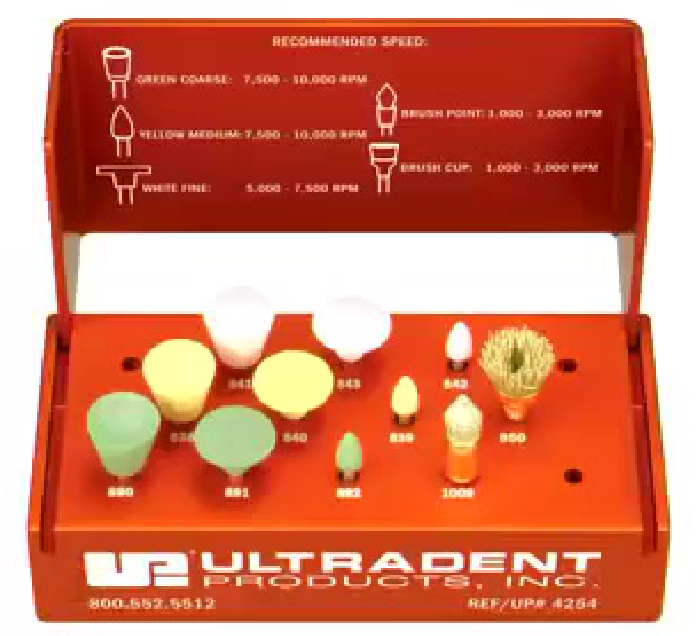
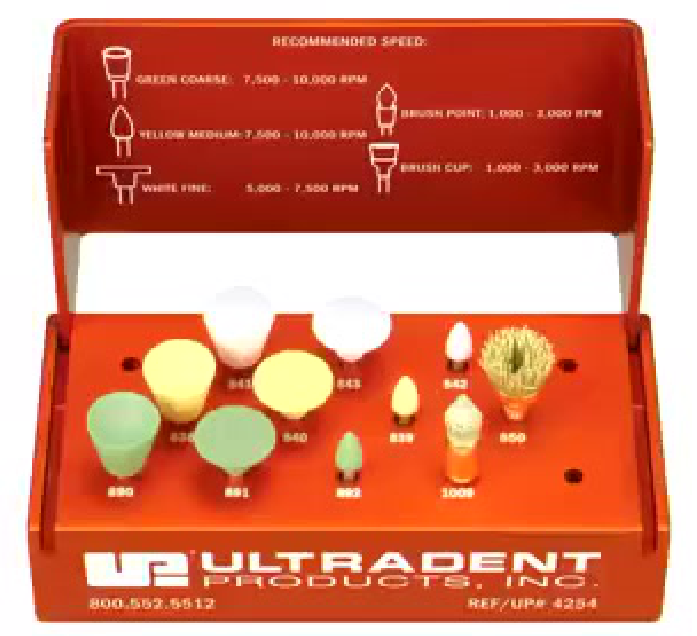
Recommended Speed
-
GREEN COARSE: 7,500 - 10,000 RPM
-
YELLOW MEDIUM: 7,500 - 10,000 RPM
-
WHITE FINE: 5,000 - 7,500 RPM
-
BRUSH POINT: 1,000 - 3,000 RPM
-
BRUSH CUP: 1,000 - 3,000 RPM
-
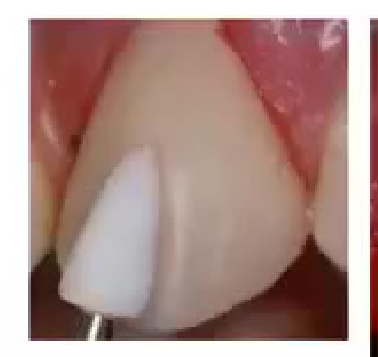
Used to put very high finish on composites.
-
Variety of shapes.
-
Use dry.
-
Avoid heavy pressure.
 |  |
 |  |
Grits394041424344
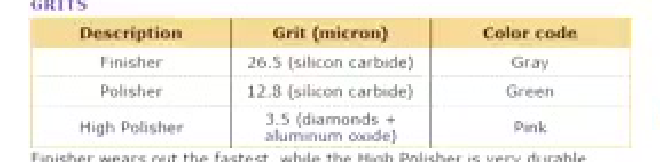
| Description | Grit (micron) | Color code |
|---|---|---|
| Finisher | 26.5 (silicon carbide) | Gray |
| Polisher | 12.8 (silicon carbide) | Green |
| High Polisher | 3.5 (diamonds + aluminum oxide) | Pink |
Finisher wears out the fastest, while the High Polisher is very durable.
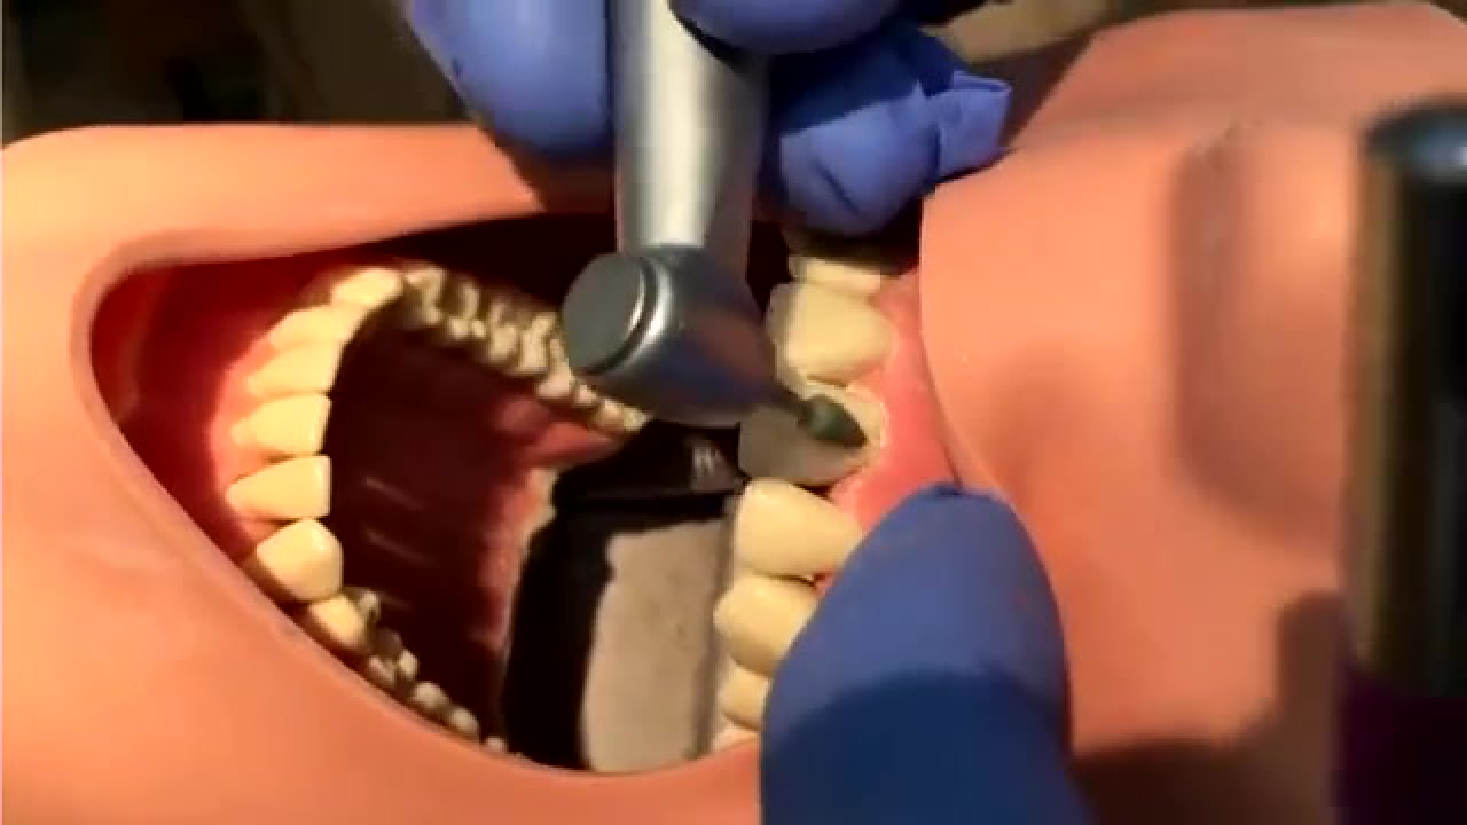
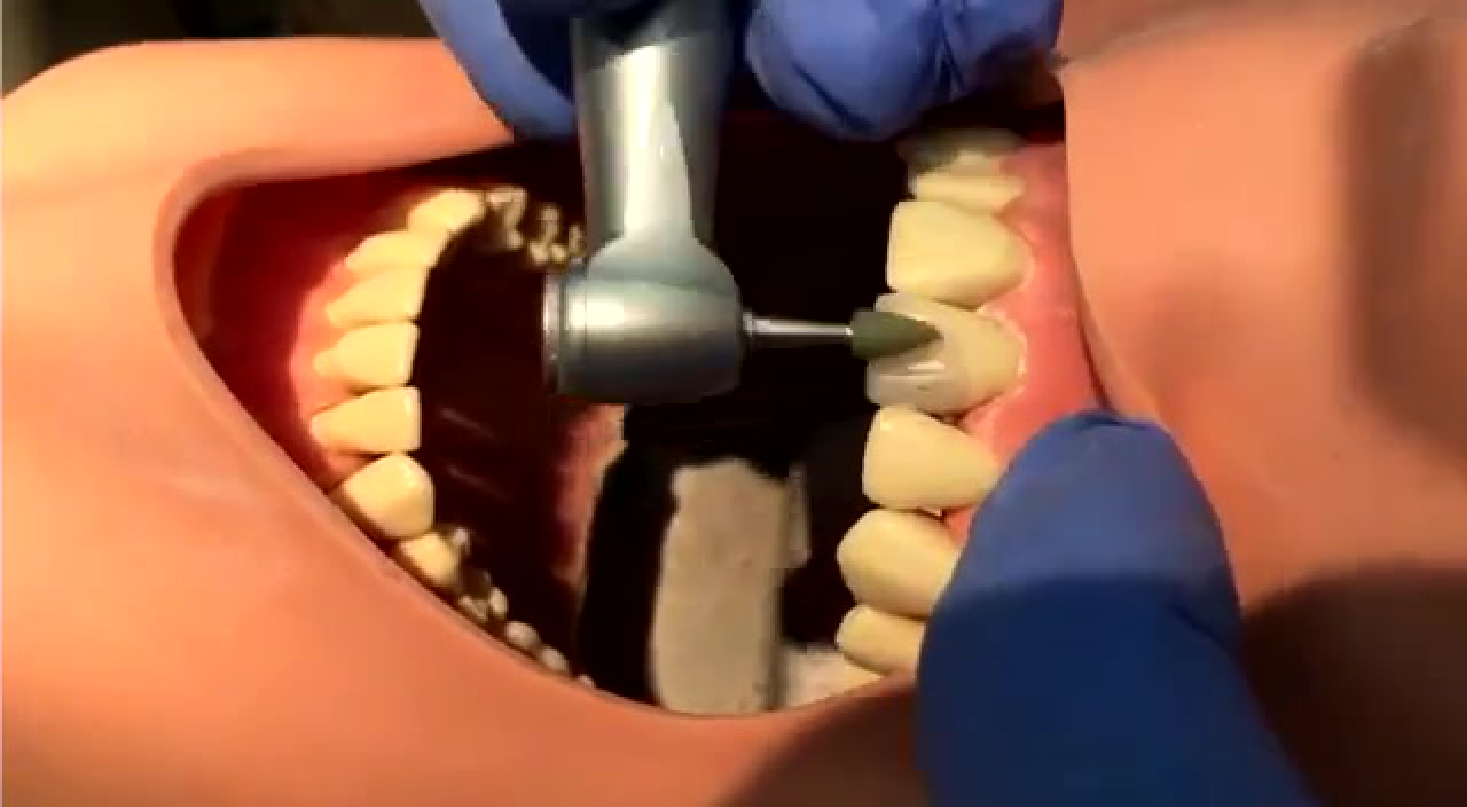
Lecturer — Rubber Abrasives
The lecturer emphasized following the recommended rotational speed provided by the manufacturer.
- If used at an incorrect speed, the abrasive may strip or become excessively abrasive.
- Rubber abrasives are used after gross contouring with diamonds and carbides.
- They are intended for light finishing and polishing rather than heavy material removal.

Non-Bonded Abrasives4546
 |  |  |
 |  |
Dispersed in Gel or Paste Form47
-
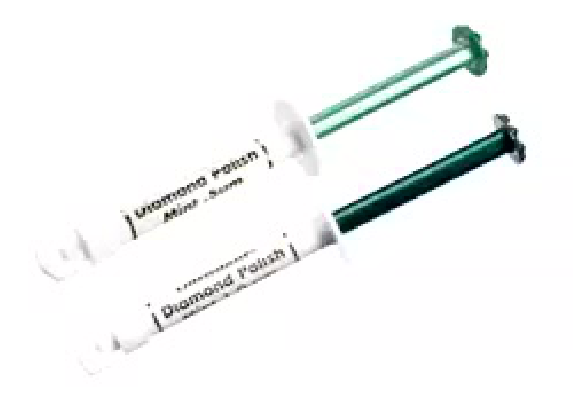
Dispensed in gel or paste form
-
Polishing pastes → fine or ultrafine Al₂O₃ (<1 μm) or diamond particles (1–10 μm)
-
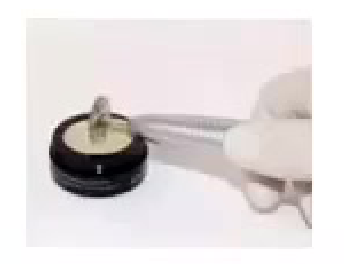
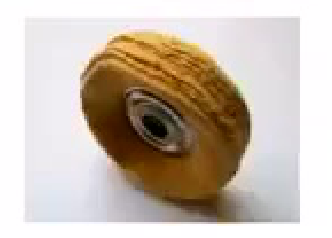
Applied to substrate with a nonabrasive device — synthetic foam, rubber, felt, chamois cloth, wheel
-
Dispersed in water-soluble medium such as glycerin
-
ABRASIVE
- BONDED
- Sintered bonding
- Resinoid bonding
- Rubber bonding
- Vitreous bonding
- NON-BONDED
- Polishing pastes
- Dispersed in water-soluble medium
- Polishing pastes
- COATED
- BONDED
 |  |
 |
Composite Polishing Products484950
 |  |
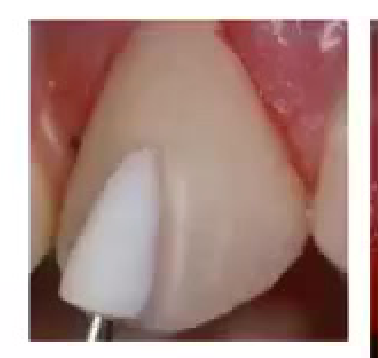
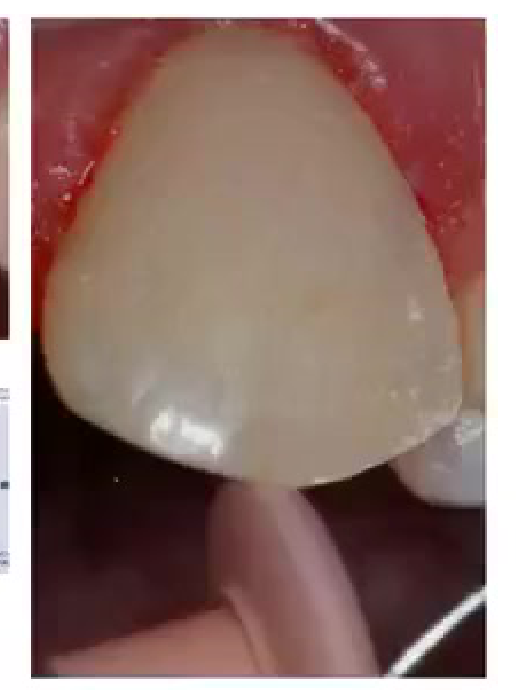
Rubber Abrasives51
- Used to put a very high finish on composites.
- Available in a variety of shapes.
- Use dry.
- Avoid heavy pressure.
Lecturer — Dry Rubber Abrasives
Rubber abrasives are used after gross adjustment, and excessive pressure may cause them to crumble.
- Some systems are used dry to improve visibility of the anatomy, but dry use can create heat and particles.
- Keep gauze slightly damp, wipe the surface during the procedure, and use water intermittently.
- Avoid continuous heat production and tooth dehydration, which can make the tooth appear whiter and interfere with colour matching and postoperative photography.
 |  |
 |
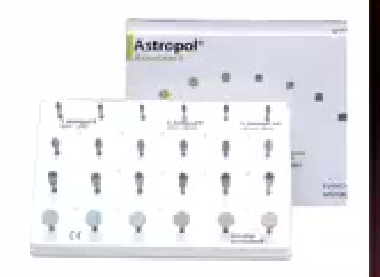
Product Examples
- Enhance
- Pogo
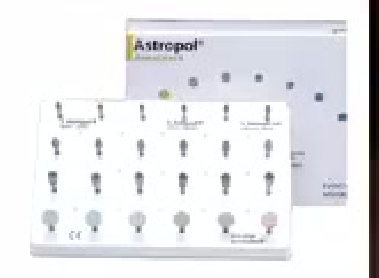
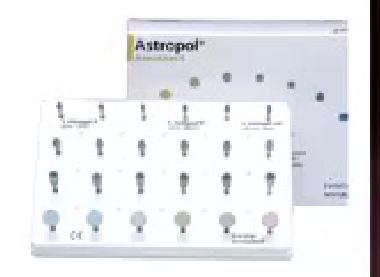
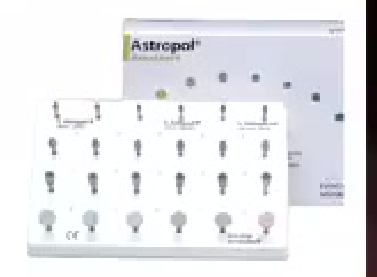
- Astrapol
- Soft-Lex
- Super-Snap
- Silicon-impregnated rubber abrasives
- Diamond brushes
- Brownie points
- Greenie points
- Astropol — fine; acrylonitrile butadiene styrene
- Exometric — most available: acrylic and PMMA; metal inlay
- Endo Pur — sapphire
Lecturer — Enhance and Pogo
Enhance is a single-use, diamond-impregnated urethane dimethacrylate resin finishing instrument, and its effectiveness is substantially reduced if it is reused or sterilized.
- Enhance functions as the finisher and Pogo as the polisher; use Enhance before Pogo rather than moving directly from a diamond instrument to Pogo.
Rubber Abrasives – Grits52
| Description | Grit (micron) | Color code |
|---|---|---|
| Finisher | 26.5 (silicon carbide) | Gray |
| Polisher | 12.8 (silicon carbide) | Green |
| High Polisher | 3.5 (diamonds + aluminum oxide) | Pink |
The Finisher wears out the fastest, while the High Polisher is very durable.
Lecturer — Wheel Speed
Use light pressure and appropriate speed with rubber abrasive systems.
- For some 3M wheels, approximately 1,000–1,500 rpm was mentioned; higher speeds may cause the wheel to detach or fly off.
- High polishers may contain diamond and aluminium oxide.
 |  |
Non Bonded Abrasives53
-
Dispersed in gel or paste form.
-
Polishing pastes → fine or ultrafine Al₂O₃ (<1 µm) or diamond particles (1–10 µm).
-
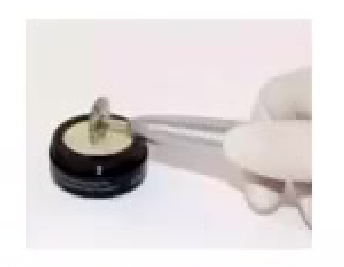
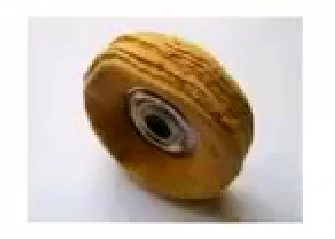
Applied to the substrate with a nonabrasive device — synthetic foam, rubber, felt, chamois cloth, or wheel.
-
Dispersed in a water-soluble medium such as glycerin.
-
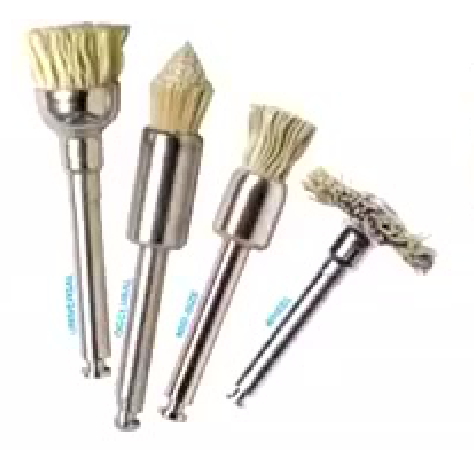
Prophylaxis brush
-
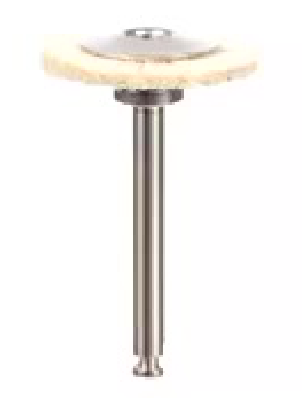
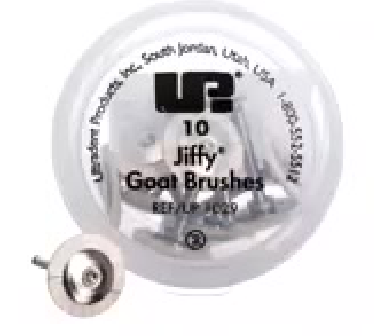
Goat-hair brush 16 mm
Lecturer — Paste Selection
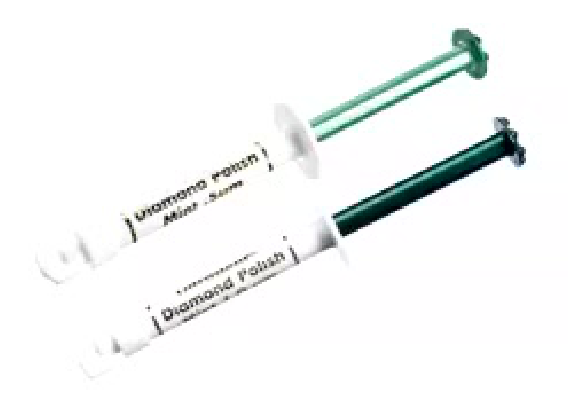
The lecturer preferred diamond polishing paste for many applications, including ceramics, whereas aluminium oxide paste was described as working particularly well for composite build-ups.
- Aluminium oxide is useful on composites because it removes the oxidized or oxygen-inhibited surface layer.
- Ceramic surfaces do not have the same oxygen-inhibited layer, so diamond paste is preferred for ceramics.
A comparison of different techniques for finishing and polishing amalgam — Rune Eide & Anne Bjørg Tveit, Pages 147-151, Received 01 Feb 1987, Published online: 02 Jul 2009, https://doi.org/10.3109/00016358709098853.
 |  |
 |
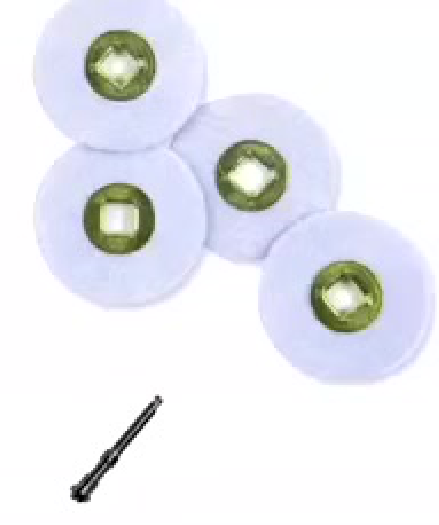
Abrasive Discs and Strips5455
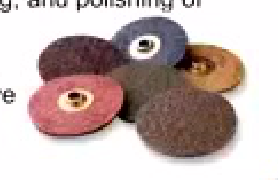
- The findings of the present study showed that flexible aluminum oxide discs yielded the lowest roughness values for micro-filled, hybrid and packable composite resins, and may be accepted as a clinical standard for polishing composites.
Abrasive Discs56
-
Used for gross reduction, contouring, finishing, and polishing of restoration surfaces
-
Coated with aluminum oxide abrasive
-
Refining incisal edges, refining embrasures, and smoothing the junction between composite and tooth
-
Discs may be used in a backstroke to refine particular angles and contours
-
Plastic-backed discs are commonly used, while cardboard-backed discs may last longer but are thicker and less capable of entering interproximal areas
Lecturer — Disc Use on Enamel
Discs generally do not damage enamel when used appropriately.
- Aggressive use of a coarse disc directly against enamel can cause damage.
 |  |
Abrasive Strips
-
Available with plastic or metal backing for smoothening and polishing the interproximal surfaces of direct and indirect bonded restorations
-
Example: Ultradent Jiffy Diamond strips
-
Abrasive strips are used below and above the contact; passing a strip through the contact can remove the contact that was deliberately created
Lecturer — Interproximal Strip Use
When using a strip below the contact, the gingiva should not be inflamed and bleeding should be avoided.
- Retraction cords should be considered because a strip may pull the cord out and cause bleeding.
- Excess bleeding may contaminate and stain the composite margin.
- Metal abrasive strips can remove excess cement from the interproximal areas of ceramic inlays or onlays, and the patient should be anaesthetized when they are used.
- A serrated mini-saw strip or similar orthodontic mini-saw may remove interproximal cement without removing the contact; care is needed to avoid injuring the lips, tongue, or gingiva.
- Tack curing cement and cleaning excess with a scaler before complete curing may be appropriate, while rubber dam isolation can displace the gingiva and prevent moisture contamination during cement cleanup.
Braz Dent J (2005) 16(1): 39-44. Surface roughness of composite resins. Effect of Different Finishing and Polishing Techniques on the Surface Roughness of Microfilled, Hybrid and Packable Composite Resins.
Lecturer — Composite Roughness
The lecturer noted that aluminium oxide discs also produced low roughness values for nano-filled composites.
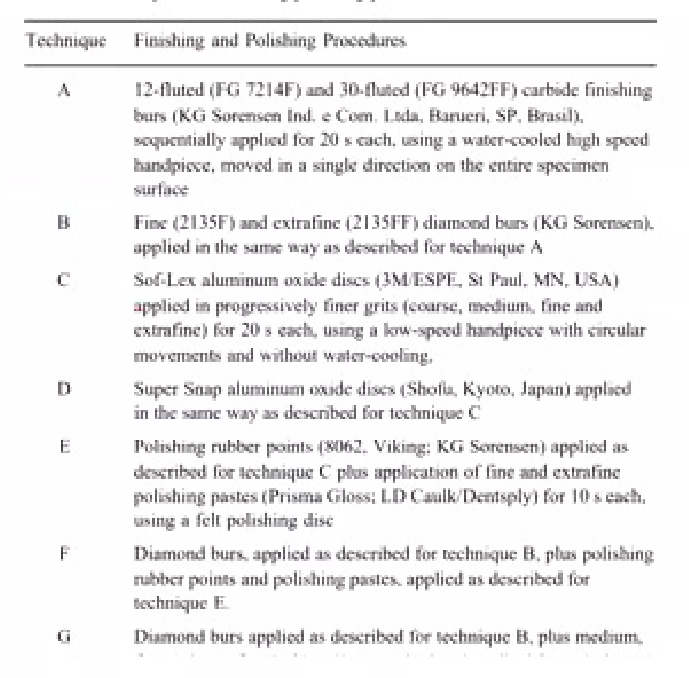
| Technique | Finishing and Polishing Procedures |
|---|---|
| A | 12-fluted (FG 7214F) and 30-fluted (FG 9642FF) carbide finishing burs (KG Sorensen Ind. e Com. Ltda, Barueri, SP, Brasil), sequentially applied for 20 s each, using a water-cooled high speed handpiece, moved in a single direction on the entire specimen surface |
| B | Fine (2135F) and extrafine (2135FF) diamond burs (KG Sorensen), applied in the same way as described for technique A |
| C | Sof-Lex aluminum oxide discs (3M/ESPE, St Paul, MN, USA) applied in progressively finer grits (coarse, medium, fine and extrafine) for 20 s each, using a low-speed handpiece with circular movements and without water-cooling |
| D | Super Snap aluminum oxide discs (Shofu, Kyoto, Japan) applied in the same way as described for technique C |
| E | Polishing rubber points (8062, Viking; KG Sorensen) applied as described for technique C plus application of fine and extrafine polishing pastes (Prisma Gloss; LD Caulk/Dentsply) for 10 s each, using a felt polishing disc |
| F | Diamond burs, applied as described for technique B, plus polishing rubber points and polishing pastes, applied as described for technique E |
| G | Diamond burs applied as described for technique B, plus medium, |
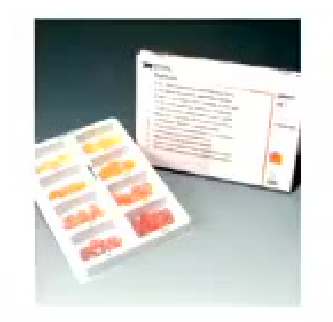
- The Super Snap system (H) produced smoother surfaces than the Sof-Lex system (G) for all materials, suggesting a better ability of the Super-Snap discs to remove the scratches left by the diamond burs when compared to the Sof-Lex discs.
- On the other hand, the use of rubber points and polishing pastes after application of diamond burs (F) were much less efficient.
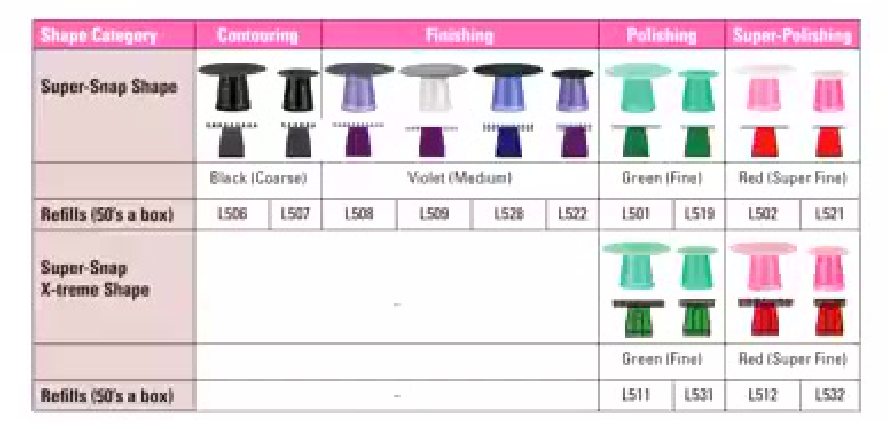
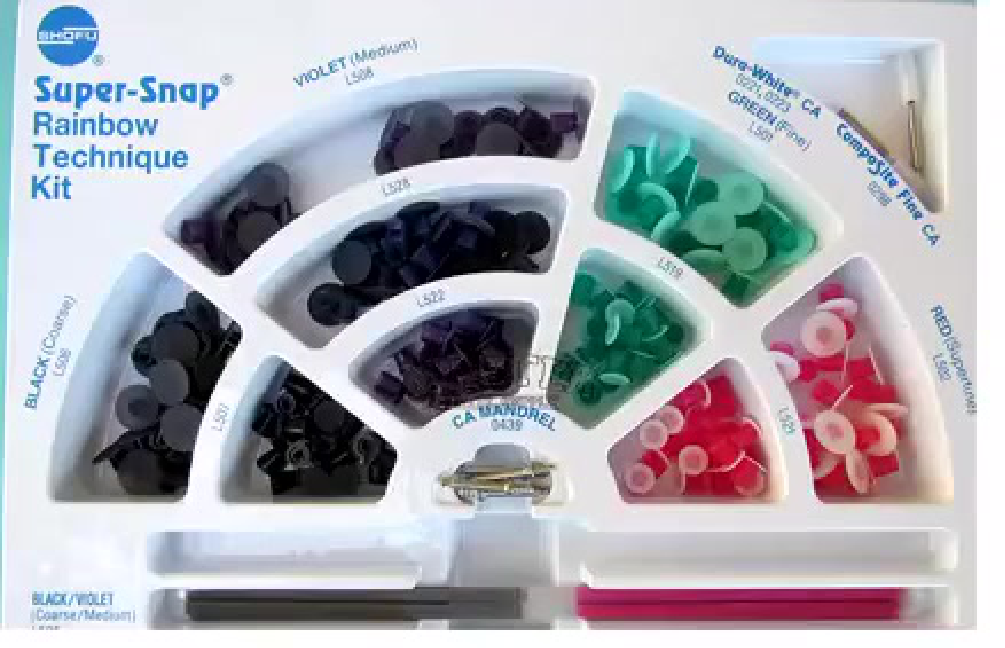
Super-Snap System: Shape Categories and Refills57
| Shape Category | Contouring | Finishing | Polishing | Super-Polishing |
|---|---|---|---|---|
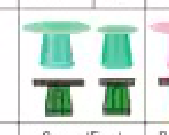
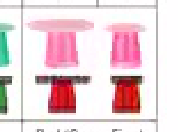
| Super-Snap Shape | Black (Coarse): L506, L507 | Violet (Medium): L508, L509, L528, L522 | Green (Fine): L501, L519 | Red (Super Fine): L502, L521 |
| Super-Snap X-treme Shape | - | - | Green (Fine): L511, L531 | Red (Super Fine): L512, L532 |
Refills: 50’s a box.
Lecturer — Super-Snap System
Super-Snap was described as an alternative to Soft-Lex, progressing through coarse, medium, and fine grades.
- Its mandrels differ from those used with other systems and should not automatically be interchanged.
- Older systems could detach at the connection between the disc and head, creating a risk of swallowing the component or injuring the tongue.
- The system can also be used for ceramic polishing, including polishing around e.max restorations because of its shape.
 |  |  |
 |  |  |
Polishing Systems Comparison58596061
The Effect of Various Polishing Systems on the Surface Roughness of Two Resin Composites—An In Vitro Study
by Marta Ewa Szczepaniak, Michał Krasowski and Elżbieta Bołtacz-Rzepkowska
Nihan Gonulol, Fikret Yilmaz; The effects of finishing and polishing techniques on surface roughness and color stability of nanocomposites. Journal of Dentistry 2012.
- Aluminium oxide discs abrade resin matrices and filler particles equally; they promote smoother surfaces.
- Sof-Lex discs and the Enhance polishing systems showed similar surface roughness values.
- Baseren reported that silicone impregnated rubber polishers might alone be insufficient to polish the surfaces finished with diamond or carbide burs.
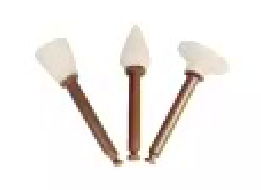
Use of Finishing Discs62
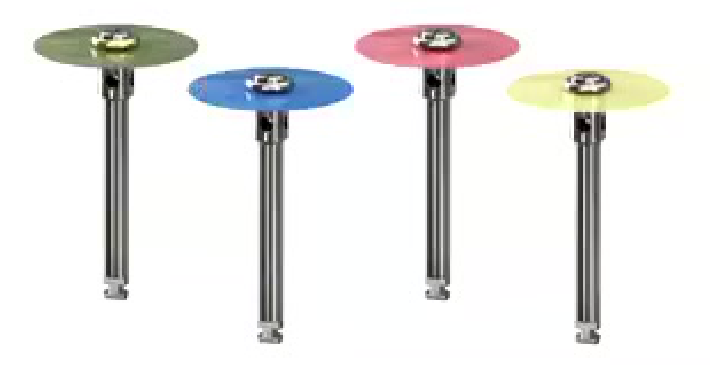
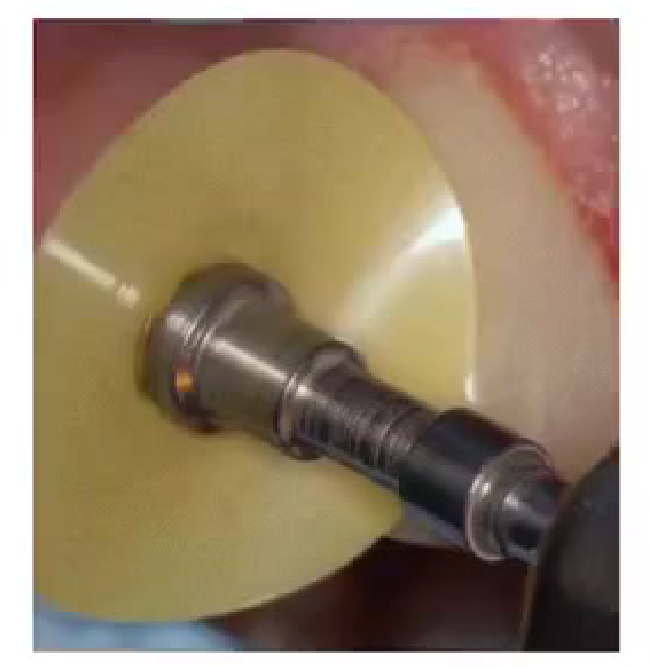
Discs allow us to:
- Refine incisal edges and embrasures
- Smooth junction between composite and tooth without significant effect on enamel
Lecturer — Finishing Systems
A comparison study evaluated several finishing and polishing systems.
- The systems included 12-fluted diamond burs, carbide finishing burs, fine diamond burs, Soft-Lex and Super-Snap aluminium oxide discs, polishing rubber points, and diamond burs.
- Super-Snap produced a very smooth surface and was described as a possible alternative to Soft-Lex.
- Rubber points and polishing paste alone are less efficient after diamond-bur use, so the complete sequence should not be skipped.
 |  |
 |
Wet or Dry?
- Personal preference
- Equal results
- Dry finishing simplifies view of enamel–composite interface
Lecturer — Wet and Dry Finishing
Dry finishing can improve visualization and control, but it also has practical disadvantages.
- It provides better visibility of anatomy and surface texture, and makes control of grooves and contours easier.
- Potential disadvantages include heat generation, patient discomfort, tooth dehydration with a temporary colour change, and production of abrasive particles.
- A damp gauze, intermittent water, or a triple syringe can help control heat and avoid excessive dehydration.
- Enhance — single-use diamond impregnated cured urethane dimethacrylate resin.
- Choi et al. investigated the changes in surface characteristics and discoloration of five different dental resin composites after polishing with Sof-Lex, Enhance, and SuperSnap systems. They reported that although no significant difference was recorded in surface roughness values, the composites polished with the aluminium oxide polishing systems showed higher changes in color (ΔE) than those polished with the Enhance system. They suggested that other parameters for surface roughness, such as the mean peak spacing (Rsm), might influence the color of resin composites.
Choi MS, Lee YK, Lim BS, Rhee SH, Yang HC. Changes in surface characteristics of dental resin composites after polishing. Journal of Materials Science Materials in Medicine 2005;16:347–53.
One-Step Versus Multi-Step Systems636465
- One-step polishing system used PoGo in their studies for 40 s and 30 s, respectively, and they reported lower surface roughness values than the multistep systems.
- When application times are considered, the sequential use of four different Sof-Lex discs caused the longest polishing period. Therefore, this might be another factor for consideration — for surface smoothness.
- Complete set
Lecturer — Polishing Sequence
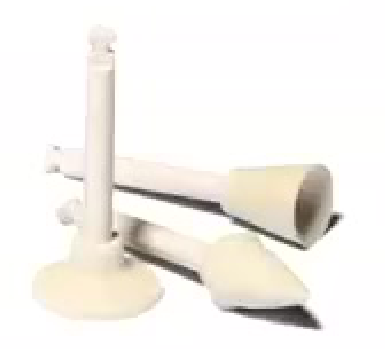
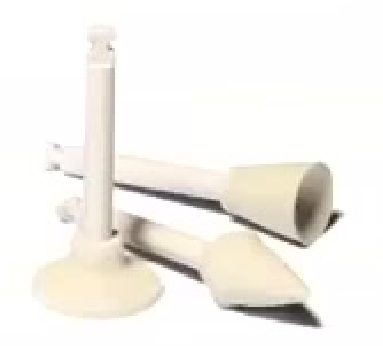
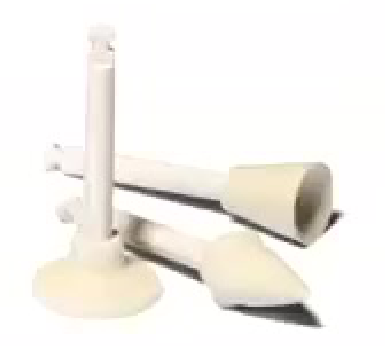
Sequential systems may provide better control of gross contouring, scratch removal, and final gloss, so the longer Soft-Lex sequence may reflect additional shaping and smoothing rather than only polishing time.
- The lecturer generally preferred Soft-Lex for the main sequence, Enhance for areas requiring access to grooves and contours, and additional diamond brushes or polishing paste for final areas when needed.



Surface Gloss66676869
- Surface gloss is an important factor to consider when restoration aesthetics are evaluated.
- Simply put, surface gloss is a measure of the quality of a surface and can be greatly influenced by a number of factors; the perception of gloss relates to finish (the magnitude, frequency, randomness and scale of curvatures), texture (changes in reflecting properties over the surface) and how a specimen is illuminated and viewed.
S.D. Heintze et al. Surface deterioration of dental materials after simulated toothbrushing in relation to brushing time and load. Dent. Mater. (2010)
C.M.L. Bollen et al. Comparison of surface roughness of oral hard materials to the threshold surface roughness for bacterial plaque retention: a review of the literature. Dent. Mater. (1997)
- Correlations between surface gloss and the surface roughness parameter (Ra) have been found, and it is generally accepted that by reducing the surface roughness the gloss is increased.
- However, the relationship remains somewhat non-linear as various filler properties have a significant influence on the surface gloss and the optical properties of the material.
- Evidence is also limited and there is lack of consensus on the required threshold levels of surface roughness that would provide acceptable surface gloss.
Lecturer — Texture and Reflection
Surface texture should be added after the gross surface has been polished and shaped.
- The final appearance follows the sequence of gross contouring, primary anatomy, secondary anatomy, initial polishing, addition of texture, and final polishing with light reflection.
Lecturer — Brush Maintenance
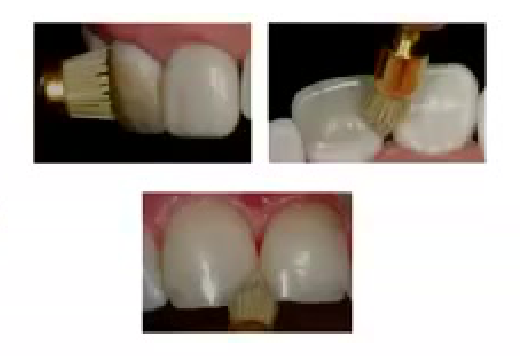
Diamond and silicon-carbide brushes are useful for final polishing and periodic review appointments.
- They can refine fine surface anatomy and restore gloss while reducing plaque accumulation.
- Diamond brushes may be used with diamond polishing paste, and different shapes are useful for different areas.
- Brushes must be cleaned after sterilization because residual paste can act like toothpaste and create further scratches.
- Flared or damaged brushes should be discarded, and brushes that lose their intended shape will not polish effectively.
- Some goat-hair brushes and felt products are single-use.
Lecturer — Disc Sequences
Abrasive discs are used in graduated sequences to reduce scratches and produce a smooth, reflective surface. Soft-Lex and Super-Snap discs were the principal disc systems discussed.
Lecturer — Strip Use
Abrasive strips are used for interproximal finishing, removing excess cement, and refining areas above and below the contact.
- Their use requires attention to contact preservation, gingival inflammation, bleeding, retraction cords, and patient comfort.
Lecturer — Polishing Point Uses
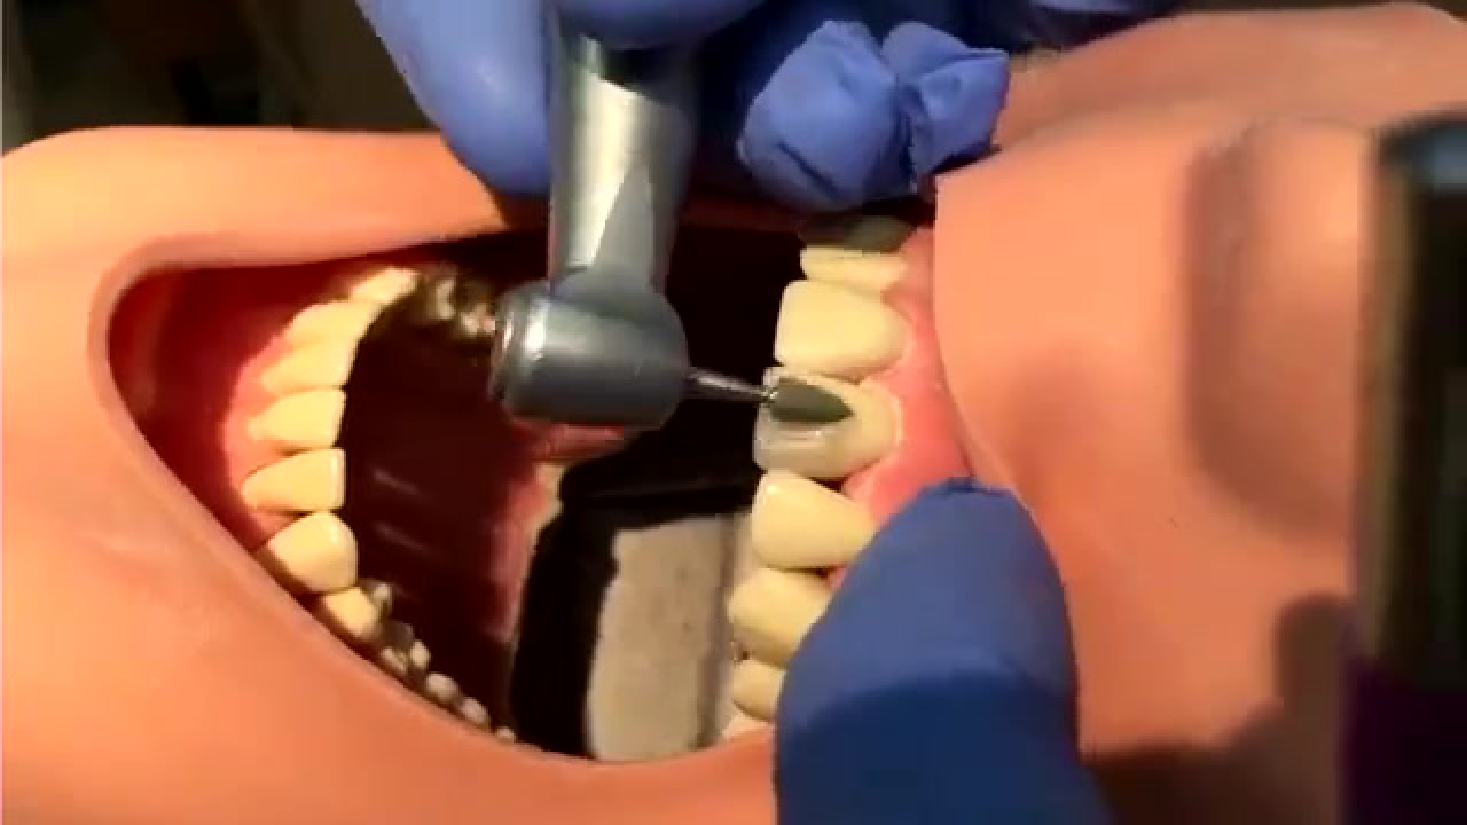
For amalgam, Brownie points provide the main smoothing and remove the oxidized layer, while Greenie points provide a more lustrous final polish.
- Similar points may be used for zirconia polishing.
- Brownie points were specifically recommended for zirconia as well as amalgam, with some moisture and at an appropriate speed.
 |  |  |
 |  |
Impregnated Brushes and Auxiliary Tools
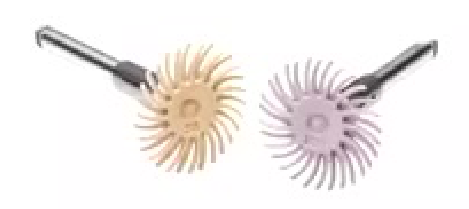
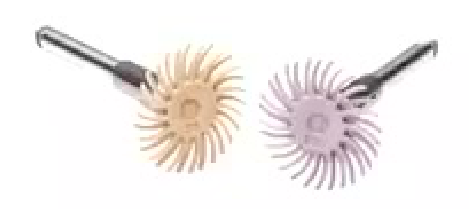
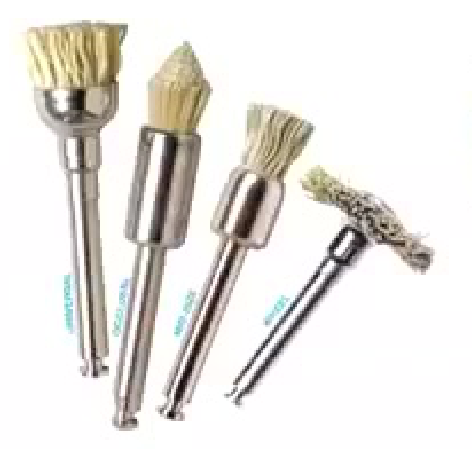
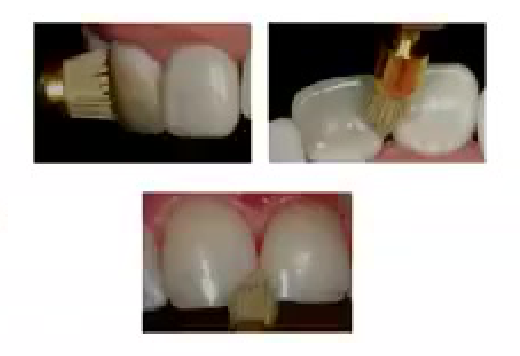
Diamond and Silicon Carbide Impregnated Brushes7071
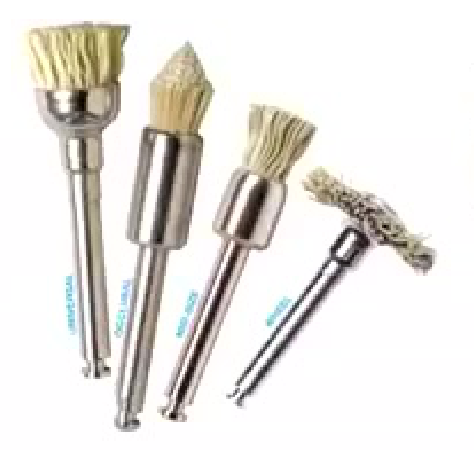
Great for posterior teeth — occlusal grooves, and anterior teeth line angles.
Dental ceramics, silica carbide impregnated brushes
 |  |  |
 |  |  |
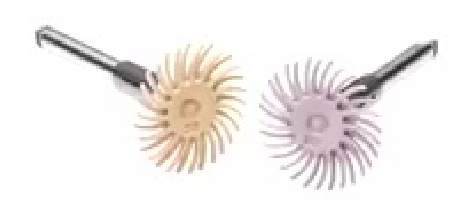
Polishing Kits and Components72
Magnetic component to connect the device
- Very easy to apply
- Extremely useful to reach hard to reach areas
 |  |
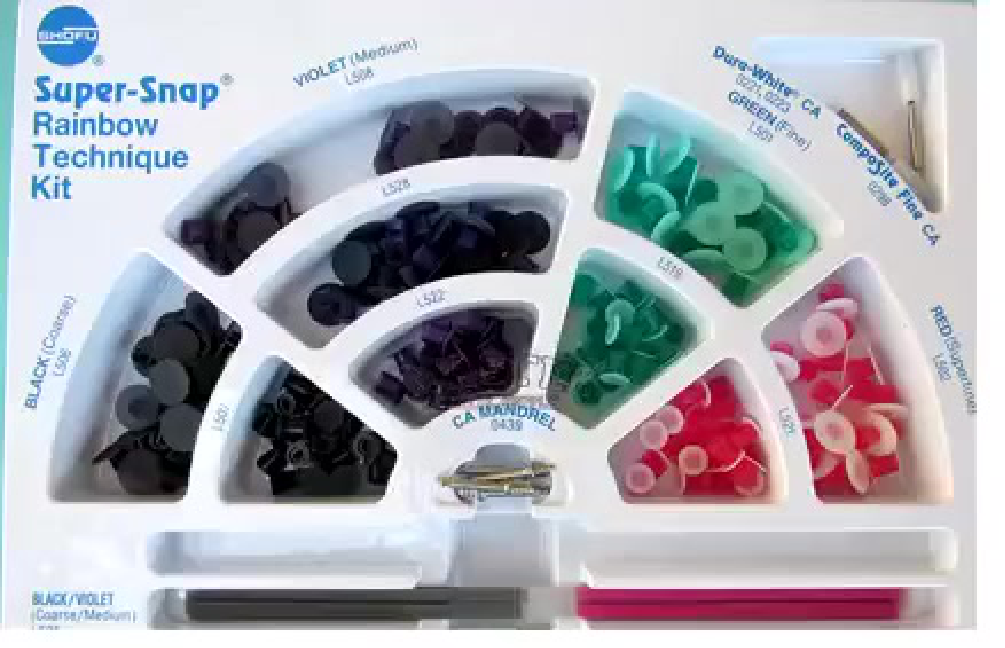
Super-Snap Rainbow Technique Kit (Shofu)73
- VIOLET (Medium) — L500
- GREEN (Fine) — L501
- BLACK (Coarse) — L505
- RED (Superfine) — L500
- BLACK/VIOLET (Coarse/Medium) — L.G001, L601
Compatible composites:
- Duro-White® CA — 04201, 0280
- Composeline Pure CA — L600
CA MANDREL — 8430
Szczepaniak, M. E., Krasowski, M., and Bołtacz-Rzepkowska, E. The Effect of Various Polishing Systems on the Surface Roughness of Two Resin Composites—an In Vitro Study.
Lecturer — Super-Snap System
The Super-Snap system was described as having coarse, medium, and fine abrasive components. In the discussed study, it was compared with Soft-Lex and produced a very smooth surface.
Abrasive Discs74
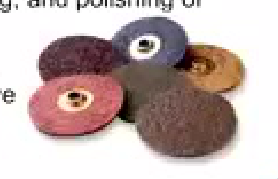
- Gross reduction, contouring, finishing, and polishing of restoration surfaces
- Coated with aluminum oxide abrasive
 |  |
Abrasive Strips
- With plastic or metal backing are available for smoothening and polishing the interproximal surfaces of direct and indirect bonded restorations
- Ultradent Jiffy Diamond strips
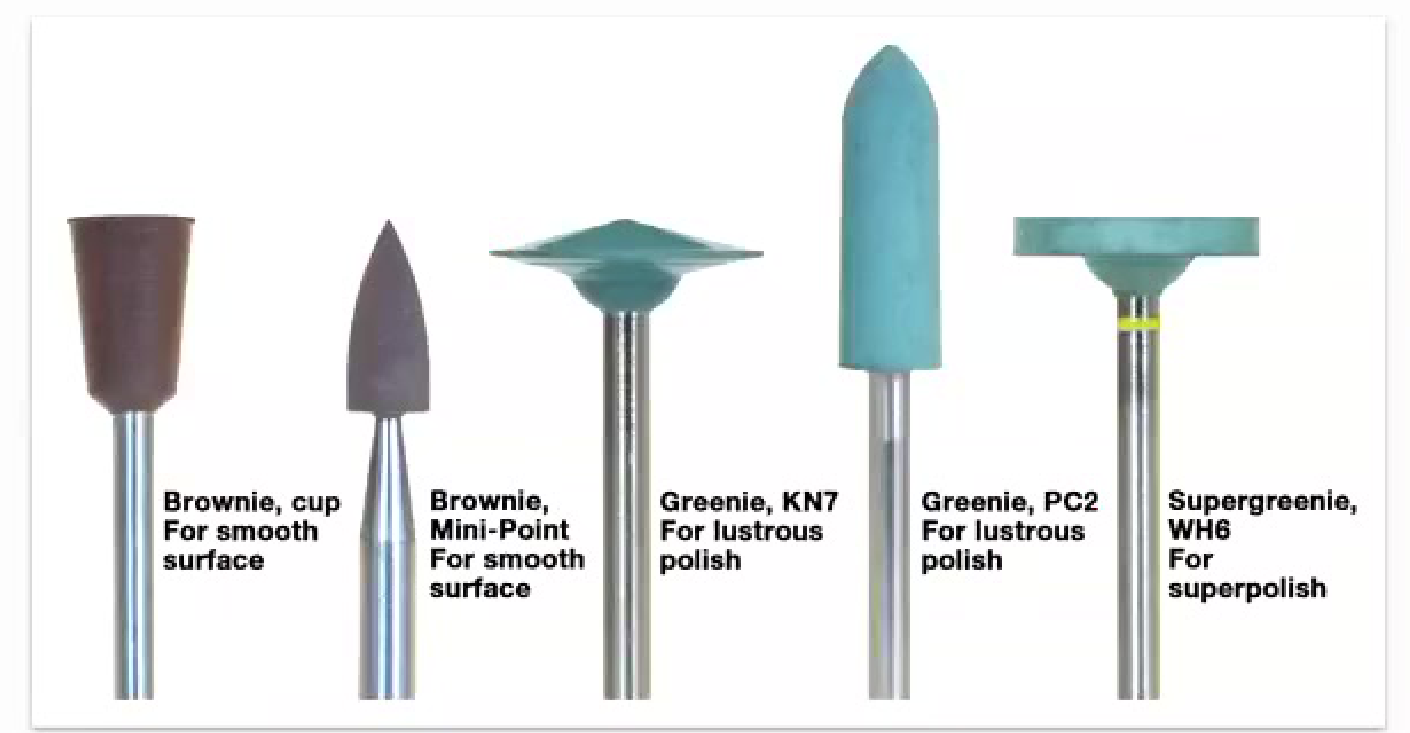
Polishing Points75
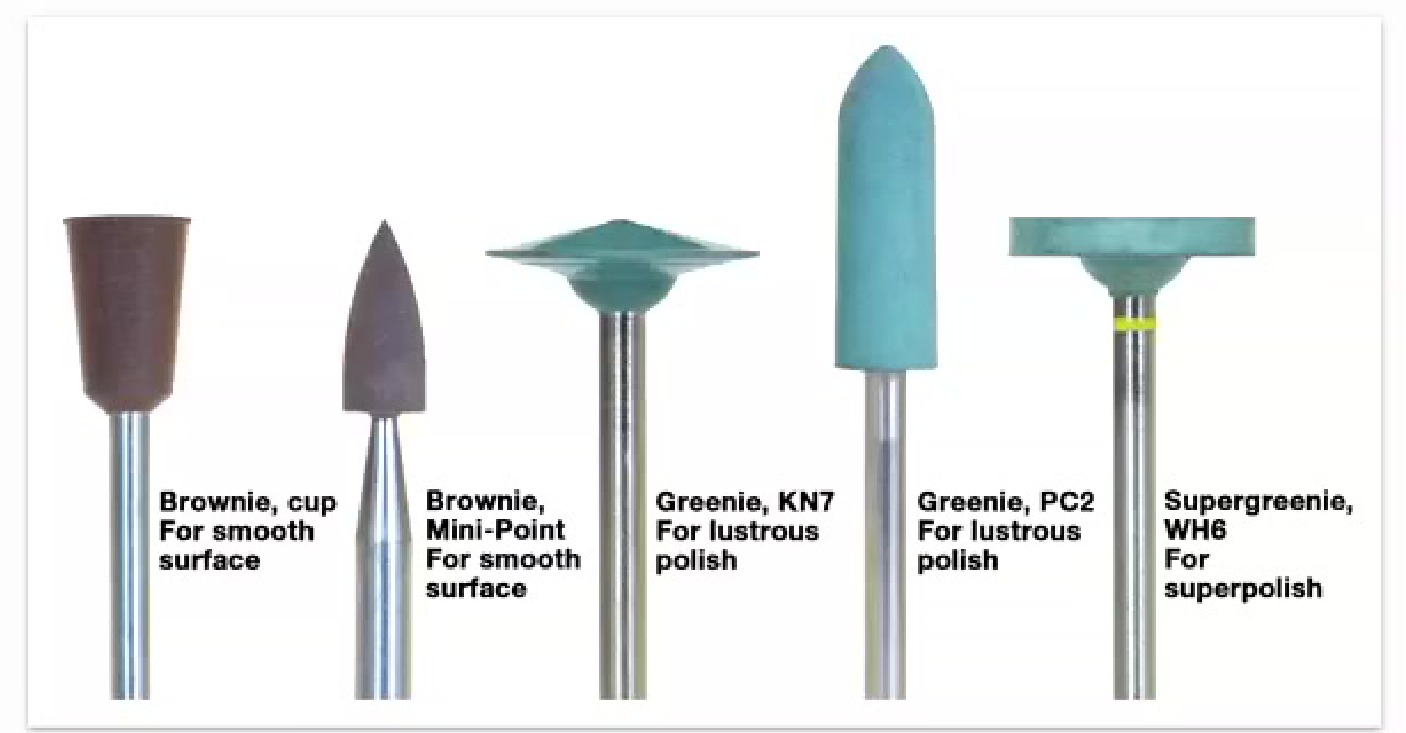
- Brownie, cup — for smooth surface
- Brownie, Mini-Point — for smooth surface
- Greenie, KN7 — for lustrous polish
- Greenie, PC2 — for lustrous polish
- Supergreenie, WH6 — for superpolish
Lecturer — Amalgam Polishing
Although amalgam is used less frequently, the lecturer recommended polishing old amalgam restorations when treating the whole mouth.
- Use a Brownie point to contour and smooth the amalgam.
- Remove the oxidized surface layer.
- Use a Greenie point with a yellow band for the final lustrous polish.
- The same general sequence is useful for dentures, and Brownie points may also be used for zirconia because zirconia is treated as a metal-like ceramic in this context.
Amalgam Polishing Techniques7677
Rune Eide & Anne Bjørg Tveit. Pages 147-151 | Received 01 Feb 1987. Published online: 02 Jul 2009. References Citations Metrics Reprints & Permissions Get access.
 |  |
 |  |
Abstract78
Three different methods for finishing and polishing amalgam surfaces were studied by determining the roughness () of specimens at different stages of the procedures:
- Method I consisted of green stone, followed in sequence by finishing bur and pastes of pumice, powdered chalk, and .
- Method II was similar to method I but included brown and green Shofu polishers after the finishing bur.
- Method III used medium and fine sandpaper and fine cuttle-paper discs before the pastes.
A dramatic decrease in the values was observed after the specimens
- Dispersed in gel or paste form
- Polishing pastes → fine or ultrafine () or diamond particles ()
- Applied to substrate with a nonabrasive device — synthetic foam, rubber, felt, chamois cloth, wheel
- Dispersed in water-soluble medium such as glycerin
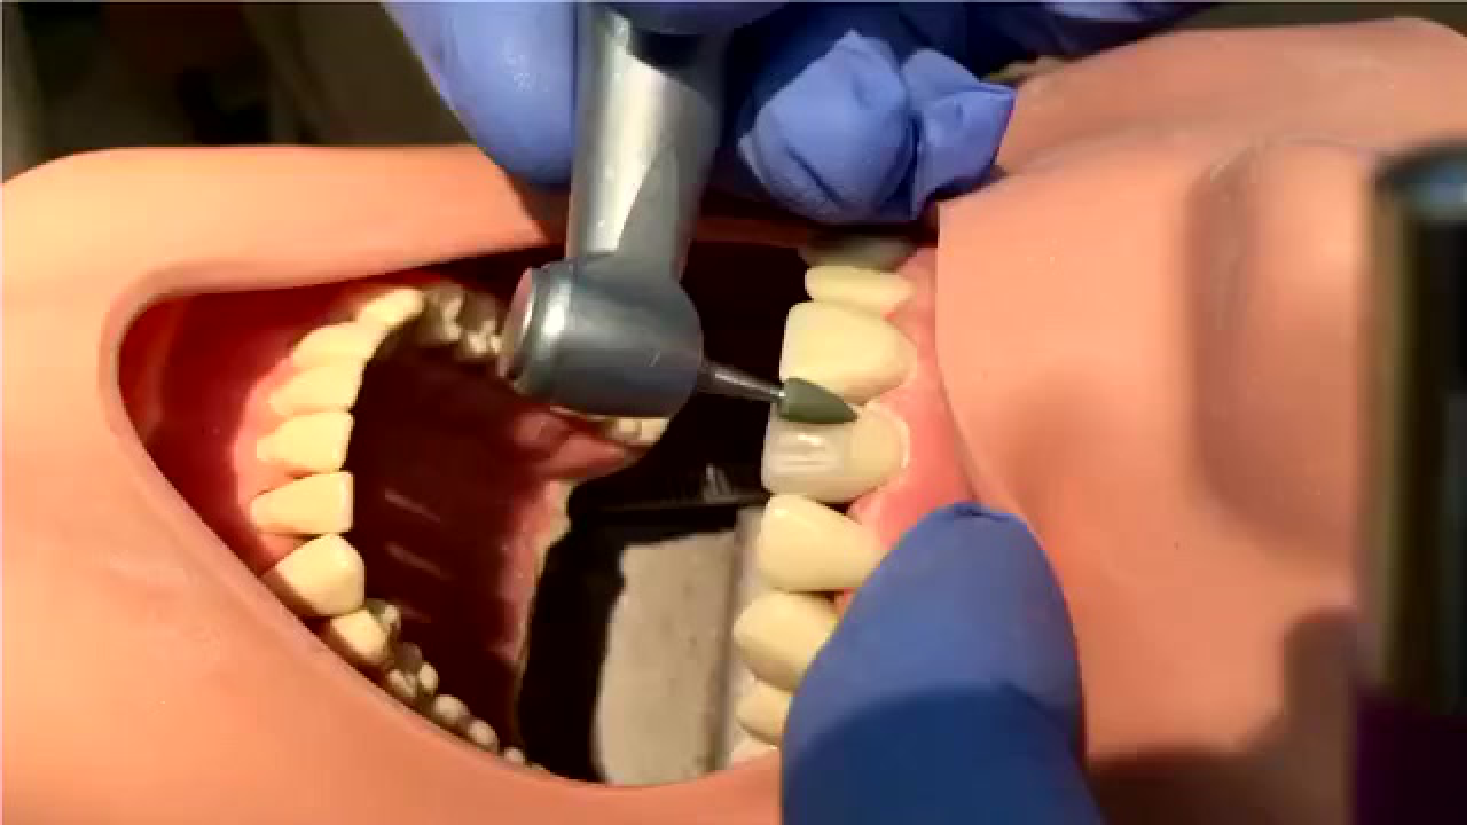
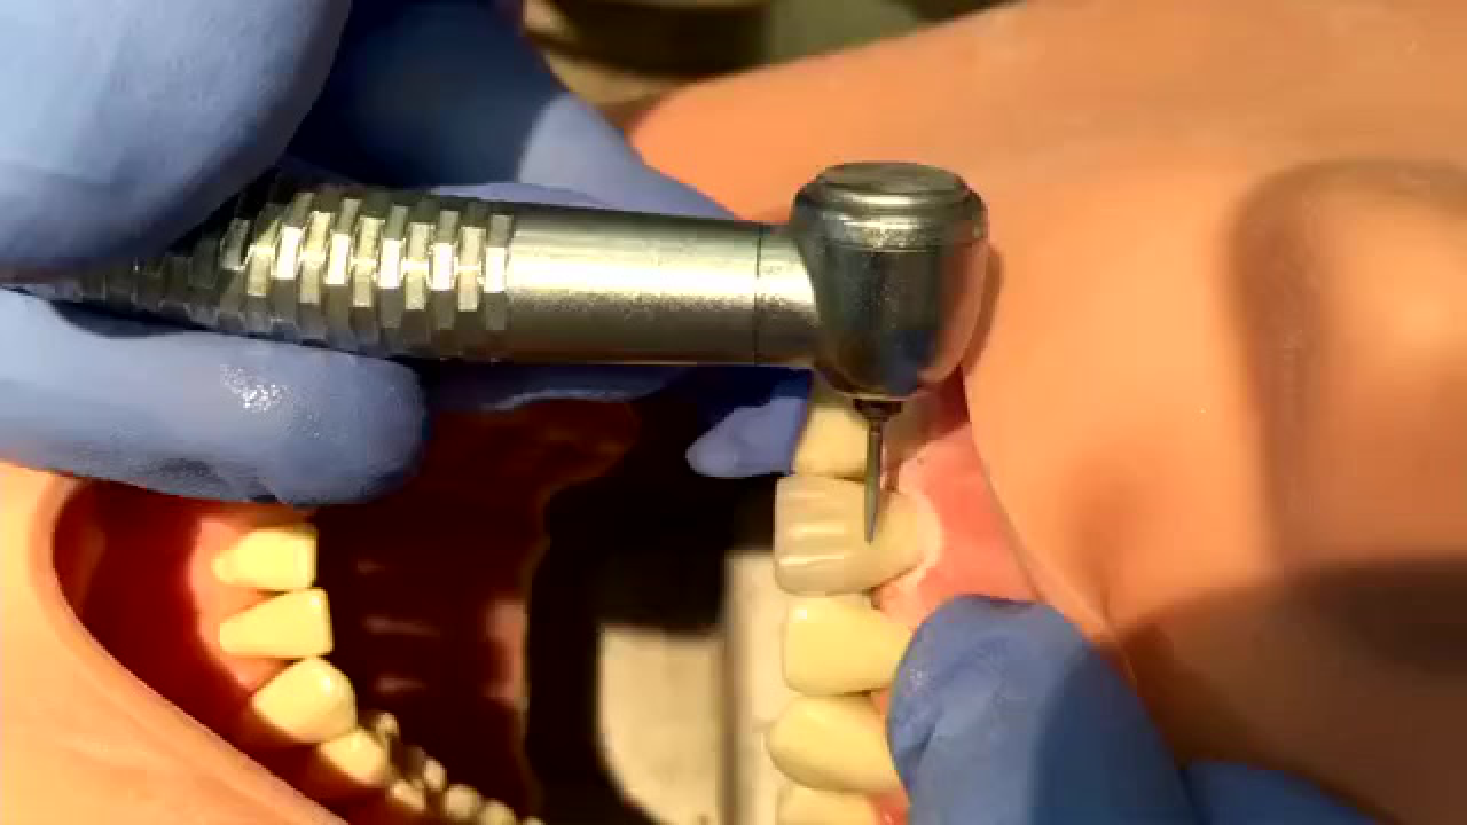
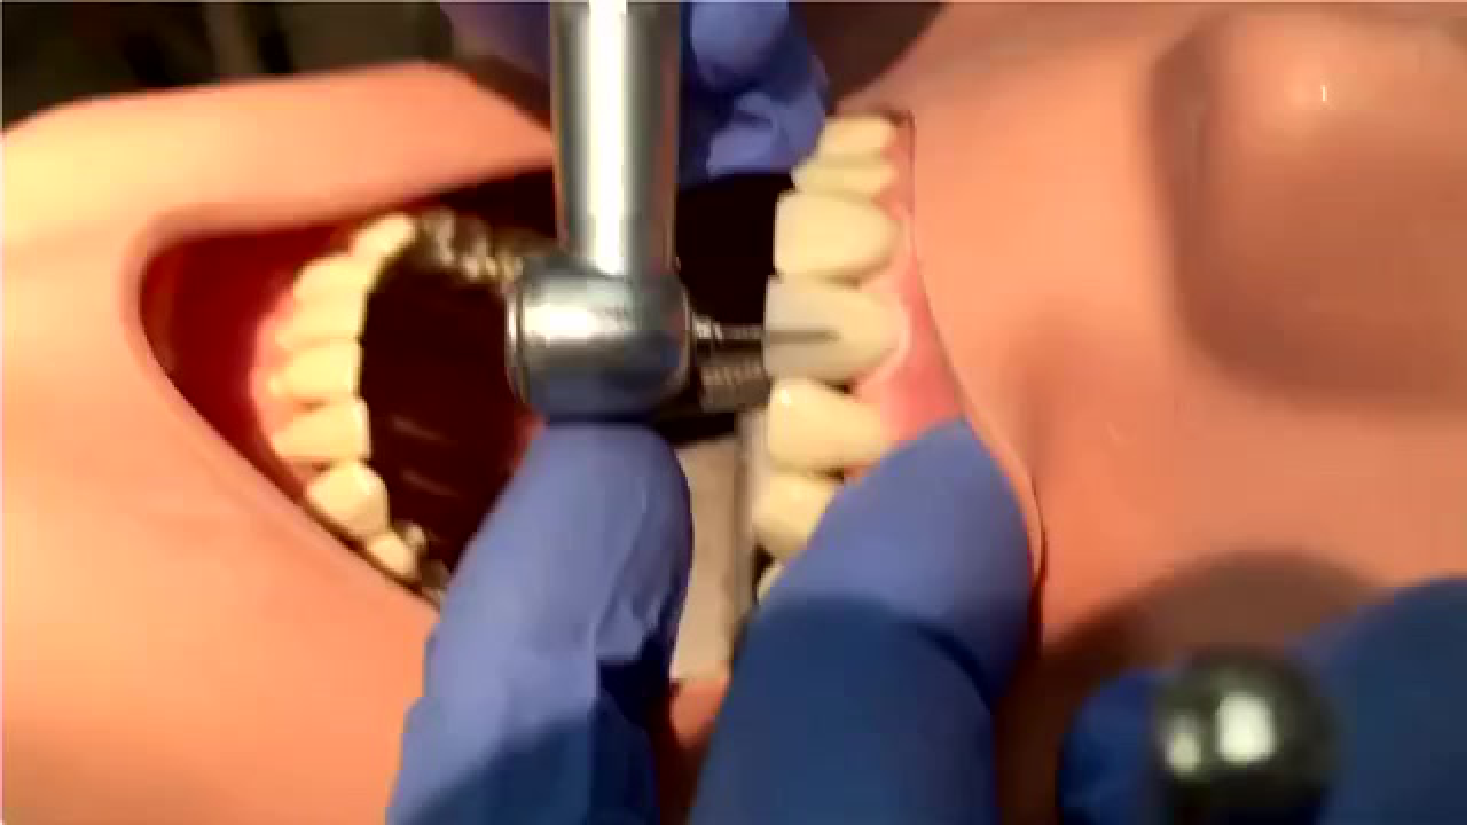
Dental model showing dental drill and tooth.
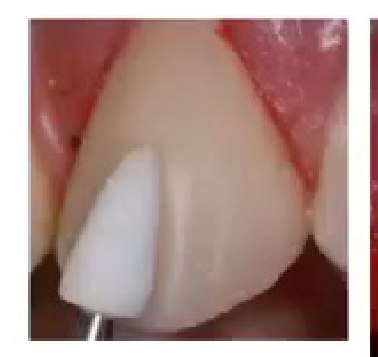
- Available in coarse, medium, and fine grades for progressive use after gross adjustment.
Lecturer — Abrasive Speed
The recommended rotational speed should be followed because incorrect speed may cause the abrasive to strip or become excessively aggressive.
- Check the manufacturer’s instructions or identify an unfamiliar bur before using it.
Lecturer — Polishing Pastes
Aluminium oxide and diamond polishing pastes were discussed at different particle sizes.
- Aluminium oxide was described as less than 1 micrometre, whereas diamond polishing paste was described as approximately 1–10 micrometres.
- For composites, aluminium oxide may provide a particularly good result because it removes the oxygen-inhibited layer.
- For ceramics, diamond paste is preferred.
- Paste may also be applied using foam, cloth, a chamois wheel, or a prophylaxis brush.
- A new, soft prophylaxis brush may be used if other devices are unavailable.
Rubber Abrasive Products798081
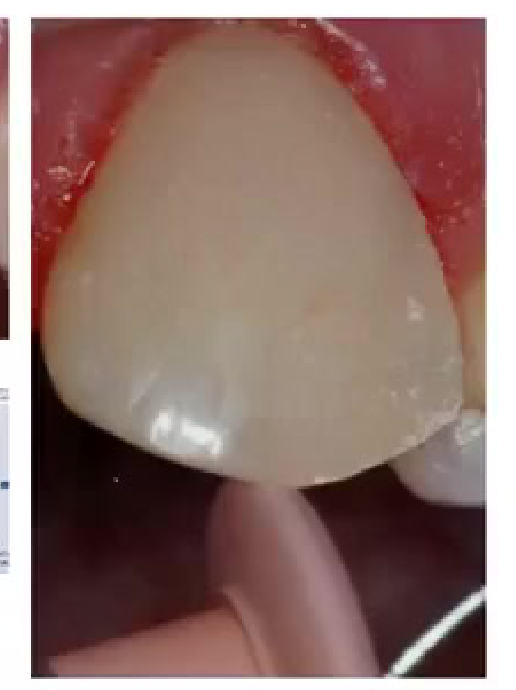
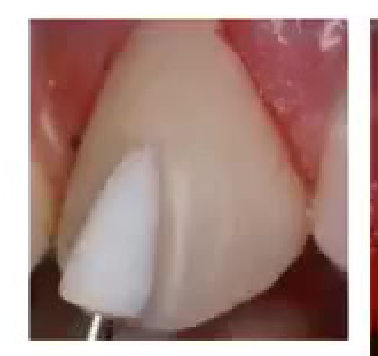
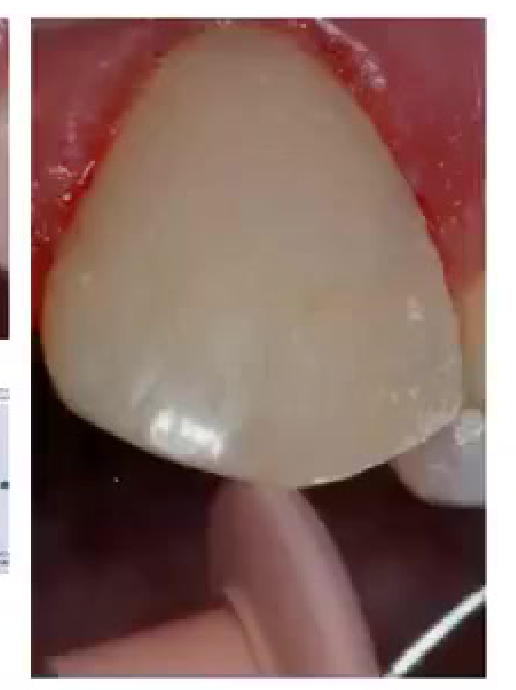
Silicon-Impregnated Rubber Abrasives8283
 |  |
 |  |
Grits84
| Description | Grit (micron) | Color code |
|---|---|---|
| Finisher | 26.5 (silicon carbide) | Gray |
| Polisher | 12.8 (silicon carbide) | Green |
| High Polisher | 3.5 (diamonds + aluminum oxide) | Pink |
- Used to put very high finish on composites
- Variety of shapes
- Use dry
- Avoid heavy pressure
Example: silicon-impregnated rubber abrasives
 |  |
Recommended Speed85
- Green Coarse: 7,500 – 10,000 RPM
- Brush Point: 1,000 – 3,000 RPM
Color Coding86
Columns: ISO No. (ISO 173/014) | Order No. (TF-11) | Shape (TF Series)
| Type | Specification |
|---|---|
| Super Fine | 8 μm |
| Standard (S) | 106–125 μ |
| Extra Fine (EF) | 20–30 μ |
| Coarse (C) | 125–150 μ |
| Fine (F) | 53–63 μ |
| Super Coarse | 181 μ |
Example: silicon-impregnated rubber abrasives
Dental kit of silicon-impregnated rubber abrasives with GRIPS and ultrasound tips in open display box.
- Green Coarse: 7,500 – 10,000 RPM
- Yellow Medium: 7,500 – 10,000 RPM
- White Fine: 5,000 – 7,500 RPM
- Brush Point: 1,000 – 3,000 RPM
- Brush Cup: 1,000 – 3,000 RPM
ULTRADENT PRODUCTS, INC. — 800.552.5512 — REF/UP# 4254
Composite Polishing – Rubber abrasives
- Used to put very high finish on composites.
- Variety of shapes.
- Use dry.
- Avoid heavy pressure.
Composite Polishing – Rubber abrasives
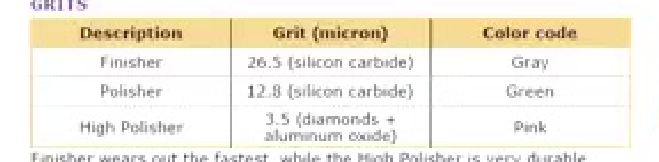
Grits87
| Description | Grit (micron) | Color code |
|---|---|---|
| Finisher | 26.5 (silicon carbide) | Gray |
| Polisher | 12.8 (silicon carbide) | Green |
| High Polisher | 3.5 (diamonds + aluminum oxide) | Pink |
Finisher wears out the fastest, while the High Polisher is very durable.
One-step polishing system used PoGo in their studies for 40 s and 30 s, respectively, and they reported lower surface roughness values than the multistep systems.
When application times are considered, the sequential use of four different Sof-Lex discs caused the longest polishing period. Therefore, this might be another factor for consideration – for surface smoothness.
Diamond and silica carbide impregnated brushes
Great for posterior teeth – occlusal grooves, and anterior teeth line angles.
Goat Brushes
- FlexiBuff Mini
- FlexiBuff Regular
 |  |
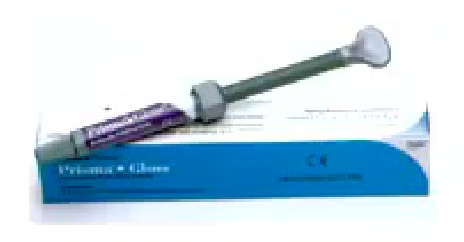
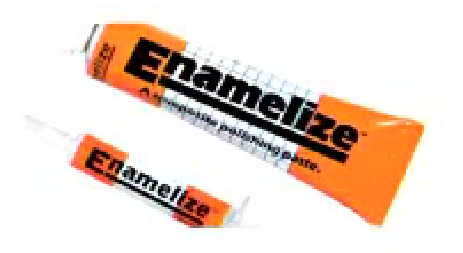
Composite Polishing Pastes88
Composite Polishing – Pastes
- Aluminium oxide abrasive
Use goats-hair brush or felt disc. Place on composite. Moisten more with the pastes as finishing progresses.
 |  |
 |
Polishing Ceramic Restorations89
Monolithic IPS e.max and Zirconia Restorations90919293
Two major forms of monolithic ceramics are used in dentistry today. One of them is glass ceramic, which is created from a controlled crystallization of glass with the crystalline phase consisting of about 70% lithium disilicate crystals in a matrix of approximately 30% SiO2-based glass. The most well-known product in this category is IPS e.max® (Ivoclar Vivadent, www.ivoclarvivadent.com).¹ These products can be pressed by a lost-wax process or machined from a partially crystallized “blue block,” and then undergo final crystallization in a porcelain oven.
Lecturer — e.max Adjustment
IPS e.max is more brittle before bonding, so an inlay or onlay should not be adjusted before it is bonded.
- Check and mark the occlusion before bonding, then adjust the restoration after bonding.
- If the restoration is very thin because of inadequate preparation, a crack line may develop during adjustment.
- Blue-, red-, and yellow-band diamonds may be used as needed, followed by ceramic polishing rubbers and polishing paste.
- Electric-handpiece rubber polishers produce a smoother result than air-driven polishers because the electric handpiece maintains a more constant speed.
- If a dedicated ceramic polishing kit is unavailable, composite polishing materials may be used, although ceramic adjustment relies more heavily on rubber polishers and diamond paste.
The other more recently developed type of monolithic ceramic material is a form of solid-sintered zirconia-based ceramics (eg, Lava™ Plus, 3M ESPE, www.3mespe.com or BruxZir, Glidewell Laboratories, www.bruxzir.com)² that is more translucent than original versions delivered to the market. These materials are dense polycrystalline solids with no glass phase and with an average particle size less than 0.5 µm.
Lecturer — Zirconia Adjustment
Zirconia should be adjusted and polished carefully because a rough surface can severely wear the opposing tooth and act like a hard chisel.
- Red- and yellow-band diamonds are preferred; blue or coarser diamonds may create sparks because zirconia behaves as a metal-like ceramic.
- Use lower speeds, then polish after diamond adjustment with appropriate rubber polishers; brownie points and a small amount of moisture may also be used.
- Newer zirconias contain yttrium oxide, which can help prevent crack propagation when the material changes from the tetragonal to the monoclinic form, but proper polishing is still required.
- At review appointments, check the occlusion and run a probe around the restoration; polish any rough area detected.
Both materials have essentially replaced metal ceramic restorations as the first choice for posterior full-crown restorations.
Edward A. McLaren, DDS, MDC | Johan Figueira, DDS | Luis Sanchez, DDS | Carlos Trujillo, DDS
Figure 4, Figure 5, Figure 6, Figure 7, Figure 8
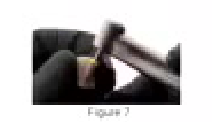
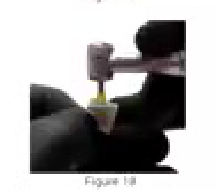
The specimens were polished with air-driven contra angle clinical handpieces (Figure 4) with water using the special intraoral polishing system designed for IPS e.max, the Dialite LD Extra-Oral Polisher System (Brasseler), following the directions of the manufacturer (Figure 5 through Figure 8).
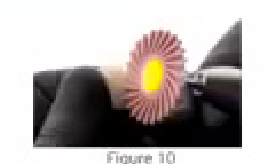
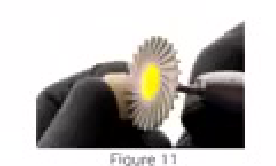
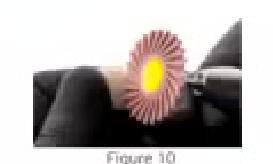
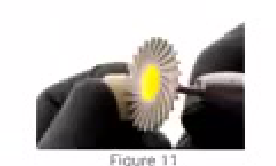
In Figures 9 through Figure 11, a new polisher, Dialite Feather Lite, was used, as this system allows better access to polish grooves. One operator did all the polishing so as to better calibrate the manual results. Also, with air-driven it is not possible to control the speed, or RPMs, so 60 seconds was allotted for each polished piece. The air pressure was calibrated to 4.5 bars to get as much torque as possible.
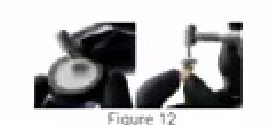
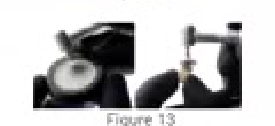
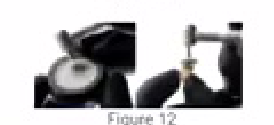
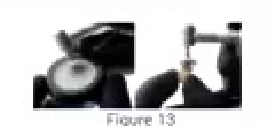
Dialite Extra-Oral Polishing Paste (Brasseler) was used with a small round brush 60 seconds with each grit (Figure 12 and Figure 13).
RECOMMENDED SPEED 5 - 8,000 RPM
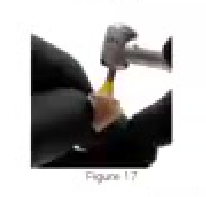
Figure 14, Figure 15, Figure 16, Figure 17, Figure 18
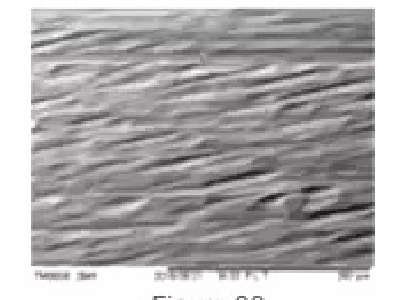
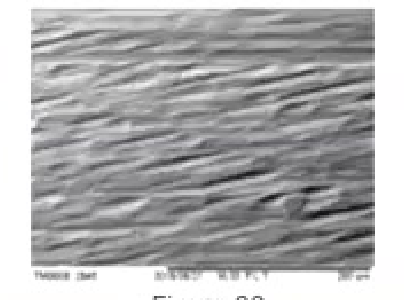
- Figure 20 — After Diamond Adjustment
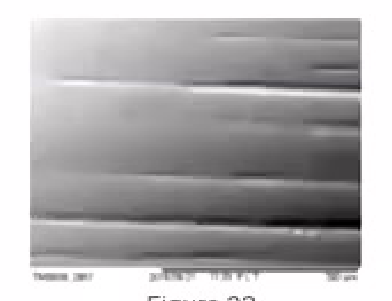
- Figure 22 — After rubber polishers in Air driven hand piece
- After rubber polishers in Electric driven hand piece (CONSTANT TORQUE) — Figure 24
Figure 4, Figure 5, Figure 6, Figure 7, Figure 8, Figure 9, Figure 10, Figure 11, Figure 12, Figure 13
RECOMMENDED SPEED 5 - 8,000 RPM
ULTRADENT PRODUCTS, INC. | 800.552.5512 | REF/UPF 6080
The specimens were polished with air-driven contra angle clinical handpieces (Figure 4) with water using the special intraoral polishing system designed for IPS e.max, the Dialite LD Extra-Oral Polisher System (Brasseler), following the directions of the manufacturer (Figure 5 through Figure 8).
In Figures 9 through Figure 11, a new polisher, Dialite Feather Lite, was used, as this system allows better access to polish grooves. One operator did all the polishing so as to better calibrate the manual results. Also, with air-driven it is not possible to control the speed, or RPMs, so 60 seconds was allotted for each polished piece. The air pressure was calibrated to 4.5 bars to get as much torque as possible.
Dialite Extra-Oral Polishing Paste (Brasseler) was used with a small round brush 60 seconds with each grit (Figure 12 and Figure 13).








Ceramic Surface Treatments and Stainability94
The Journal of Prosthetic Dentistry
Effects of different surface treatments on stainability of ceramics
Pelin F. Karagoz Motta DDS, MSc¹; Pinar Kurusegu DDS, PhD¹; Ender Karagozlu DDS, PhD¹
Lecturer — Ceramic Polishing Workflow
A practical workflow is to check the restoration in the mouth, mark or photograph the occlusal adjustment area, remove and adjust it outside the mouth, and polish it through the appropriate sequence.
- Reinsert the restoration and check it again.
- If the clinician is not confident that the surface is sufficiently polished, return the restoration to the laboratory.
 |  |  |
 |  |  |
Statement of Problem95
Final adjustments may result in a loss of ceramic glaze, a situation which must be corrected by reglazing or polishing to obtain clinically successful restorations; such restorations may be susceptible to staining.
Lecturer — Glaze Versus Polish
Glaze is a coating placed over the ceramic and fired in a furnace, whereas a properly polished ceramic surface is more durable than relying on glaze alone.
- Glaze can fill surface voids and initially make the restoration appear very smooth, but the glaze layer is weaker than the ceramic and may wear away more quickly.
- Occlusal adjustment with a diamond can remove the glaze, leaving a surface that may stain, damage the opposing tooth, create pressure points, or contribute to wear and crack-related problems.
- The preferred sequence is coarse, medium, and fine polishing, followed by a final glaze when appropriate.
- If a major occlusal adjustment is required and the polishing sequence cannot be completed adequately, return the restoration to the laboratory for polishing and, where appropriate, reglazing.
Lecturer — Surface Treatment Study
The study compared a glazed control group with ceramics adjusted by diamond rotary instruments and then reglazed, as well as several polishing approaches.
- The polishing approaches included Shofu systems, Dura-Green stones, silicone polishers, Ceramaster systems, and polishing paste with Super-Snap buffs.
- Soft-Lex and the Shofu porcelain-laminate polishing kit produced favourable results.
- Soft-Lex can also be used on composite margins associated with ceramic restorations.
Figure 16, Figure 17, Figure 18
- Figure 20 — After Diamond Adjustment
- Figure 22 — After rubber polishers in Air driven hand piece
- After rubber polishers in Electric driven hand piece (CONSTANT TORQUE) — Figure 24
Lecturer — Margin Refinement
Post-polishing of ceramic and tooth margins produces a significantly smoother surface regardless of the cement-removal method.
- Cement removal may create scratches, so refine the margins with a fine red- or yellow-band diamond and then polish them.
Clinical Cases
Case: Post-orthodontic composite build-up follow-up
Question
Scenario: A patient who previously received a post-orthodontic composite build-up.
What’s shown: Images of the patient’s composite restorations at the initial completion and then again seven to eight years later.
Consider: What changes occur in the composite restorations over this time period, and what clinical action should be taken during annual recall appointments?
Answer
Observations:
- The composite restorations do not remain in their initial pristine condition over the seven to eight year period.
- Over time, the composites exhibit wear, plaque accumulation, and stained margins.
Reasoning: The lecturer explains that because composites wear and degrade over time, they require active maintenance. During annual recall appointments, the clinician should take the time to polish the composites (using appropriate methods like a goat’s hair brush or diamond polishing paste, while avoiding abrasive prophy paste) to restore surface smoothness, prevent plaque retention, and minimize long-term staining.
Takeaway: Composite restorations require periodic maintenance; clinicians should polish composites during annual recalls to maintain surface smoothness, prevent plaque accumulation, and reduce long-term staining.
Case: Creating secondary and tertiary anatomy on a composite
Question
Scenario: A composite restoration that has just undergone gross contouring.
What’s shown: A video demonstration using the tip of a red band diamond bur to create ridges and tertiary anatomy cervically on the composite.
Consider: Why is it necessary to add these specific grooves and textures to the composite rather than simply polishing it to a high, smooth shine?
Answer
Observations:
- The video shows the deliberate creation of horizontal grooves, ridges, and tertiary anatomy using a fine diamond bur tip.
Reasoning: The lecturer explains that natural teeth are not perfectly smooth; they possess marginal ridges and textures that manage light reflection. If a composite is merely polished to a high shine without adding texture, it will look artificial, resembling a “boiled potato.” Adding secondary and tertiary anatomy mimics the natural tooth structure and optimizes light reflection for better aesthetics.
Takeaway: Aesthetic composite restorations require the deliberate addition of secondary and tertiary anatomy (textures and grooves) to mimic natural light reflection, rather than just achieving a smooth, featureless polish.
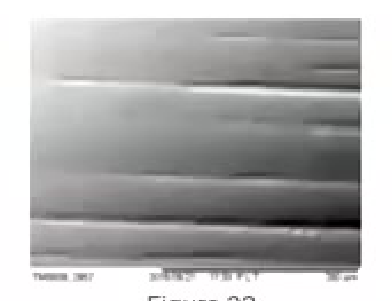
Case: Microscopic ceramic surface after diamond adjustment
Question
Scenario: A microscopic evaluation of a ceramic restoration.
What’s shown: A microscopic image showing the surface of a ceramic restoration immediately after it has been adjusted with a diamond bur.
Consider: What is the clinical consequence of leaving this adjusted surface unpolished in the patient’s mouth?
Answer
Observations:
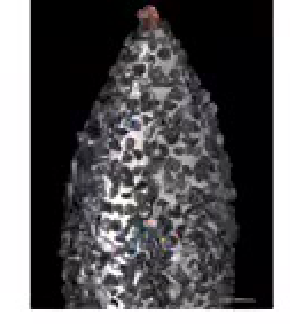
- The microscopic image reveals a highly rough and scratched ceramic surface left behind by the diamond adjustment.
Reasoning: The lecturer points out that leaving this rough surface in the mouth will cause it to act like a chisel, abrading and wearing down the opposing natural tooth structure. Furthermore, in older zirconia ceramics, rough surfaces create pressure points that can initiate crack propagation and lead to ceramic fracture.
Takeaway: Any ceramic restoration adjusted with a diamond bur must be meticulously polished through a coarse-to-fine sequence (or sent back to the lab) to prevent severe wear on the opposing dentition and to avoid crack propagation in the ceramic.
Case: Canine transposition and missing central incisor
Question
Scenario: A patient with a missing central incisor, a transposed canine, and a premolar occupying the lateral incisor space.
What’s shown: Before and after photographs of the patient’s anterior restorations, showing the premolar built up to resemble a lateral incisor and the canine modified.
Consider: How can composite build-ups and orthodontic collaboration be utilized to resolve the anatomical and aesthetic challenges of this specific dental presentation?
Answer
Observations:
- The before and after images show the successful camouflage of the transposed teeth and the missing central incisor.
- The premolar was built up to look like a lateral incisor, and the canine was modified to fit the aesthetic sequence.
Reasoning: The lecturer details using a putty technique to accurately build up the premolar into the shape of a lateral incisor. Following the composite build-ups and a gingivectomy, orthodontic wires and brackets were used to close the remaining spaces. The restorations were then polished to finalize the central, lateral, and canine anatomy.
Takeaway: Complex anterior aesthetic challenges, such as missing teeth and transpositions, can be successfully managed by combining accurate composite build-ups (using putty indices for shape) with orthodontic space closure and meticulous final polishing.
Footnotes
-
Original PDF page 1: [[L6 Finishing of Restorations [good][extended]_slides.pdf#page=1|L6 Finishing of Restorations [good][extended] slides, p.1]] ↩
-
Original PDF page 2: [[L6 Finishing of Restorations [good][extended]_slides.pdf#page=2|L6 Finishing of Restorations [good][extended] slides, p.2]] ↩
-
Original PDF page 3: [[L6 Finishing of Restorations [good][extended]_slides.pdf#page=3|L6 Finishing of Restorations [good][extended] slides, p.3]] ↩
-
Original PDF page 4: [[L6 Finishing of Restorations [good][extended]_slides.pdf#page=4|L6 Finishing of Restorations [good][extended] slides, p.4]] ↩
-
Original PDF page 5: [[L6 Finishing of Restorations [good][extended]_slides.pdf#page=5|L6 Finishing of Restorations [good][extended] slides, p.5]] ↩
-
Original PDF page 6: [[L6 Finishing of Restorations [good][extended]_slides.pdf#page=6|L6 Finishing of Restorations [good][extended] slides, p.6]] ↩
-
Original PDF page 7: [[L6 Finishing of Restorations [good][extended]_slides.pdf#page=7|L6 Finishing of Restorations [good][extended] slides, p.7]] ↩
-
Original PDF page 8: [[L6 Finishing of Restorations [good][extended]_slides.pdf#page=8|L6 Finishing of Restorations [good][extended] slides, p.8]] ↩
-
Original PDF page 9: [[L6 Finishing of Restorations [good][extended]_slides.pdf#page=9|L6 Finishing of Restorations [good][extended] slides, p.9]] ↩
-
Original PDF page 10: [[L6 Finishing of Restorations [good][extended]_slides.pdf#page=10|L6 Finishing of Restorations [good][extended] slides, p.10]] ↩
-
Original PDF page 11: [[L6 Finishing of Restorations [good][extended]_slides.pdf#page=11|L6 Finishing of Restorations [good][extended] slides, p.11]] ↩
-
Original PDF page 12: [[L6 Finishing of Restorations [good][extended]_slides.pdf#page=12|L6 Finishing of Restorations [good][extended] slides, p.12]] ↩
-
Original PDF page 13: [[L6 Finishing of Restorations [good][extended]_slides.pdf#page=13|L6 Finishing of Restorations [good][extended] slides, p.13]] ↩
-
Original PDF page 15: [[L6 Finishing of Restorations [good][extended]_slides.pdf#page=15|L6 Finishing of Restorations [good][extended] slides, p.15]] ↩
-
Original PDF page 14: [[L6 Finishing of Restorations [good][extended]_slides.pdf#page=14|L6 Finishing of Restorations [good][extended] slides, p.14]] ↩
-
Original PDF page 16: [[L6 Finishing of Restorations [good][extended]_slides.pdf#page=16|L6 Finishing of Restorations [good][extended] slides, p.16]] ↩
-
Original PDF page 17: [[L6 Finishing of Restorations [good][extended]_slides.pdf#page=17|L6 Finishing of Restorations [good][extended] slides, p.17]] ↩
-
Original PDF page 19: [[L6 Finishing of Restorations [good][extended]_slides.pdf#page=19|L6 Finishing of Restorations [good][extended] slides, p.19]] ↩
-
Original PDF page 25: [[L6 Finishing of Restorations [good][extended]_slides.pdf#page=25|L6 Finishing of Restorations [good][extended] slides, p.25]] ↩
-
Original PDF page 26: [[L6 Finishing of Restorations [good][extended]_slides.pdf#page=26|L6 Finishing of Restorations [good][extended] slides, p.26]] ↩
-
Original PDF page 27: [[L6 Finishing of Restorations [good][extended]_slides.pdf#page=27|L6 Finishing of Restorations [good][extended] slides, p.27]] ↩
-
Original PDF page 28: [[L6 Finishing of Restorations [good][extended]_slides.pdf#page=28|L6 Finishing of Restorations [good][extended] slides, p.28]] ↩
-
Original PDF page 29: [[L6 Finishing of Restorations [good][extended]_slides.pdf#page=29|L6 Finishing of Restorations [good][extended] slides, p.29]] ↩
-
Original PDF page 30: [[L6 Finishing of Restorations [good][extended]_slides.pdf#page=30|L6 Finishing of Restorations [good][extended] slides, p.30]] ↩
-
Original PDF page 20: [[L6 Finishing of Restorations [good][extended]_slides.pdf#page=20|L6 Finishing of Restorations [good][extended] slides, p.20]] ↩
-
Original PDF page 18: [[L6 Finishing of Restorations [good][extended]_slides.pdf#page=18|L6 Finishing of Restorations [good][extended] slides, p.18]] ↩
-
Original PDF page 21: [[L6 Finishing of Restorations [good][extended]_slides.pdf#page=21|L6 Finishing of Restorations [good][extended] slides, p.21]] ↩
-
Original PDF page 22: [[L6 Finishing of Restorations [good][extended]_slides.pdf#page=22|L6 Finishing of Restorations [good][extended] slides, p.22]] ↩
-
Original PDF page 23: [[L6 Finishing of Restorations [good][extended]_slides.pdf#page=23|L6 Finishing of Restorations [good][extended] slides, p.23]] ↩
-
Original PDF page 24: [[L6 Finishing of Restorations [good][extended]_slides.pdf#page=24|L6 Finishing of Restorations [good][extended] slides, p.24]] ↩
-
Original PDF page 33: [[L6 Finishing of Restorations [good][extended]_slides.pdf#page=33|L6 Finishing of Restorations [good][extended] slides, p.33]] ↩
-
Original PDF page 34: [[L6 Finishing of Restorations [good][extended]_slides.pdf#page=34|L6 Finishing of Restorations [good][extended] slides, p.34]] ↩
-
Original PDF page 35: [[L6 Finishing of Restorations [good][extended]_slides.pdf#page=35|L6 Finishing of Restorations [good][extended] slides, p.35]] ↩
-
Original PDF page 45: [[L6 Finishing of Restorations [good][extended]_slides.pdf#page=45|L6 Finishing of Restorations [good][extended] slides, p.45]] ↩
-
Original PDF page 32: [[L6 Finishing of Restorations [good][extended]_slides.pdf#page=32|L6 Finishing of Restorations [good][extended] slides, p.32]] ↩
-
Original PDF page 31: [[L6 Finishing of Restorations [good][extended]_slides.pdf#page=31|L6 Finishing of Restorations [good][extended] slides, p.31]] ↩
-
Original PDF page 36: [[L6 Finishing of Restorations [good][extended]_slides.pdf#page=36|L6 Finishing of Restorations [good][extended] slides, p.36]] ↩
-
Original PDF page 37: [[L6 Finishing of Restorations [good][extended]_slides.pdf#page=37|L6 Finishing of Restorations [good][extended] slides, p.37]] ↩
-
Original PDF page 38: [[L6 Finishing of Restorations [good][extended]_slides.pdf#page=38|L6 Finishing of Restorations [good][extended] slides, p.38]] ↩
-
Original PDF page 39: [[L6 Finishing of Restorations [good][extended]_slides.pdf#page=39|L6 Finishing of Restorations [good][extended] slides, p.39]] ↩
-
Original PDF page 40: [[L6 Finishing of Restorations [good][extended]_slides.pdf#page=40|L6 Finishing of Restorations [good][extended] slides, p.40]] ↩
-
Original PDF page 41: [[L6 Finishing of Restorations [good][extended]_slides.pdf#page=41|L6 Finishing of Restorations [good][extended] slides, p.41]] ↩
-
Original PDF page 42: [[L6 Finishing of Restorations [good][extended]_slides.pdf#page=42|L6 Finishing of Restorations [good][extended] slides, p.42]] ↩
-
Original PDF page 43: [[L6 Finishing of Restorations [good][extended]_slides.pdf#page=43|L6 Finishing of Restorations [good][extended] slides, p.43]] ↩
-
Original PDF page 46: [[L6 Finishing of Restorations [good][extended]_slides.pdf#page=46|L6 Finishing of Restorations [good][extended] slides, p.46]] ↩
-
Original PDF page 47: [[L6 Finishing of Restorations [good][extended]_slides.pdf#page=47|L6 Finishing of Restorations [good][extended] slides, p.47]] ↩
-
Original PDF page 44: [[L6 Finishing of Restorations [good][extended]_slides.pdf#page=44|L6 Finishing of Restorations [good][extended] slides, p.44]] ↩
-
Original PDF page 50: [[L6 Finishing of Restorations [good][extended]_slides.pdf#page=50|L6 Finishing of Restorations [good][extended] slides, p.50]] ↩
-
Original PDF page 52: [[L6 Finishing of Restorations [good][extended]_slides.pdf#page=52|L6 Finishing of Restorations [good][extended] slides, p.52]] ↩
-
Original PDF page 53: [[L6 Finishing of Restorations [good][extended]_slides.pdf#page=53|L6 Finishing of Restorations [good][extended] slides, p.53]] ↩
-
Original PDF page 48: [[L6 Finishing of Restorations [good][extended]_slides.pdf#page=48|L6 Finishing of Restorations [good][extended] slides, p.48]] ↩
-
Original PDF page 49: [[L6 Finishing of Restorations [good][extended]_slides.pdf#page=49|L6 Finishing of Restorations [good][extended] slides, p.49]] ↩
-
Original PDF page 51: [[L6 Finishing of Restorations [good][extended]_slides.pdf#page=51|L6 Finishing of Restorations [good][extended] slides, p.51]] ↩
-
Original PDF page 54: [[L6 Finishing of Restorations [good][extended]_slides.pdf#page=54|L6 Finishing of Restorations [good][extended] slides, p.54]] ↩
-
Original PDF page 56: [[L6 Finishing of Restorations [good][extended]_slides.pdf#page=56|L6 Finishing of Restorations [good][extended] slides, p.56]] ↩
-
Original PDF page 55: [[L6 Finishing of Restorations [good][extended]_slides.pdf#page=55|L6 Finishing of Restorations [good][extended] slides, p.55]] ↩
-
Original PDF page 57: [[L6 Finishing of Restorations [good][extended]_slides.pdf#page=57|L6 Finishing of Restorations [good][extended] slides, p.57]] ↩
-
Original PDF page 58: [[L6 Finishing of Restorations [good][extended]_slides.pdf#page=58|L6 Finishing of Restorations [good][extended] slides, p.58]] ↩
-
Original PDF page 59: [[L6 Finishing of Restorations [good][extended]_slides.pdf#page=59|L6 Finishing of Restorations [good][extended] slides, p.59]] ↩
-
Original PDF page 61: [[L6 Finishing of Restorations [good][extended]_slides.pdf#page=61|L6 Finishing of Restorations [good][extended] slides, p.61]] ↩
-
Original PDF page 62: [[L6 Finishing of Restorations [good][extended]_slides.pdf#page=62|L6 Finishing of Restorations [good][extended] slides, p.62]] ↩
-
Original PDF page 60: [[L6 Finishing of Restorations [good][extended]_slides.pdf#page=60|L6 Finishing of Restorations [good][extended] slides, p.60]] ↩
-
Original PDF page 63: [[L6 Finishing of Restorations [good][extended]_slides.pdf#page=63|L6 Finishing of Restorations [good][extended] slides, p.63]] ↩
-
Original PDF page 68: [[L6 Finishing of Restorations [good][extended]_slides.pdf#page=68|L6 Finishing of Restorations [good][extended] slides, p.68]] ↩
-
Original PDF page 85: [[L6 Finishing of Restorations [good][extended]_slides.pdf#page=85|L6 Finishing of Restorations [good][extended] slides, p.85]] ↩
-
Original PDF page 64: [[L6 Finishing of Restorations [good][extended]_slides.pdf#page=64|L6 Finishing of Restorations [good][extended] slides, p.64]] ↩
-
Original PDF page 65: [[L6 Finishing of Restorations [good][extended]_slides.pdf#page=65|L6 Finishing of Restorations [good][extended] slides, p.65]] ↩
-
Original PDF page 67: [[L6 Finishing of Restorations [good][extended]_slides.pdf#page=67|L6 Finishing of Restorations [good][extended] slides, p.67]] ↩
-
Original PDF page 87: [[L6 Finishing of Restorations [good][extended]_slides.pdf#page=87|L6 Finishing of Restorations [good][extended] slides, p.87]] ↩
-
Original PDF page 66: [[L6 Finishing of Restorations [good][extended]_slides.pdf#page=66|L6 Finishing of Restorations [good][extended] slides, p.66]] ↩
-
Original PDF page 86: [[L6 Finishing of Restorations [good][extended]_slides.pdf#page=86|L6 Finishing of Restorations [good][extended] slides, p.86]] ↩
-
Original PDF page 69: [[L6 Finishing of Restorations [good][extended]_slides.pdf#page=69|L6 Finishing of Restorations [good][extended] slides, p.69]] ↩
-
Original PDF page 70: [[L6 Finishing of Restorations [good][extended]_slides.pdf#page=70|L6 Finishing of Restorations [good][extended] slides, p.70]] ↩
-
Original PDF page 71: [[L6 Finishing of Restorations [good][extended]_slides.pdf#page=71|L6 Finishing of Restorations [good][extended] slides, p.71]] ↩
-
Original PDF page 72: [[L6 Finishing of Restorations [good][extended]_slides.pdf#page=72|L6 Finishing of Restorations [good][extended] slides, p.72]] ↩
-
Original PDF page 74: [[L6 Finishing of Restorations [good][extended]_slides.pdf#page=74|L6 Finishing of Restorations [good][extended] slides, p.74]] ↩
-
Original PDF page 75: [[L6 Finishing of Restorations [good][extended]_slides.pdf#page=75|L6 Finishing of Restorations [good][extended] slides, p.75]] ↩
-
Original PDF page 73: [[L6 Finishing of Restorations [good][extended]_slides.pdf#page=73|L6 Finishing of Restorations [good][extended] slides, p.73]] ↩
-
Original PDF page 79: [[L6 Finishing of Restorations [good][extended]_slides.pdf#page=79|L6 Finishing of Restorations [good][extended] slides, p.79]] ↩
-
Original PDF page 80: [[L6 Finishing of Restorations [good][extended]_slides.pdf#page=80|L6 Finishing of Restorations [good][extended] slides, p.80]] ↩
-
Original PDF page 83: [[L6 Finishing of Restorations [good][extended]_slides.pdf#page=83|L6 Finishing of Restorations [good][extended] slides, p.83]] ↩
-
Original PDF page 77: [[L6 Finishing of Restorations [good][extended]_slides.pdf#page=77|L6 Finishing of Restorations [good][extended] slides, p.77]] ↩
-
Original PDF page 82: [[L6 Finishing of Restorations [good][extended]_slides.pdf#page=82|L6 Finishing of Restorations [good][extended] slides, p.82]] ↩
-
Original PDF page 76: [[L6 Finishing of Restorations [good][extended]_slides.pdf#page=76|L6 Finishing of Restorations [good][extended] slides, p.76]] ↩
-
Original PDF page 78: [[L6 Finishing of Restorations [good][extended]_slides.pdf#page=78|L6 Finishing of Restorations [good][extended] slides, p.78]] ↩
-
Original PDF page 81: [[L6 Finishing of Restorations [good][extended]_slides.pdf#page=81|L6 Finishing of Restorations [good][extended] slides, p.81]] ↩
-
Original PDF page 84: [[L6 Finishing of Restorations [good][extended]_slides.pdf#page=84|L6 Finishing of Restorations [good][extended] slides, p.84]] ↩
-
Original PDF page 88: [[L6 Finishing of Restorations [good][extended]_slides.pdf#page=88|L6 Finishing of Restorations [good][extended] slides, p.88]] ↩
-
Original PDF page 95: [[L6 Finishing of Restorations [good][extended]_slides.pdf#page=95|L6 Finishing of Restorations [good][extended] slides, p.95]] ↩
-
Original PDF page 89: [[L6 Finishing of Restorations [good][extended]_slides.pdf#page=89|L6 Finishing of Restorations [good][extended] slides, p.89]] ↩
-
Original PDF page 90: [[L6 Finishing of Restorations [good][extended]_slides.pdf#page=90|L6 Finishing of Restorations [good][extended] slides, p.90]] ↩
-
Original PDF page 91: [[L6 Finishing of Restorations [good][extended]_slides.pdf#page=91|L6 Finishing of Restorations [good][extended] slides, p.91]] ↩
-
Original PDF page 92: [[L6 Finishing of Restorations [good][extended]_slides.pdf#page=92|L6 Finishing of Restorations [good][extended] slides, p.92]] ↩
-
Original PDF page 94: [[L6 Finishing of Restorations [good][extended]_slides.pdf#page=94|L6 Finishing of Restorations [good][extended] slides, p.94]] ↩
-
Original PDF page 93: [[L6 Finishing of Restorations [good][extended]_slides.pdf#page=93|L6 Finishing of Restorations [good][extended] slides, p.93]] ↩