Kennedy Class III Removable Partial Denture (RPD) Design Guidelines
This document outlines the systematic approach to designing Kennedy Class III Removable Partial Dentures. The focus is on creating tooth-borne frameworks that prioritize stability, predictability, and future-proofing for potential tooth loss.
I. Fundamental Design Steps
Regardless of the specific arch, the following four steps should be followed in sequence:
- **Outline Edentulous Areas:
 ** Identify where teeth are missing and determine the type of retention (mesh lattice for acrylic bases or metal posts/backings).
2. **Direct Retainers:
** Identify where teeth are missing and determine the type of retention (mesh lattice for acrylic bases or metal posts/backings).
2. **Direct Retainers:
 ** Place clasps on abutment teeth adjacent to the edentulous spaces.
3. Auxiliary Rests: Place additional rests to enhance stability or provide indirect retention if the case has the potential to become a distal extension (Class I or II) in the future.
4. **Major Connector:
** Place clasps on abutment teeth adjacent to the edentulous spaces.
3. Auxiliary Rests: Place additional rests to enhance stability or provide indirect retention if the case has the potential to become a distal extension (Class I or II) in the future.
4. **Major Connector:
 ** Connect all components while maintaining a 3–5 mm distance from the gingival margins.
II. Maxillary Class III Design Strategies
The “Four-Point” Stability Concept
When designing a maxillary Class III RPD, the goal is to create a trapezoidal configuration of four rest points.
- **Stability Comparison:
 ** A trapezoid (four contact points) is significantly more stable and predictable than a tripod (three contact points).
- **Clasp Placement:
 ** Rather than using an embrasure clasp (which creates a tripod), it is preferable to split the clasps—placing one as far anterior as possible and one as far posterior as possible.
Future-Proofing for Tooth Loss
 Design should account for teeth with a guarded prognosis. For example, if a standalone posterior molar (e.g., tooth #17) is likely to be lost:
- By placing an anterior rest (e.g., on a canine or premolar) during the initial Class III design, the framework is already prepared with an indirect retainer.
- If the molar is lost, the RPD transitions seamlessly into a Class II design without requiring a complete remake of the framework.
III. Mandibular Class III Design Strategies
Major Connector Selection
 The Lingual Bar is the standard major connector, provided there is sufficient depth in the lingual sulcus.
- Plating/Aproning: If teeth have a poor prognosis or if additional indirect retention is required, a Lingual Plate (aproning the anterior teeth) is preferred.
- **Kennedy Bar:
 ** A double lingual bar can be used to provide stability while leaving the gingival margins open.
Single Tooth Replacements
For a single missing tooth in the mandible:
- Retention: Use mesh and a post for the prosthetic tooth.
- **Aesthetics:
 ** In the “aesthetic zone,” bar clasps (I-bars or Roach clasps) are preferred over circumferential clasps to minimize metal display.
IV. Modifications and Complex Cases
Intermediate Pier Abutments
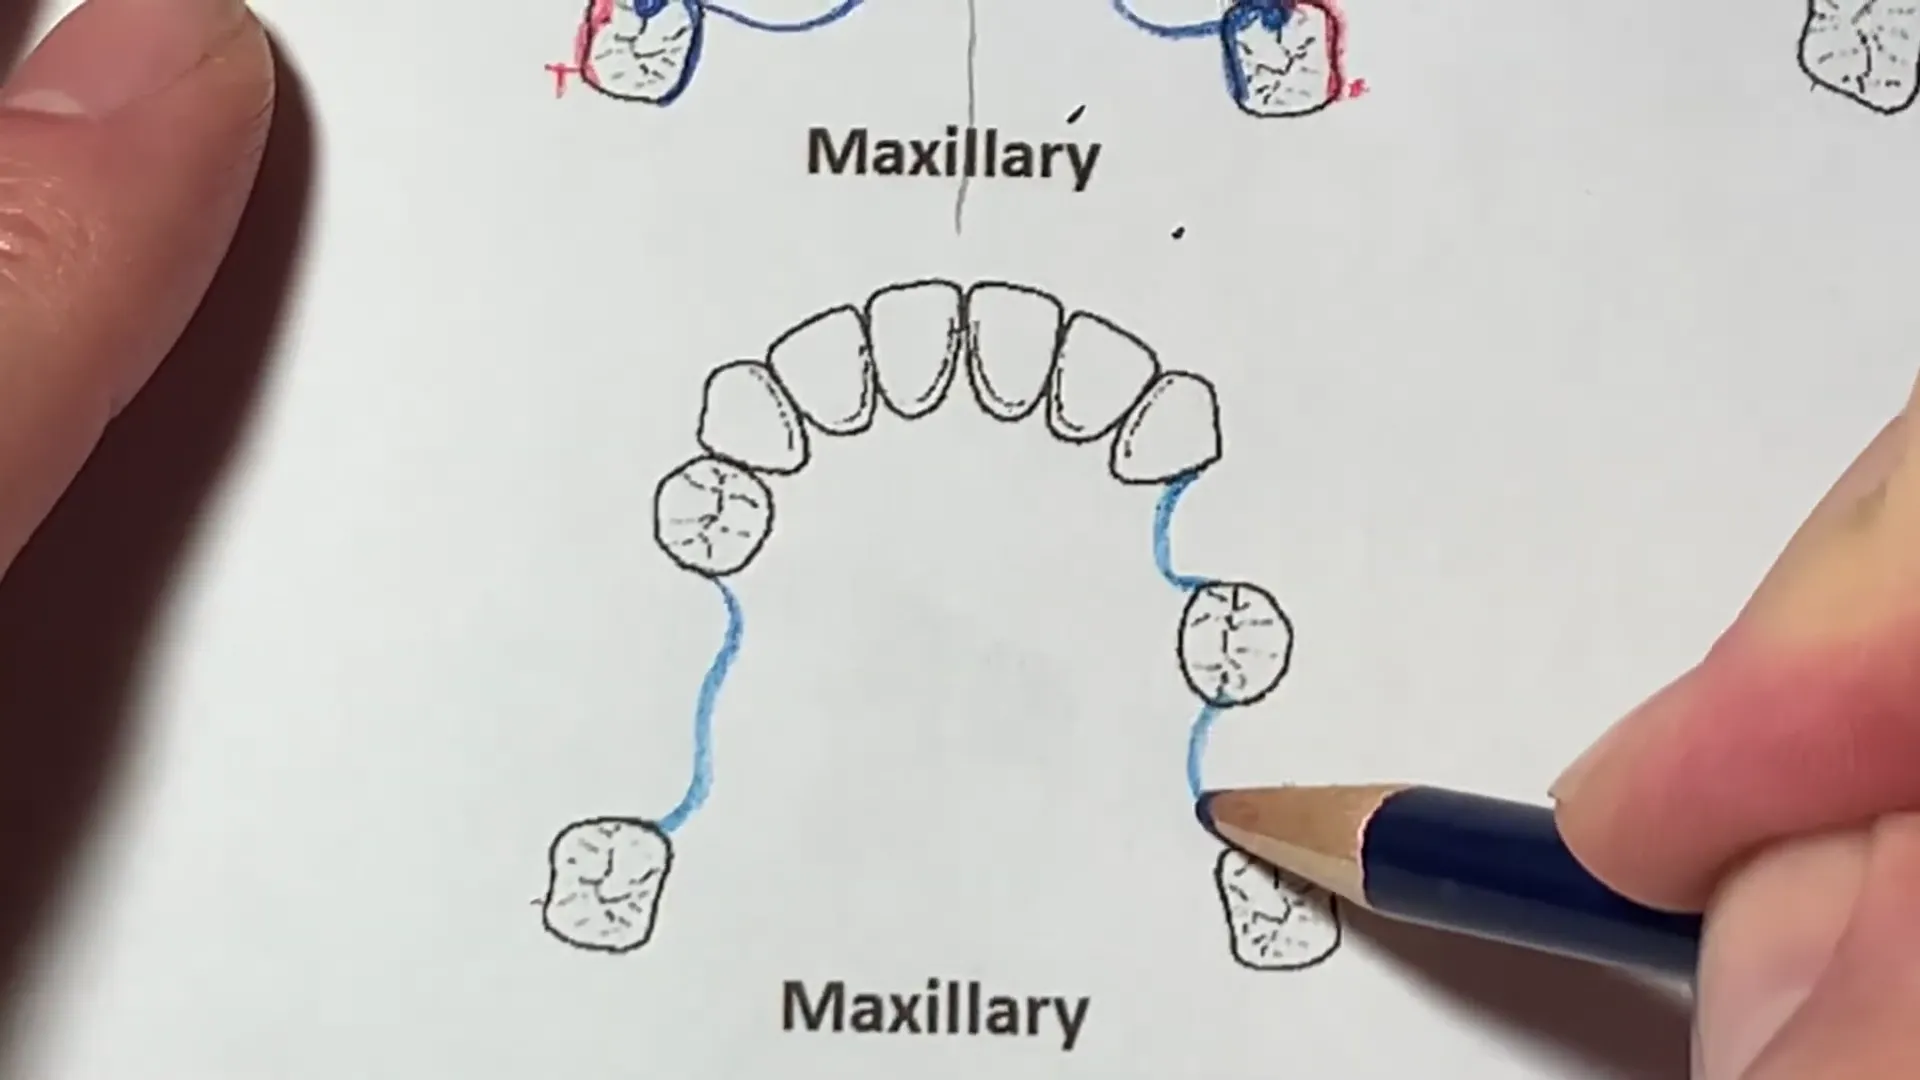 In cases with a “pier abutment” (a standalone tooth between two edentulous spaces):
- Prognosis: These teeth often have higher bone loss due to lack of mesial/distal support.
- **Design:
 ** It is often prudent to “window” the metal around these teeth for self-cleansing or to plate them entirely to prepare for their eventual loss.
- Resting: If used as an abutment, the pier tooth must have both mesial and distal rests.
Anterior Modifications
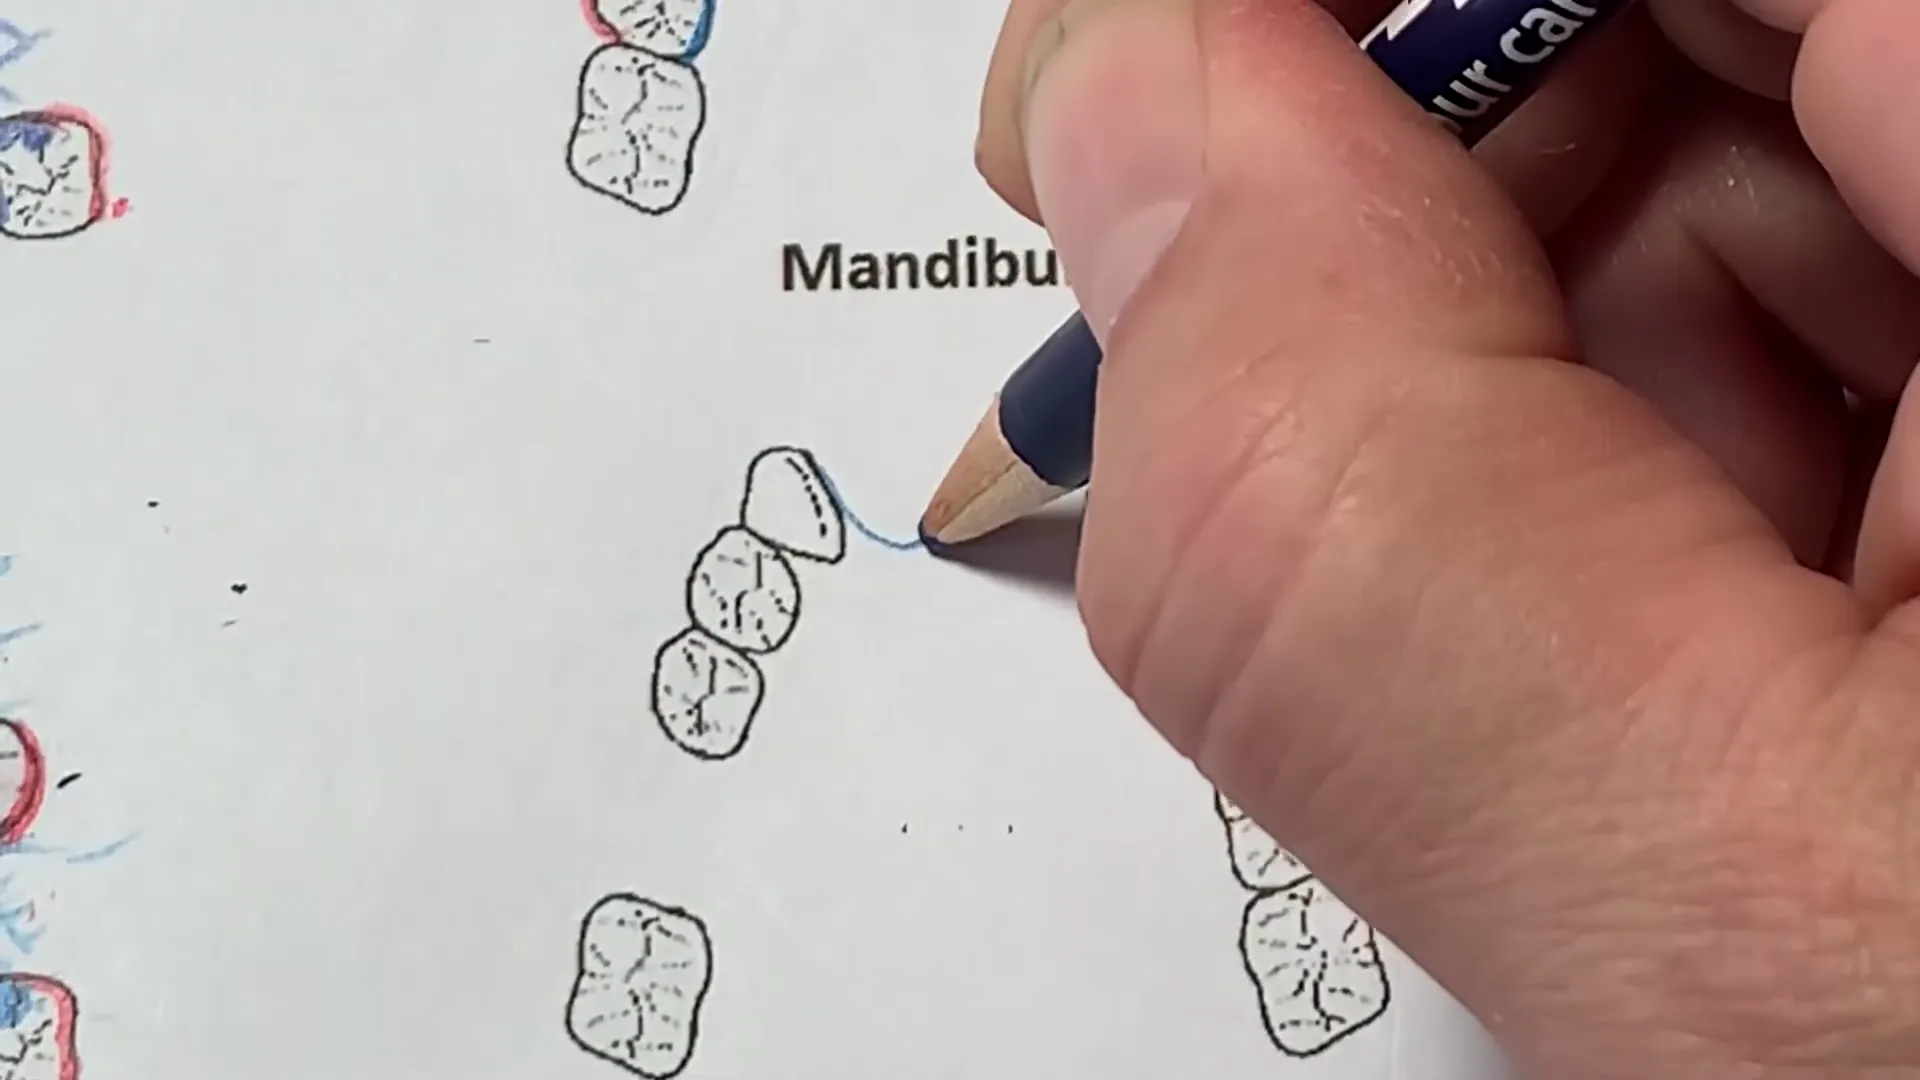 When the anterior segment is missing in a Class III case:
- Resting: A minimum of a cingulum rest or mesio-lingual rest is required on the teeth bordering the space.
- **Strengthening:
 ** For long-span anterior modifications, the major connector may require additional thickness or “strengtheners” to prevent the framework from bending at the midline during function.
V. Summary of Component Applications
| Component | Application/Notes |
|---|---|
| Mesh Lattice | Used to adhere acrylic denture bases to the metal framework. |
| Palatal Strap | Standard maxillary connector; provides excellent vertical support. |
| Embrasure Clasp | Common but less stable than split clasping; creates a “tripod” effect. |
| I-Bar / Roach Clasp | Used in the aesthetic zone to reduce metal visibility. |
| Guide Planes | Must be established on all proximal surfaces adjacent to edentulous areas. |
| Lingual Plate | Indicated when future tooth loss is expected or for splinting teeth. |


VI. Clinical Considerations
- **Symmetry:
 ** Aim for a symmetrical framework design to improve patient comfort and balance.
- **Self-Cleansing:
** Use “windows” in the metal design where possible to prevent food entrapment, especially around isolated teeth.
- Prognosis: Always evaluate the health of abutment teeth. Performing RPD therapy on teeth that require extraction or restorative work is considered iatrogenic.